The Mitre Cap
So, I’ve had a particular issue making scabbards for swords with a safety cap - how to keep the sword from sliding out?
In order to accommodate the safety cap on the top of the blade, the opening of the scabbard must be made wide enough that it cannot grip the blade. As a result, the sword tends to slide and fall out of any scabbard being used. I kicked around a couple of ideas for how to resolve this, but didn’t come up with anything for a while (at one time I wanted to try to fill the bottom of the scabbard with magnets).
I tried making a rapier scabbard out of 4 mm leather sewn into a tube. During the process of painstakingly punching dozens of holes into the leather and test fitting a rapier, I noticed that the safety cap of the rapier caught on the interior side of the stitches. I was sure that I was onto something, as the cap catching would prevent the blade from sliding out of the scabbard. I then continued punching holes. After a while longer (more than I care to admit) I realized that all I needed was the safety cap to catch near the bottom of scabbard to keep the whole sword from falling out. Therefore, all I would need is a sewn leather cap for the bottom two inches of the scabbard. So, I changed my approach.
I call it a Mitre Cap, as it looks vaguely like a mitre. A Mitre Cap is a leather tube that covers the end of the primary tube that forms core of the scabbard. Here is what you are going to need (as always, be carful when working with sharp objects, power tools, and other dangerous items):
4 mm leather
Articifial sinew
Two needles (preferable one curved and one strait)
Two-part epoxy
The tube you will be using for the core of your scabbard
Stought scizzors or tin-snips
A leather punch
A drill, Dremel tool, or something else to drill holes
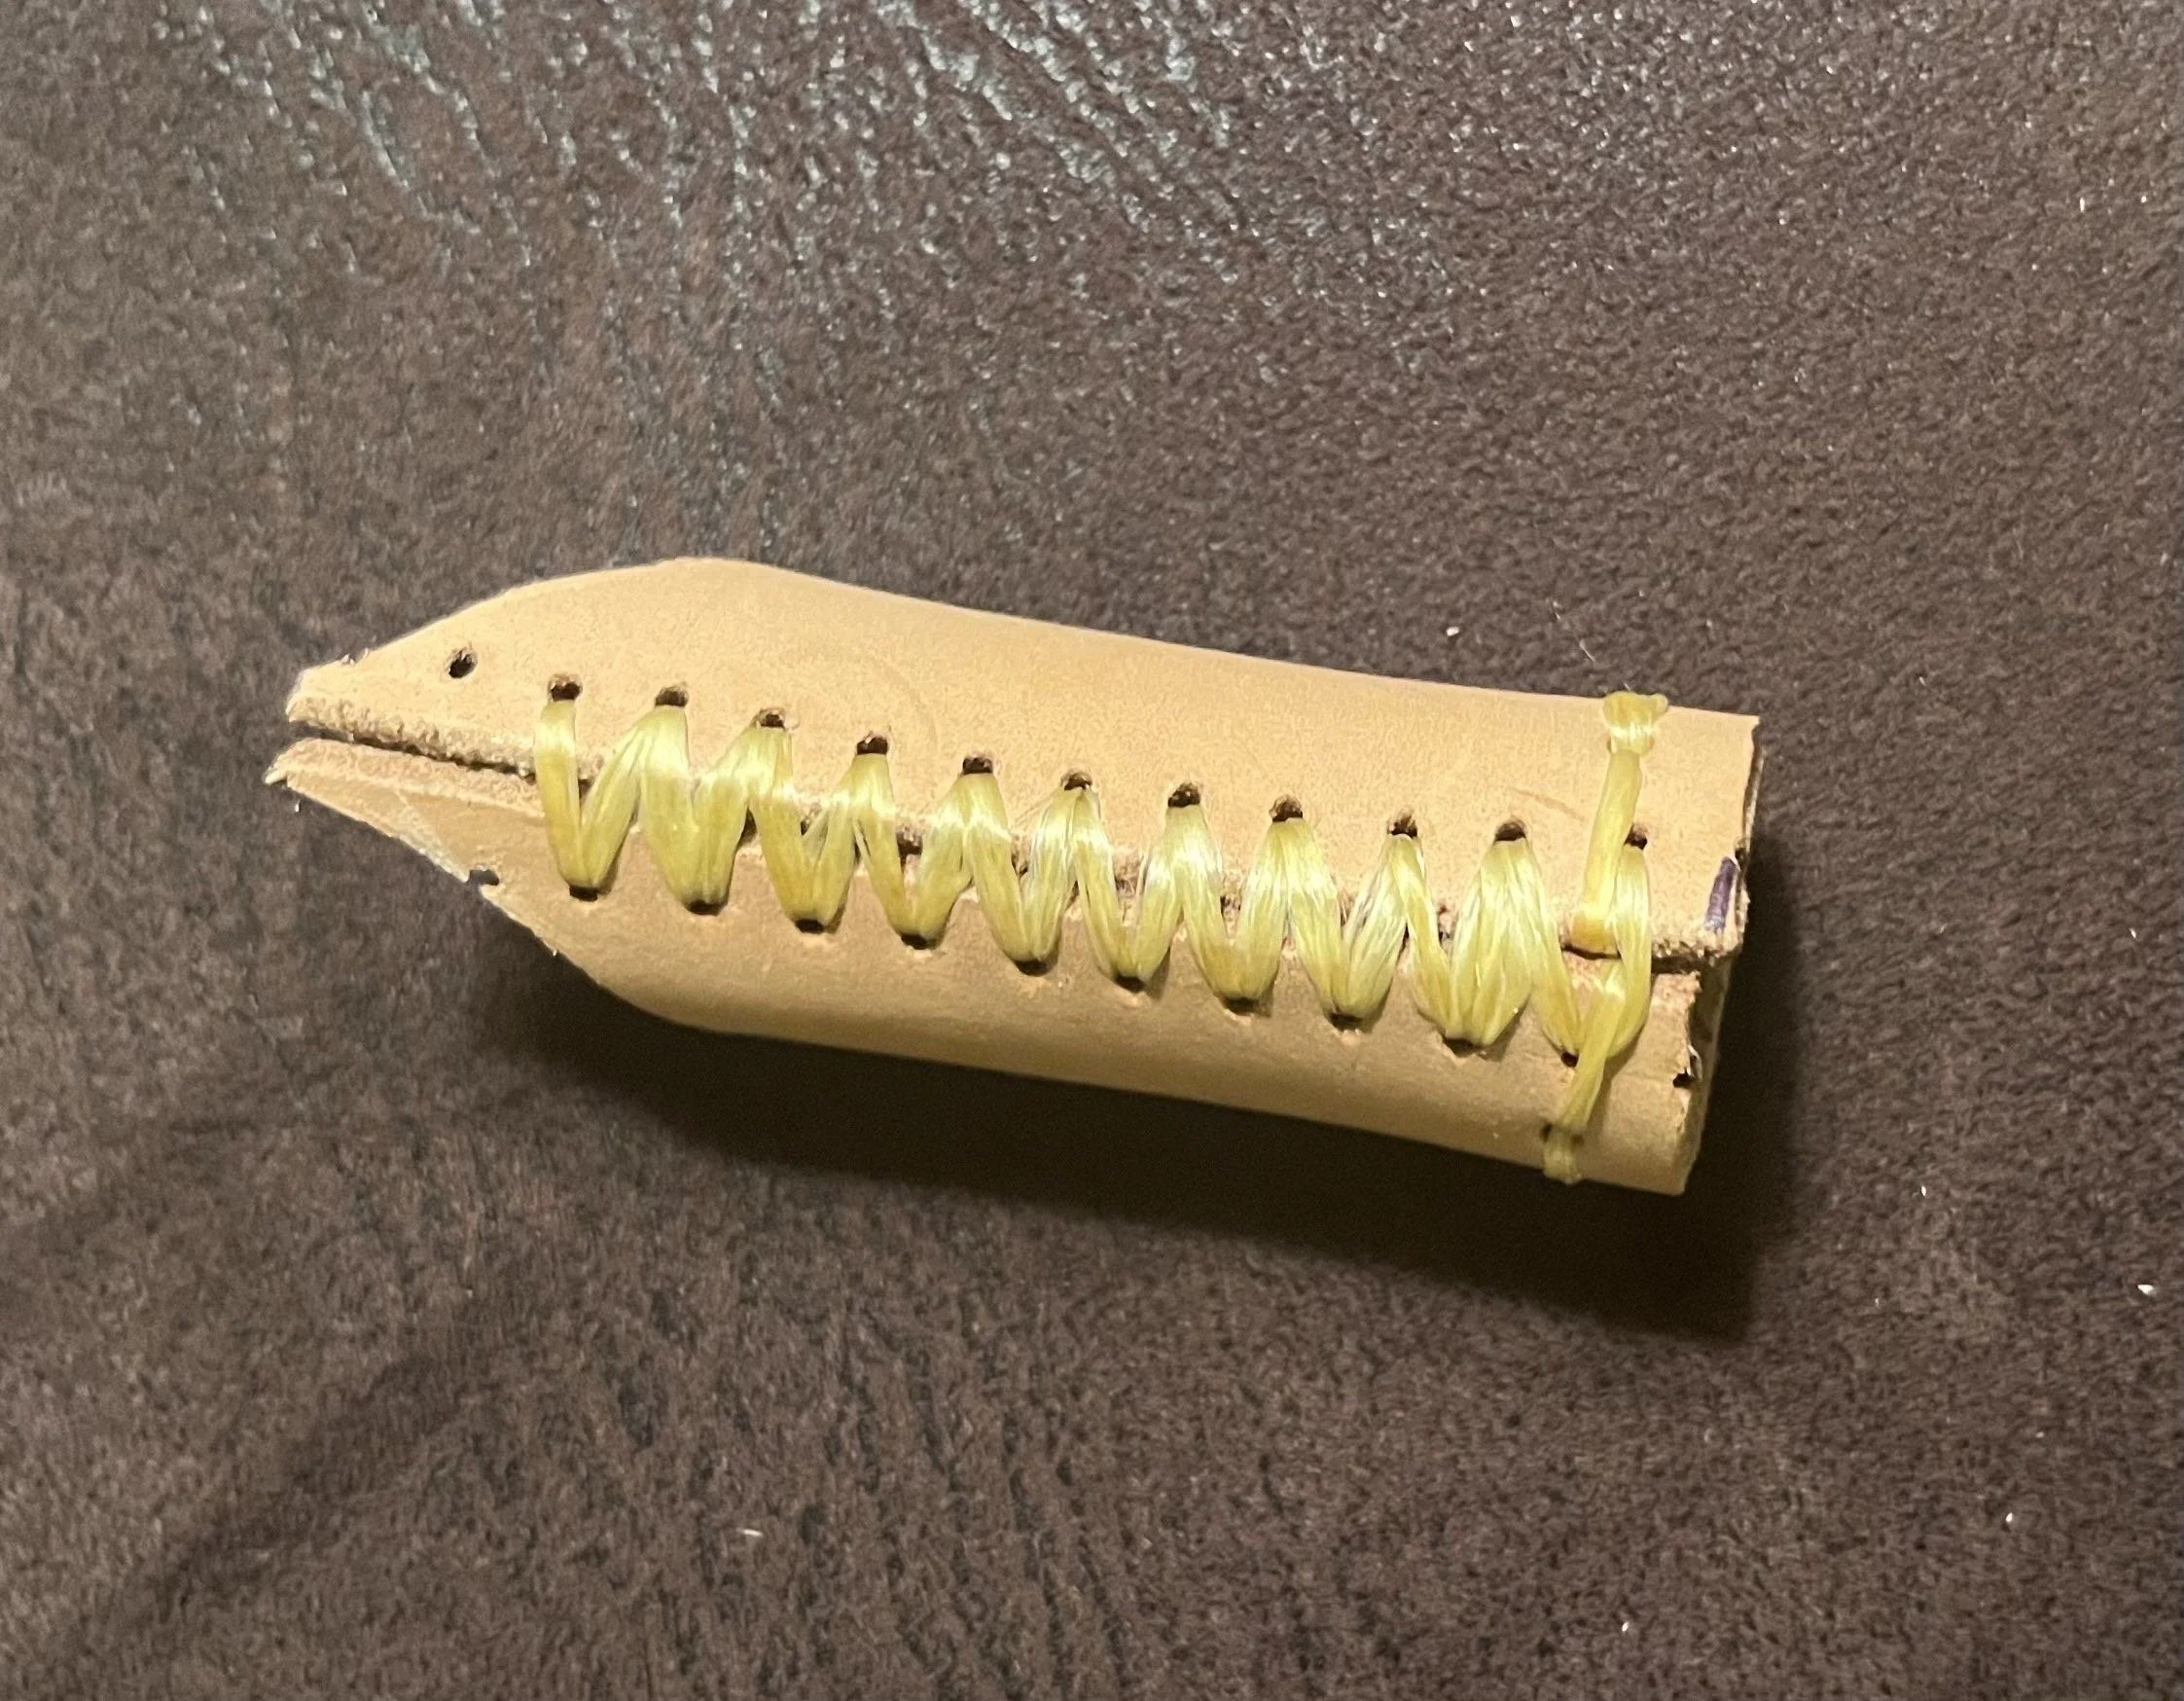
This cap is made of 4 mm leather, wetted, and then shaped into a tube. Holes should be punched along the edge, and sewn to hold the tube closed (I recommend artificial sinew). The internal diameter of the cap should match the internal diameter of the tube to be the body of the scabbard. The internal diameter of both should form a tight fit for the safety cap (if the safety cap is 3/4 of an inch, the diameter of the tubes should be approximately 3/4 of an inch).
This cap is then shaped into a point, and pressed closed. You can sew the end closed to assist the shaping, but you will want to leave it open once it is attached for reasons to be explained.
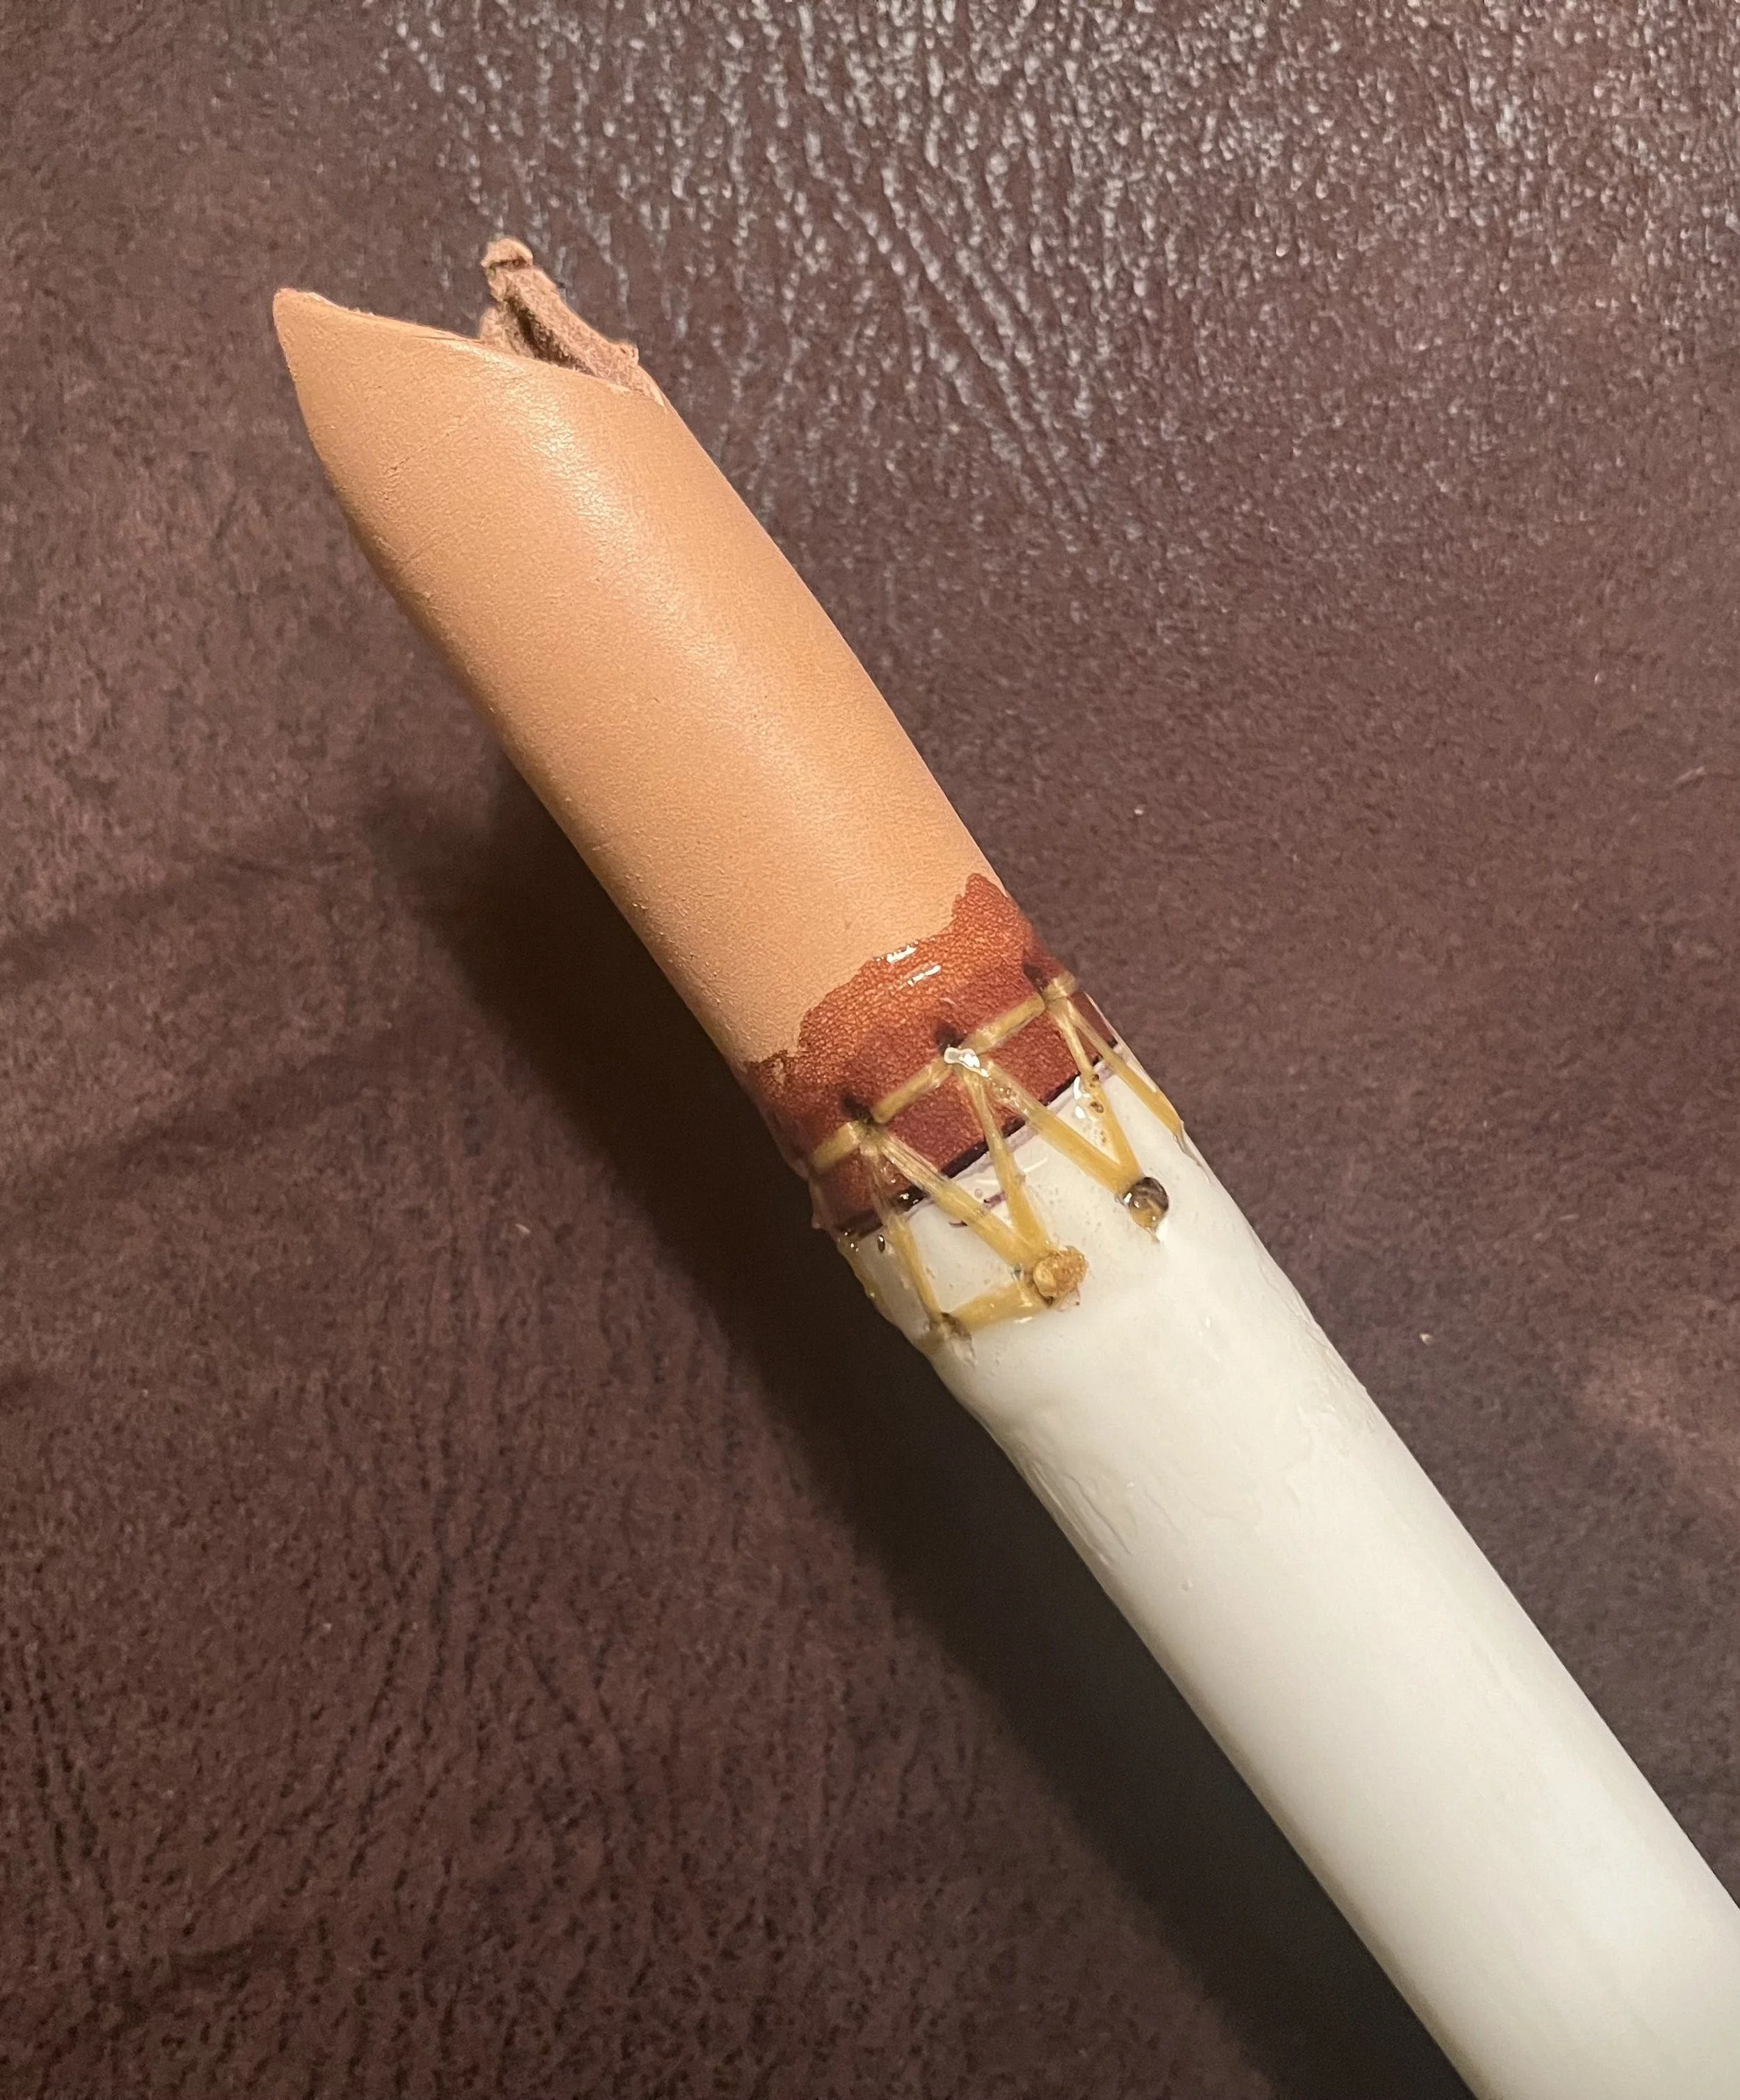
Next step, punch a series of holes at the base of the Mitre Cap. The end of the tube the cap will be affixed to should also have holes drilled into it. These holes should be far enough from the edge to not weaken the plastic or leather, but close enough to allow sewing. 1/4 to 1/2 of an inch from the edge is probably fine.

Sewing the Mitre Cap is tricky. Preferably use a curved needle to do this. You could use a strait needle, but you probably need a pair of needle nose plyers as well. Get a curved needle and angle the needle up from the pipe into the Mitre Cap. Don’t pull the thread's tight. Repeat the process until you have completely sewn the Mitre Cap to the tube (preferably twice so the threads will create sufficient internal friction). Now gently pull the threads tight (go in stages if needed).
Test fit the rapier at this point. If there are any issues (the scabbard is not long enough, the safety cap can’t pass by the Mitre Cap, etc.) this is the time to fix it.
The next step is gluing the cap in place. I like two-part epoxy because it (largely) self smooths and penetrates to ensure a very thorough seal. Apply the glue and wait for it to harden.
Do a test fit with the rapier again. The safety cap of the rapier should catch on the Mitre Cap but be able to pass through. If the fit is properly tight, you should be able to turn the scabbard upside down with the sword in it. The sword should stay in place. If the rapier slips slightly but does not fall out of the scabbard, that’s fine. Applying the outer layer of leather will cause everything to tighten a little bit. If the rapier does fall out, you may have to drill more holes (or expand the existing holes) to apply more stitching for the safety cap to catch better.
There is a risk that, because the Mitre Cap works by catching the safety cap, if the safety cap is loose, it could get pulled off and stuck in the scabbard. If this happens, don’t panic. There is a reason why the end of the Mitre Cap tip is left unsewn. If there is a chape on the scabbard, it will need to come off. At this point, pry the Mitre Cap open and then either poke the safety cap out, or reach in with a pair of needle nose plyers to pull the safety cap out.