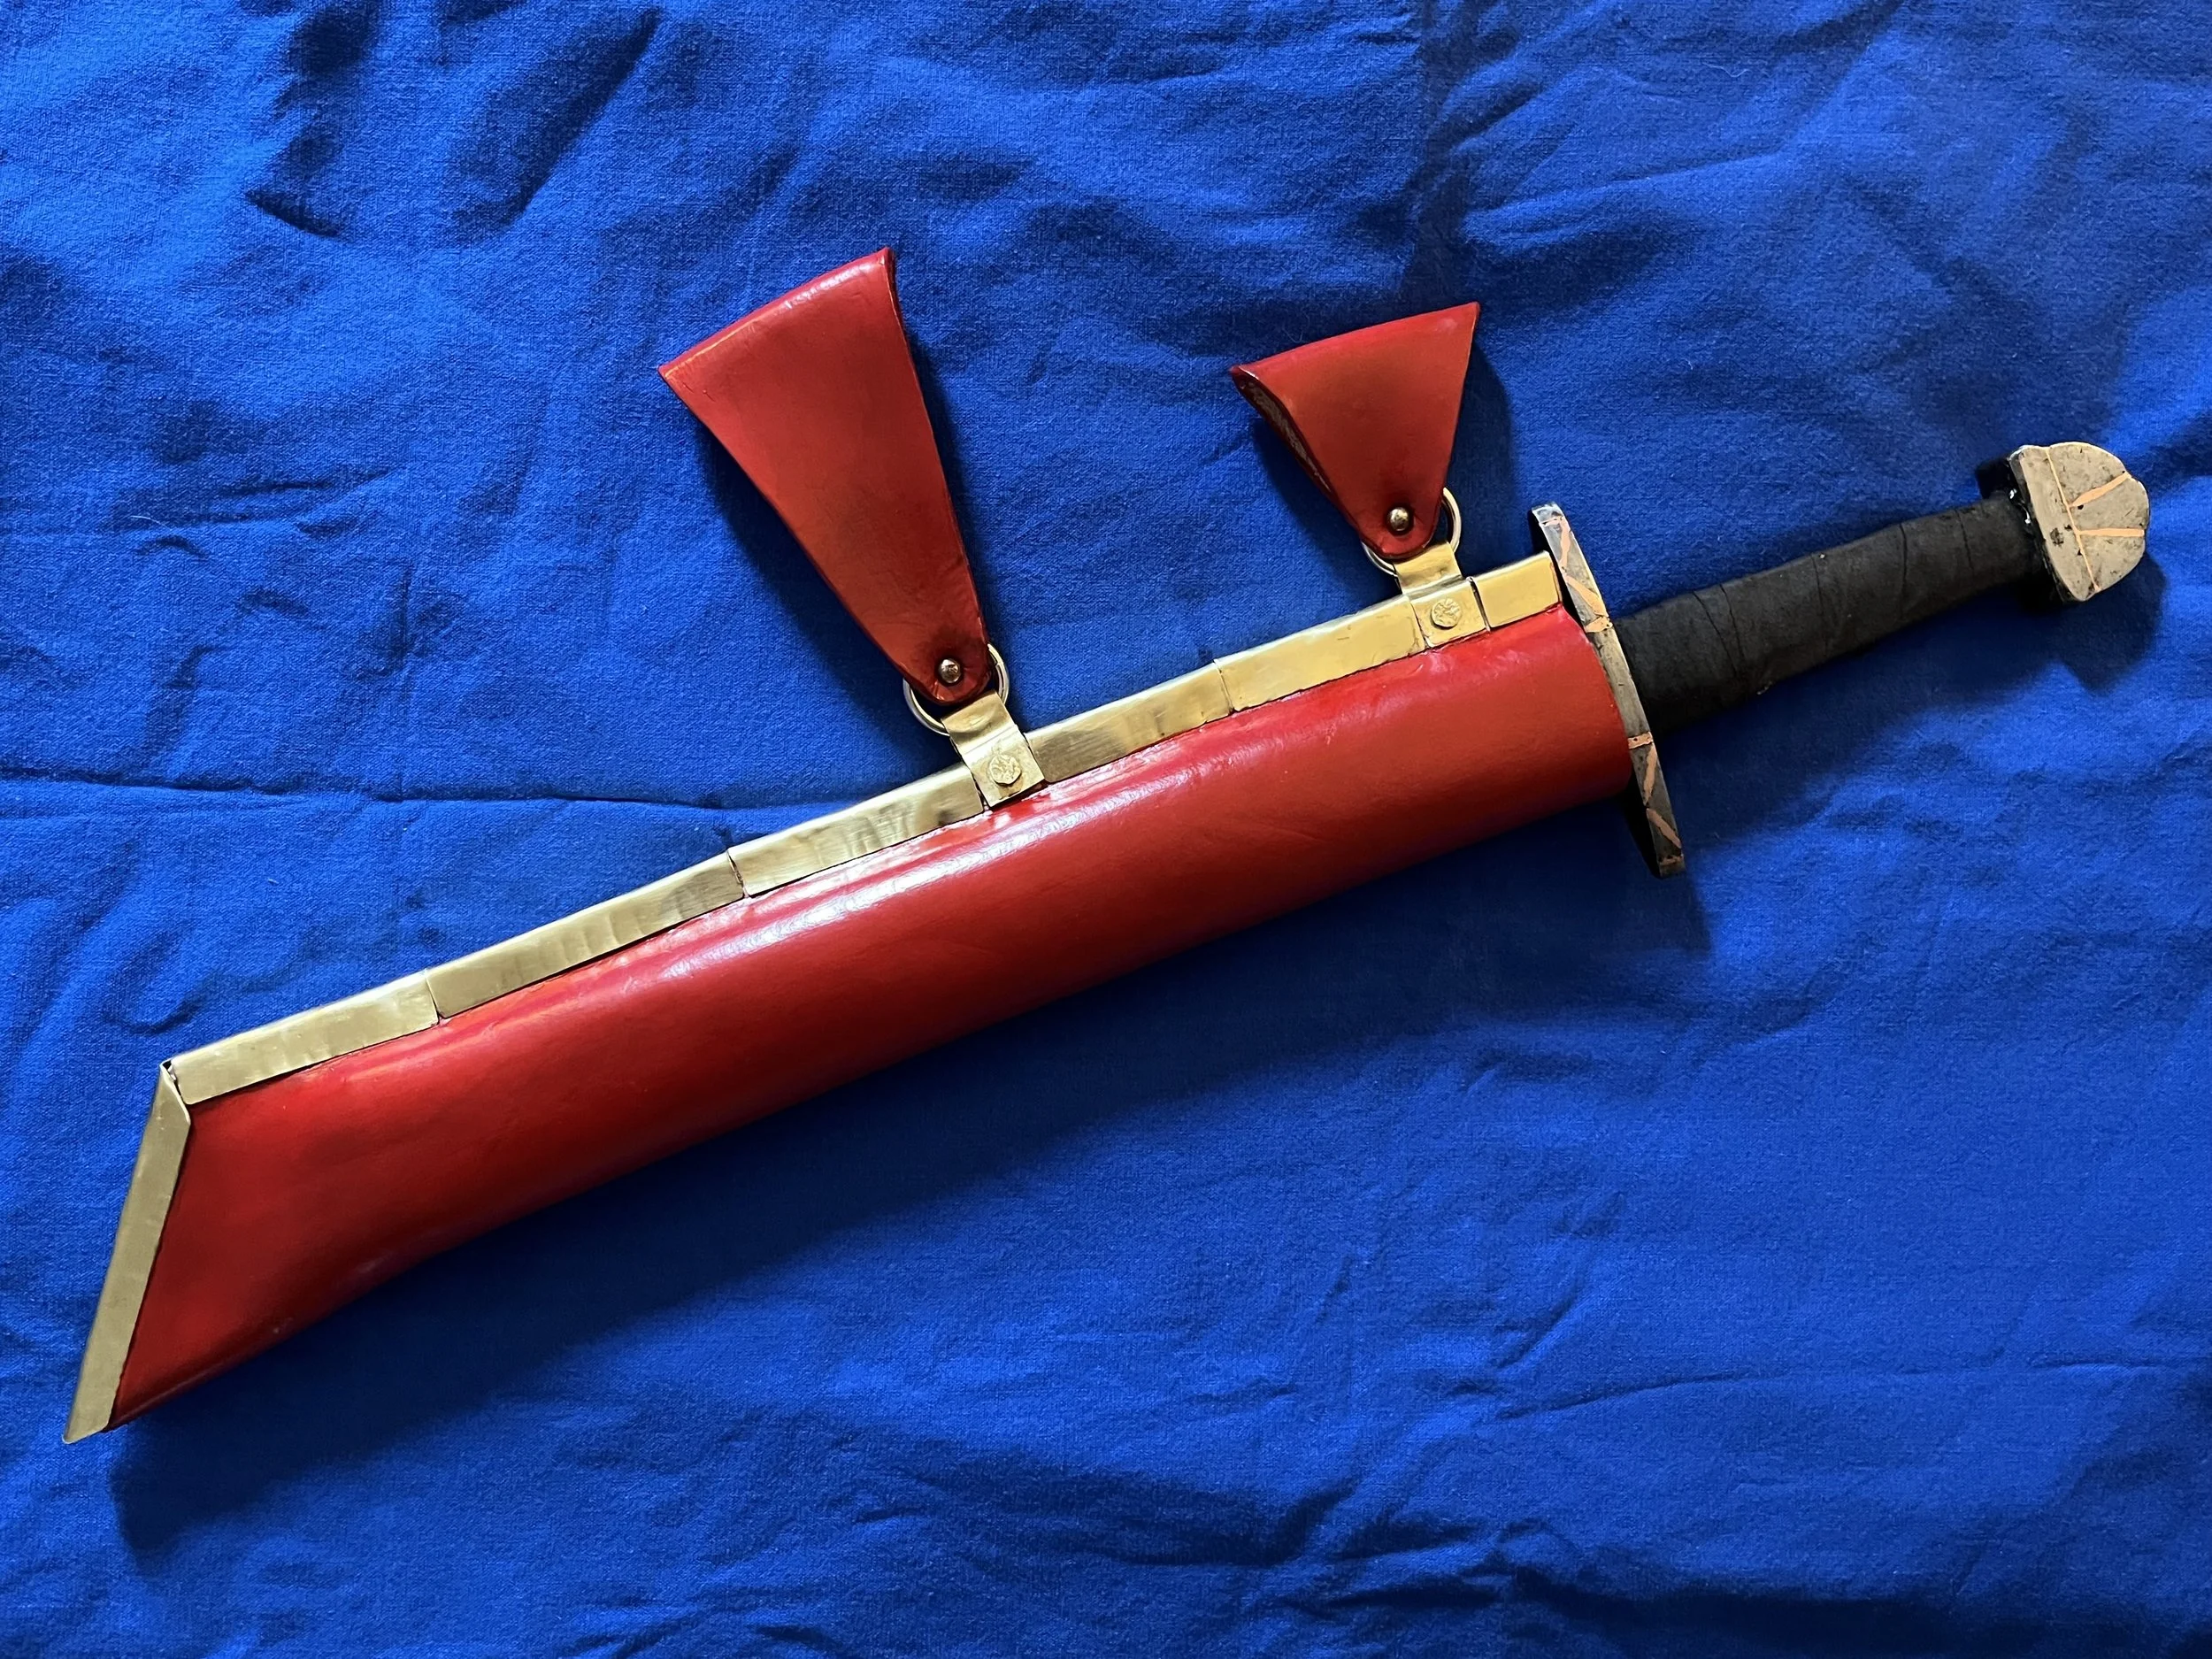
Swift Sheath for Sax
My knight asked if I had any ideas for how to carry a side arm for the Viking Deed at Gulf Wars. The event was about two weeks away, and I said I could make a quick scabbard for him if he let me take the side arm with me. The sword was about two feet long. More than a knife, but not quite long enough for an arming sword. Considering the sword was being taken into the Viking Deed, I decided to treat it like a big sax, and make a sheath/scabbard to reflect that.
Supplies
4 mm leather
Red leather dye
Red leather paint
Leather seal
Acrylic seal
Sheet brass (18-20 gage)
Two soldered rings
Brass rivets
Sandpaper (250-500 grit should be fine)
X-acto knife
Scissors
Dremel Tool
Two-part epoxy
Hammer
Jeweler’s anvil
Paint brush (soft bristles)
Clamps…. lots of clamps
Leather
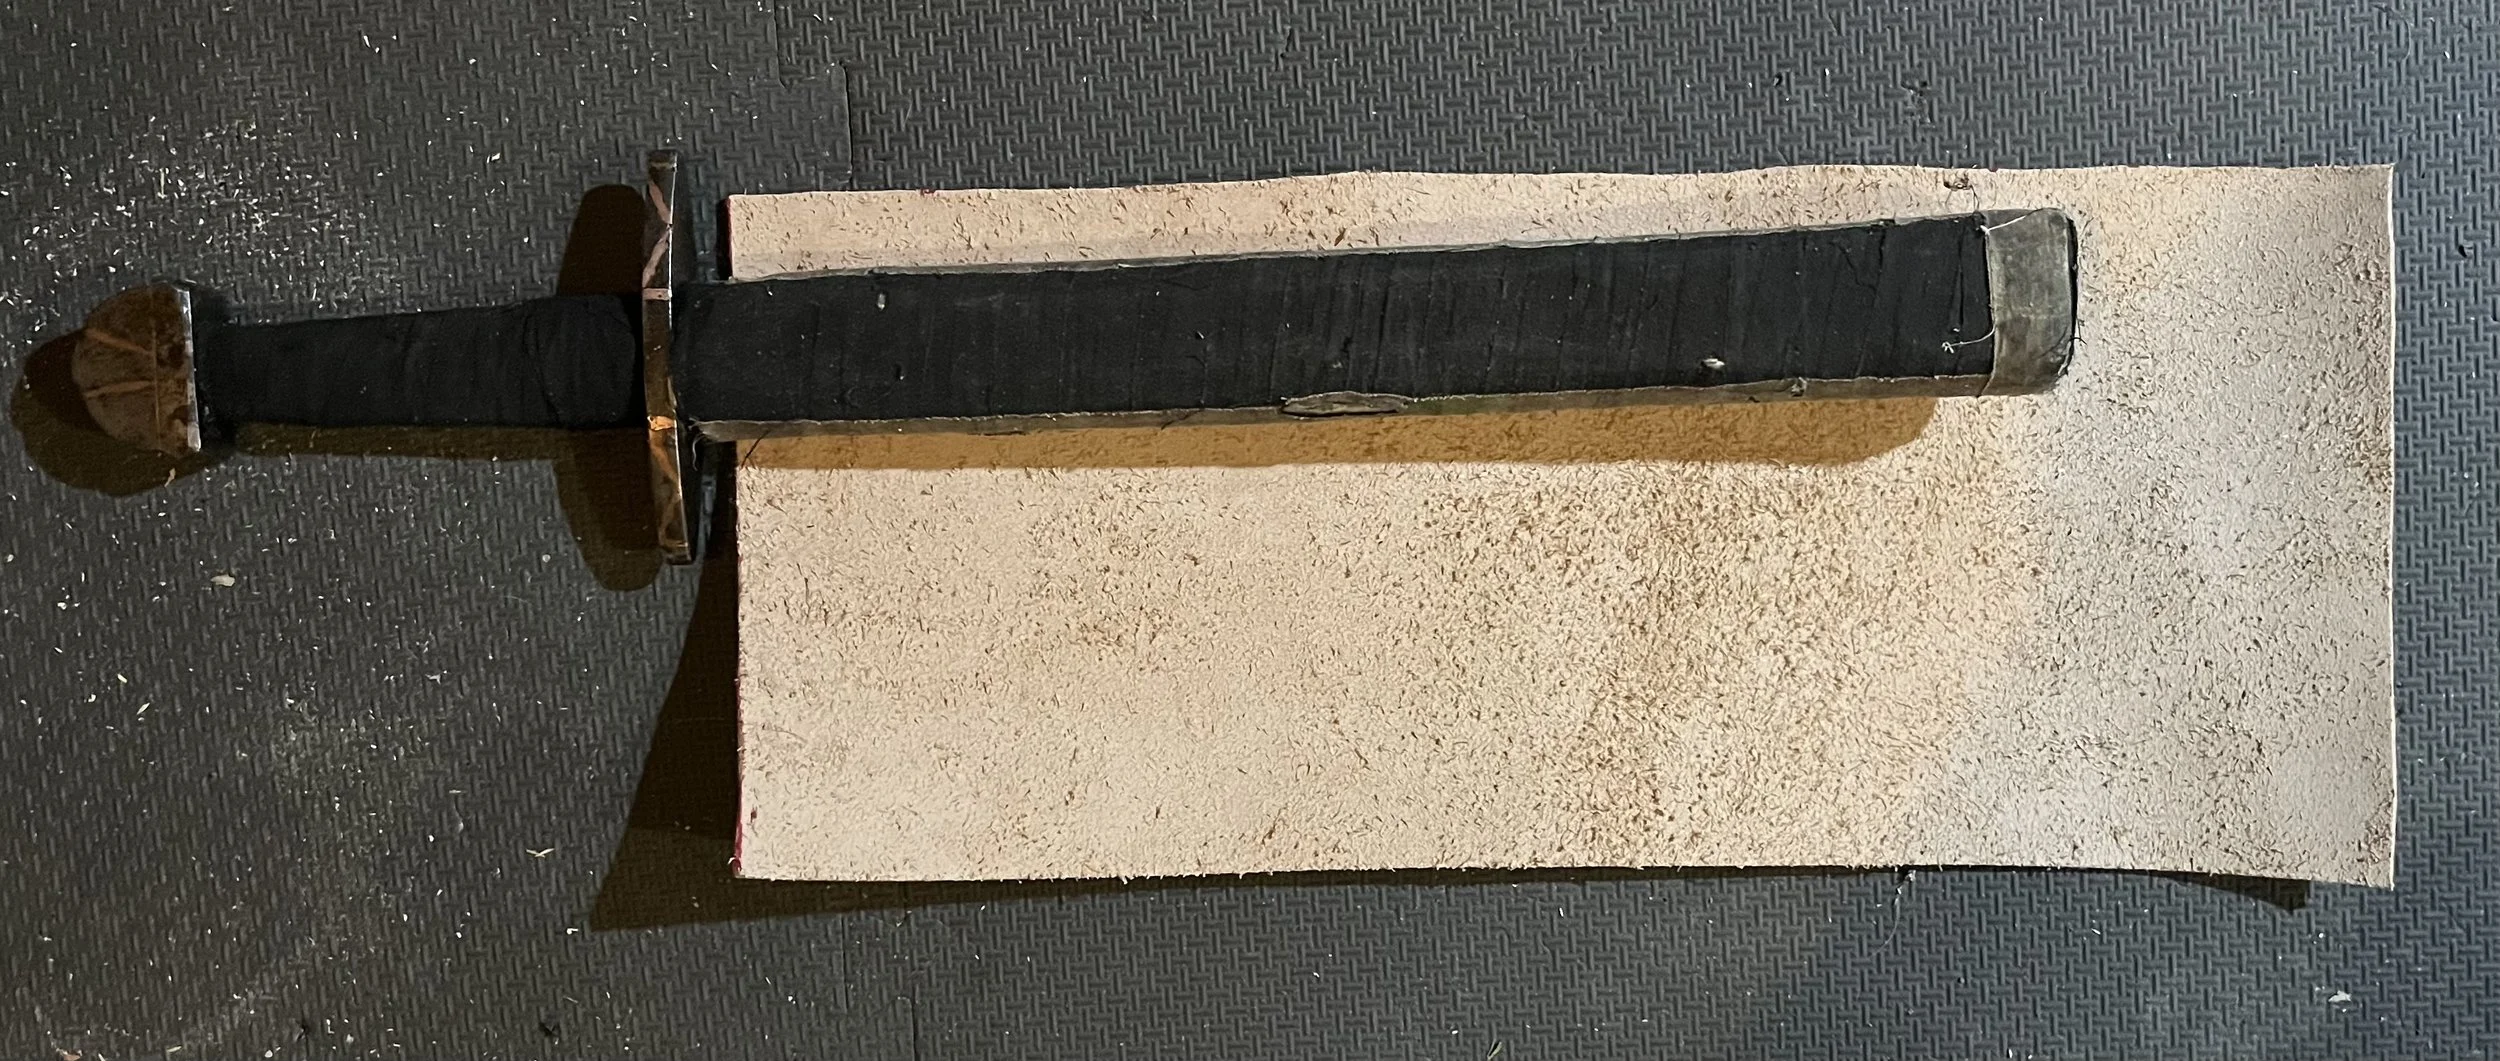
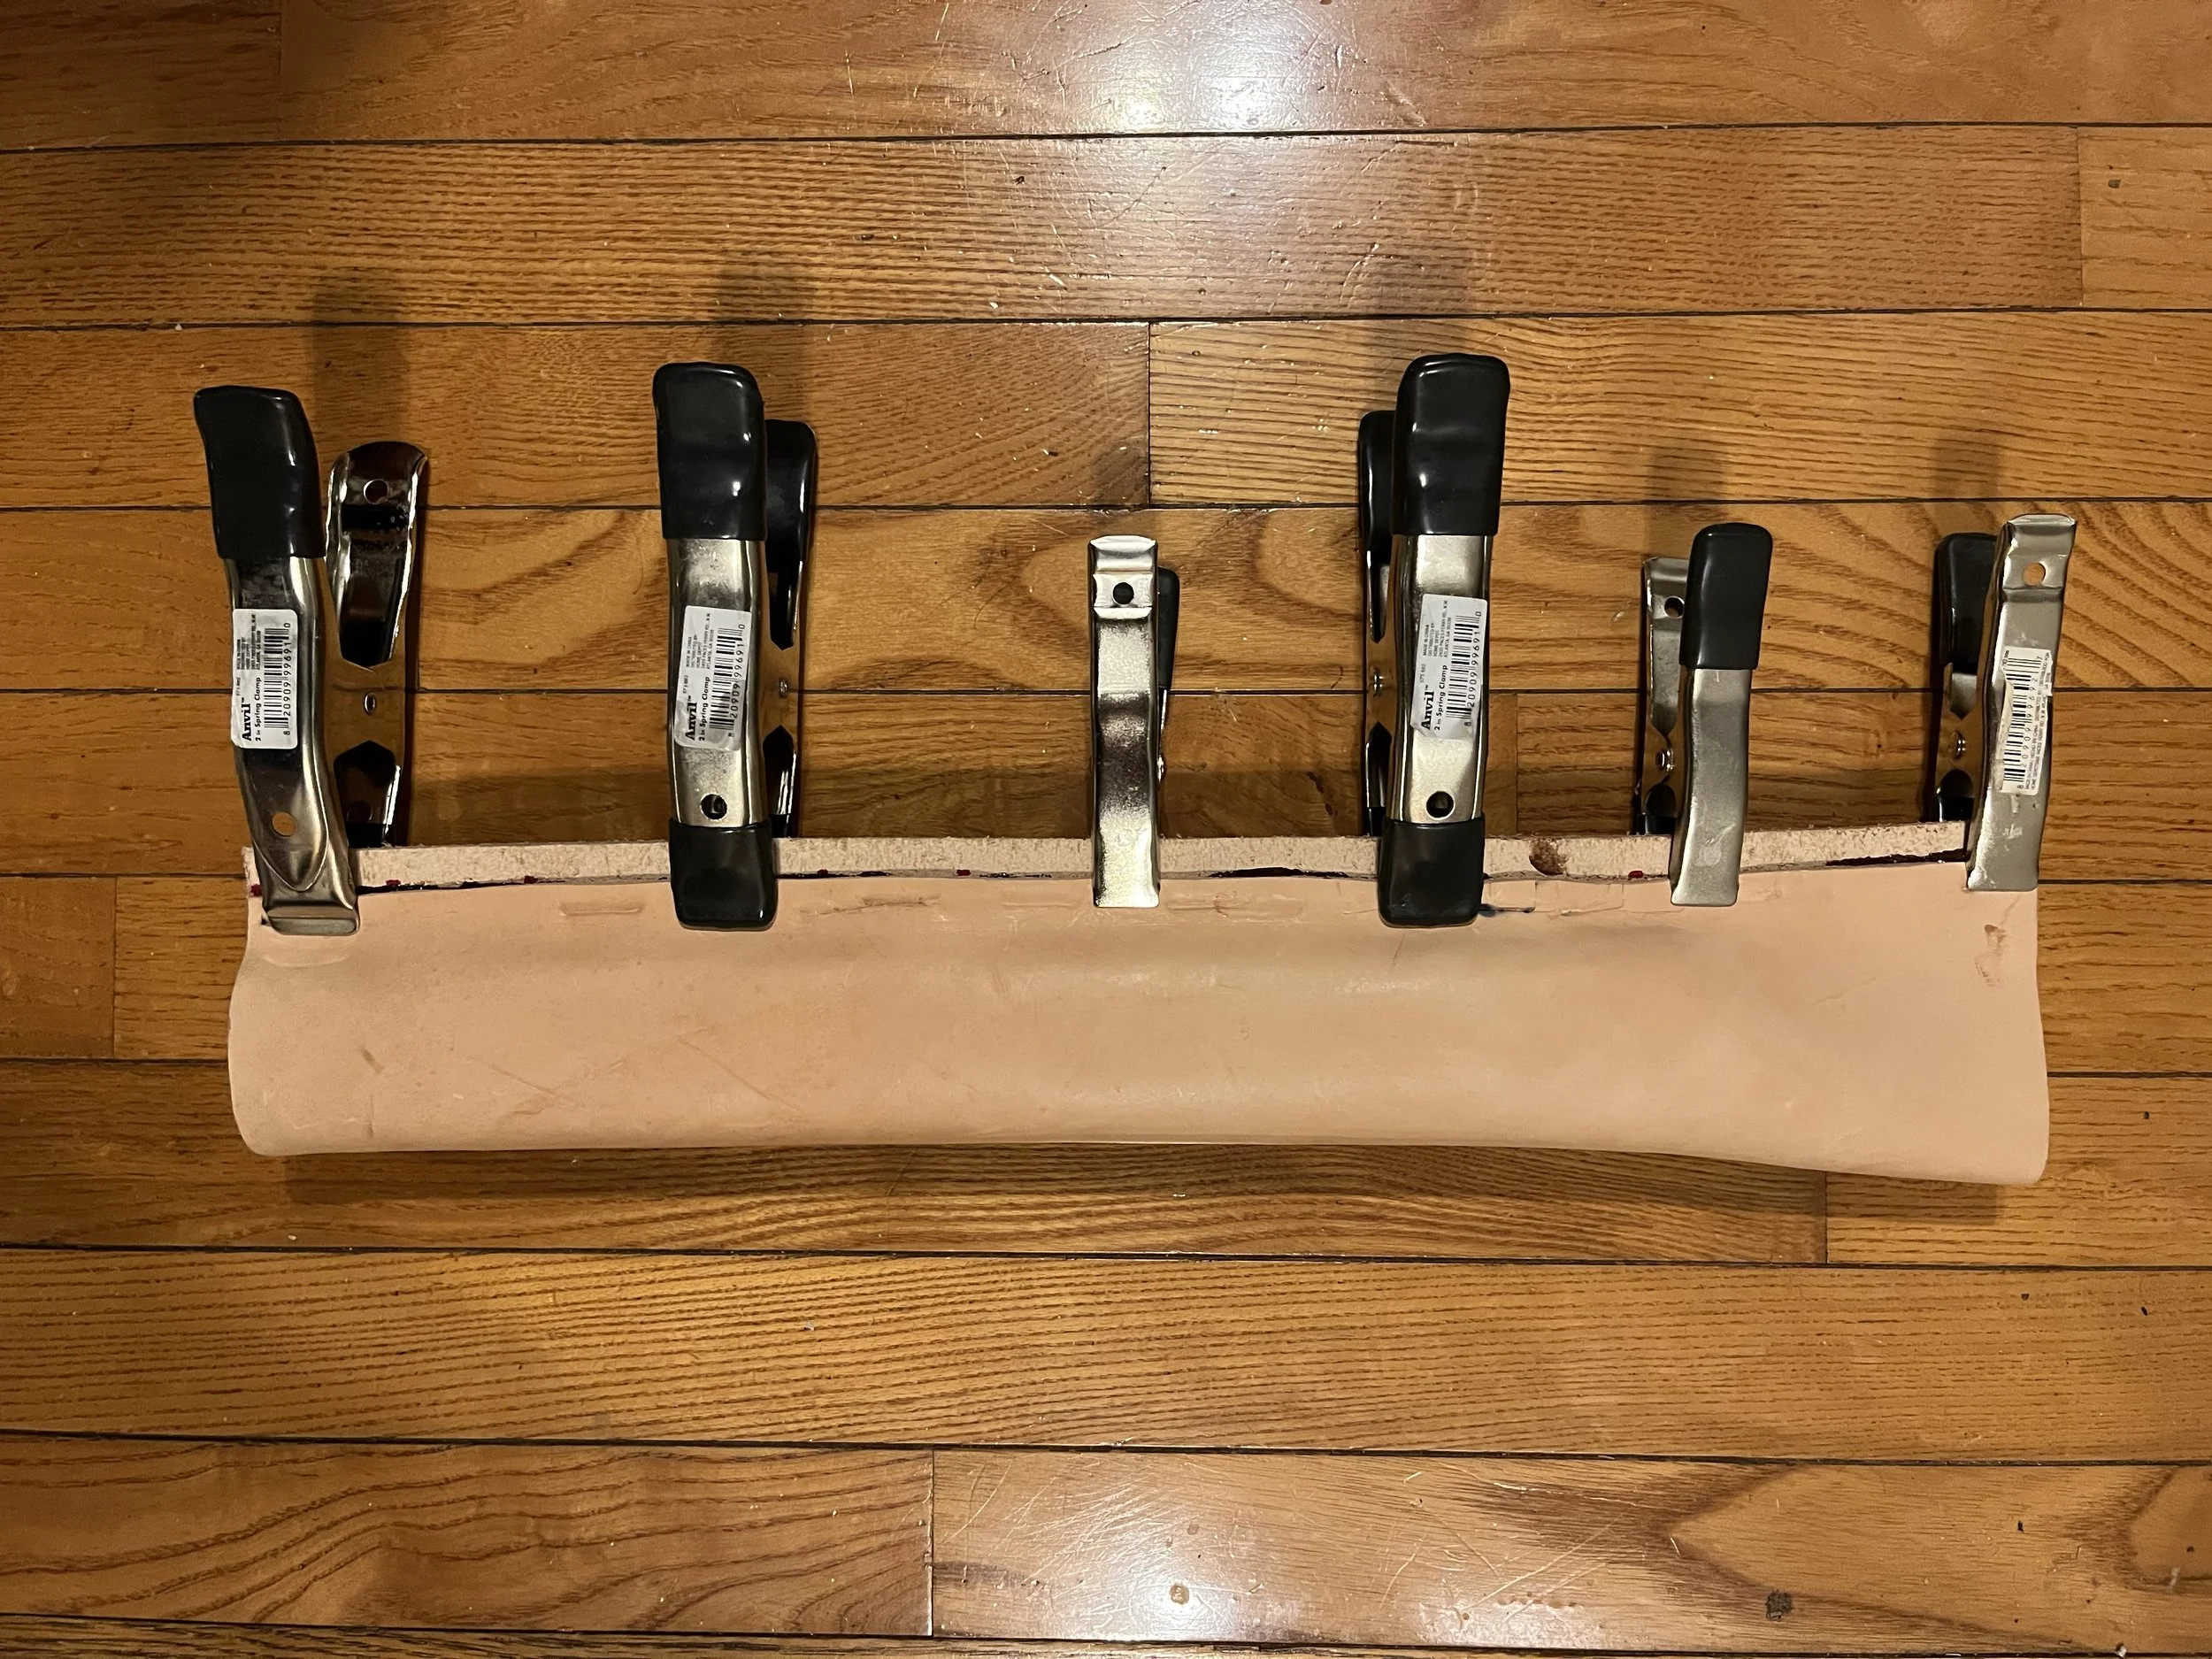
First step was to cut a piece of leather to form the body of the scabbard. The weapon was short enough that did not need a core so long as the leather was sufficiently thick. For this build I used 4 mm leather. I cut a piece big enough to completely wrap around the blade (plus some extra), and enough to reach past the tip to keep the sword tip from getting pinched.
I wet the leather thoroughly, wrapped it around the weapon, and clamped it in place until it had dried into the new shape.
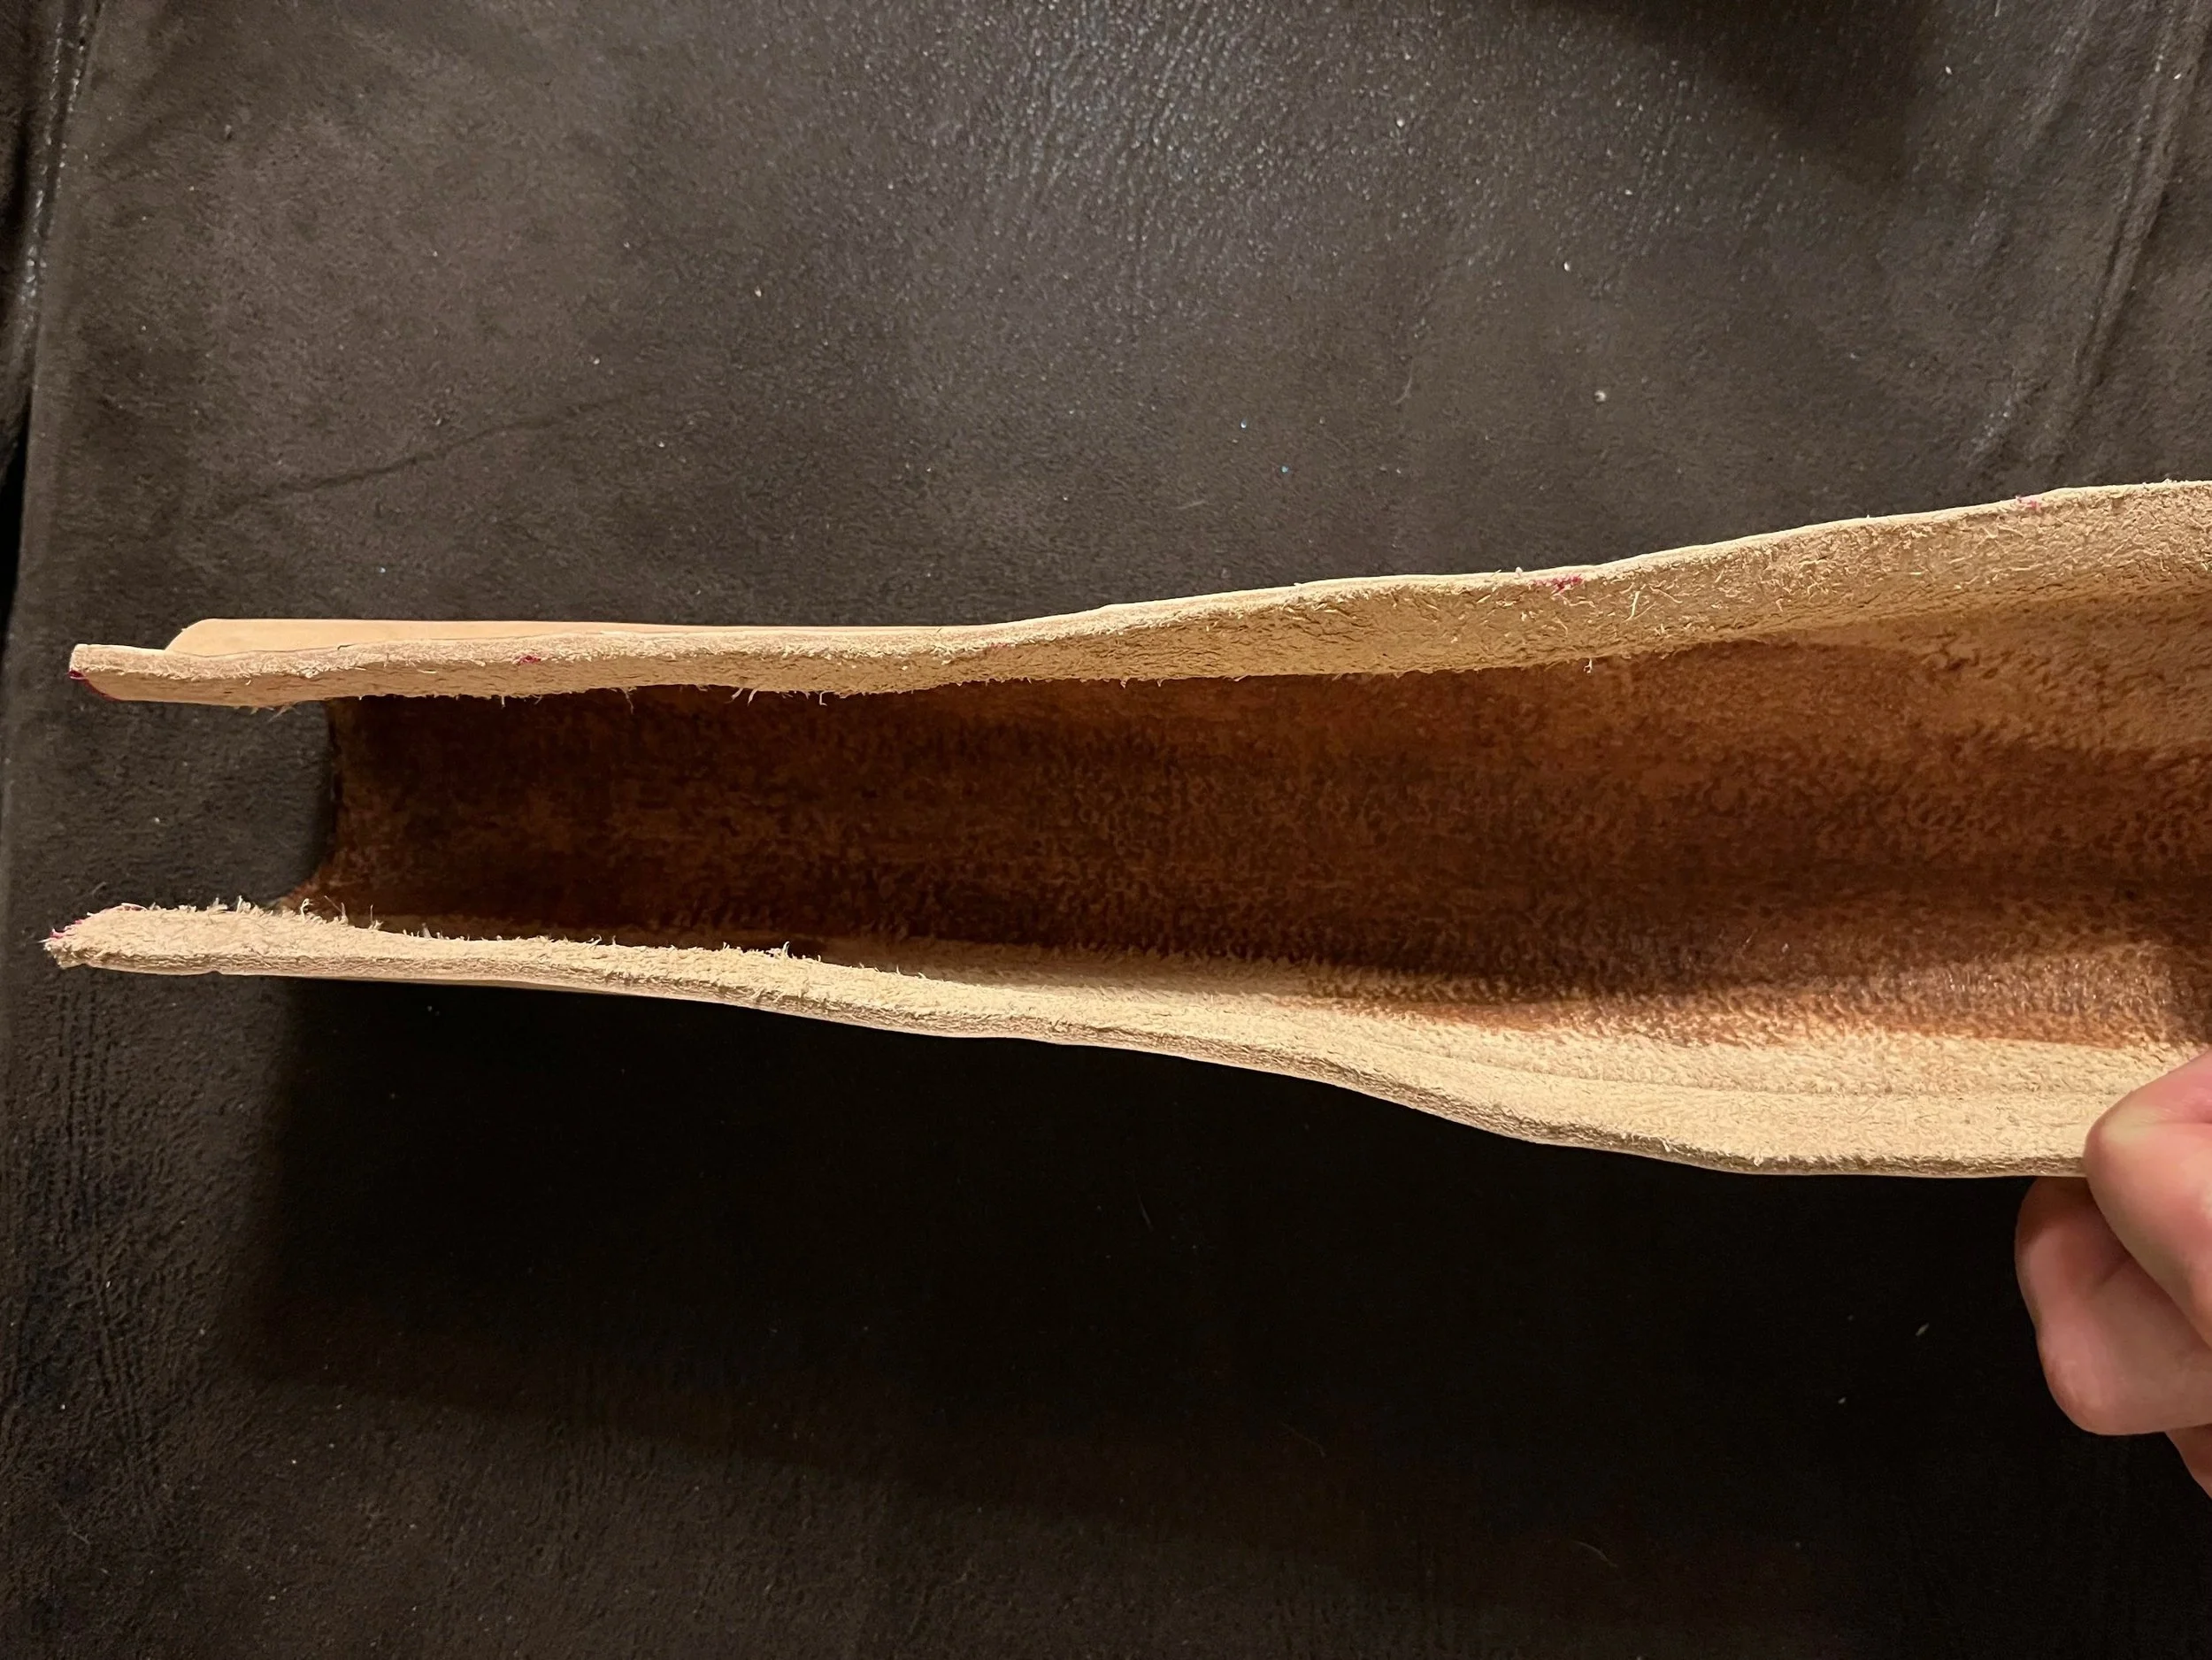
I then applied acrylic seal to the inside of the leather. I applied 2-3 coats. Once it dried, I sanded the inside of the scabbard to smooth the surface (making it easier to draw the weapon).
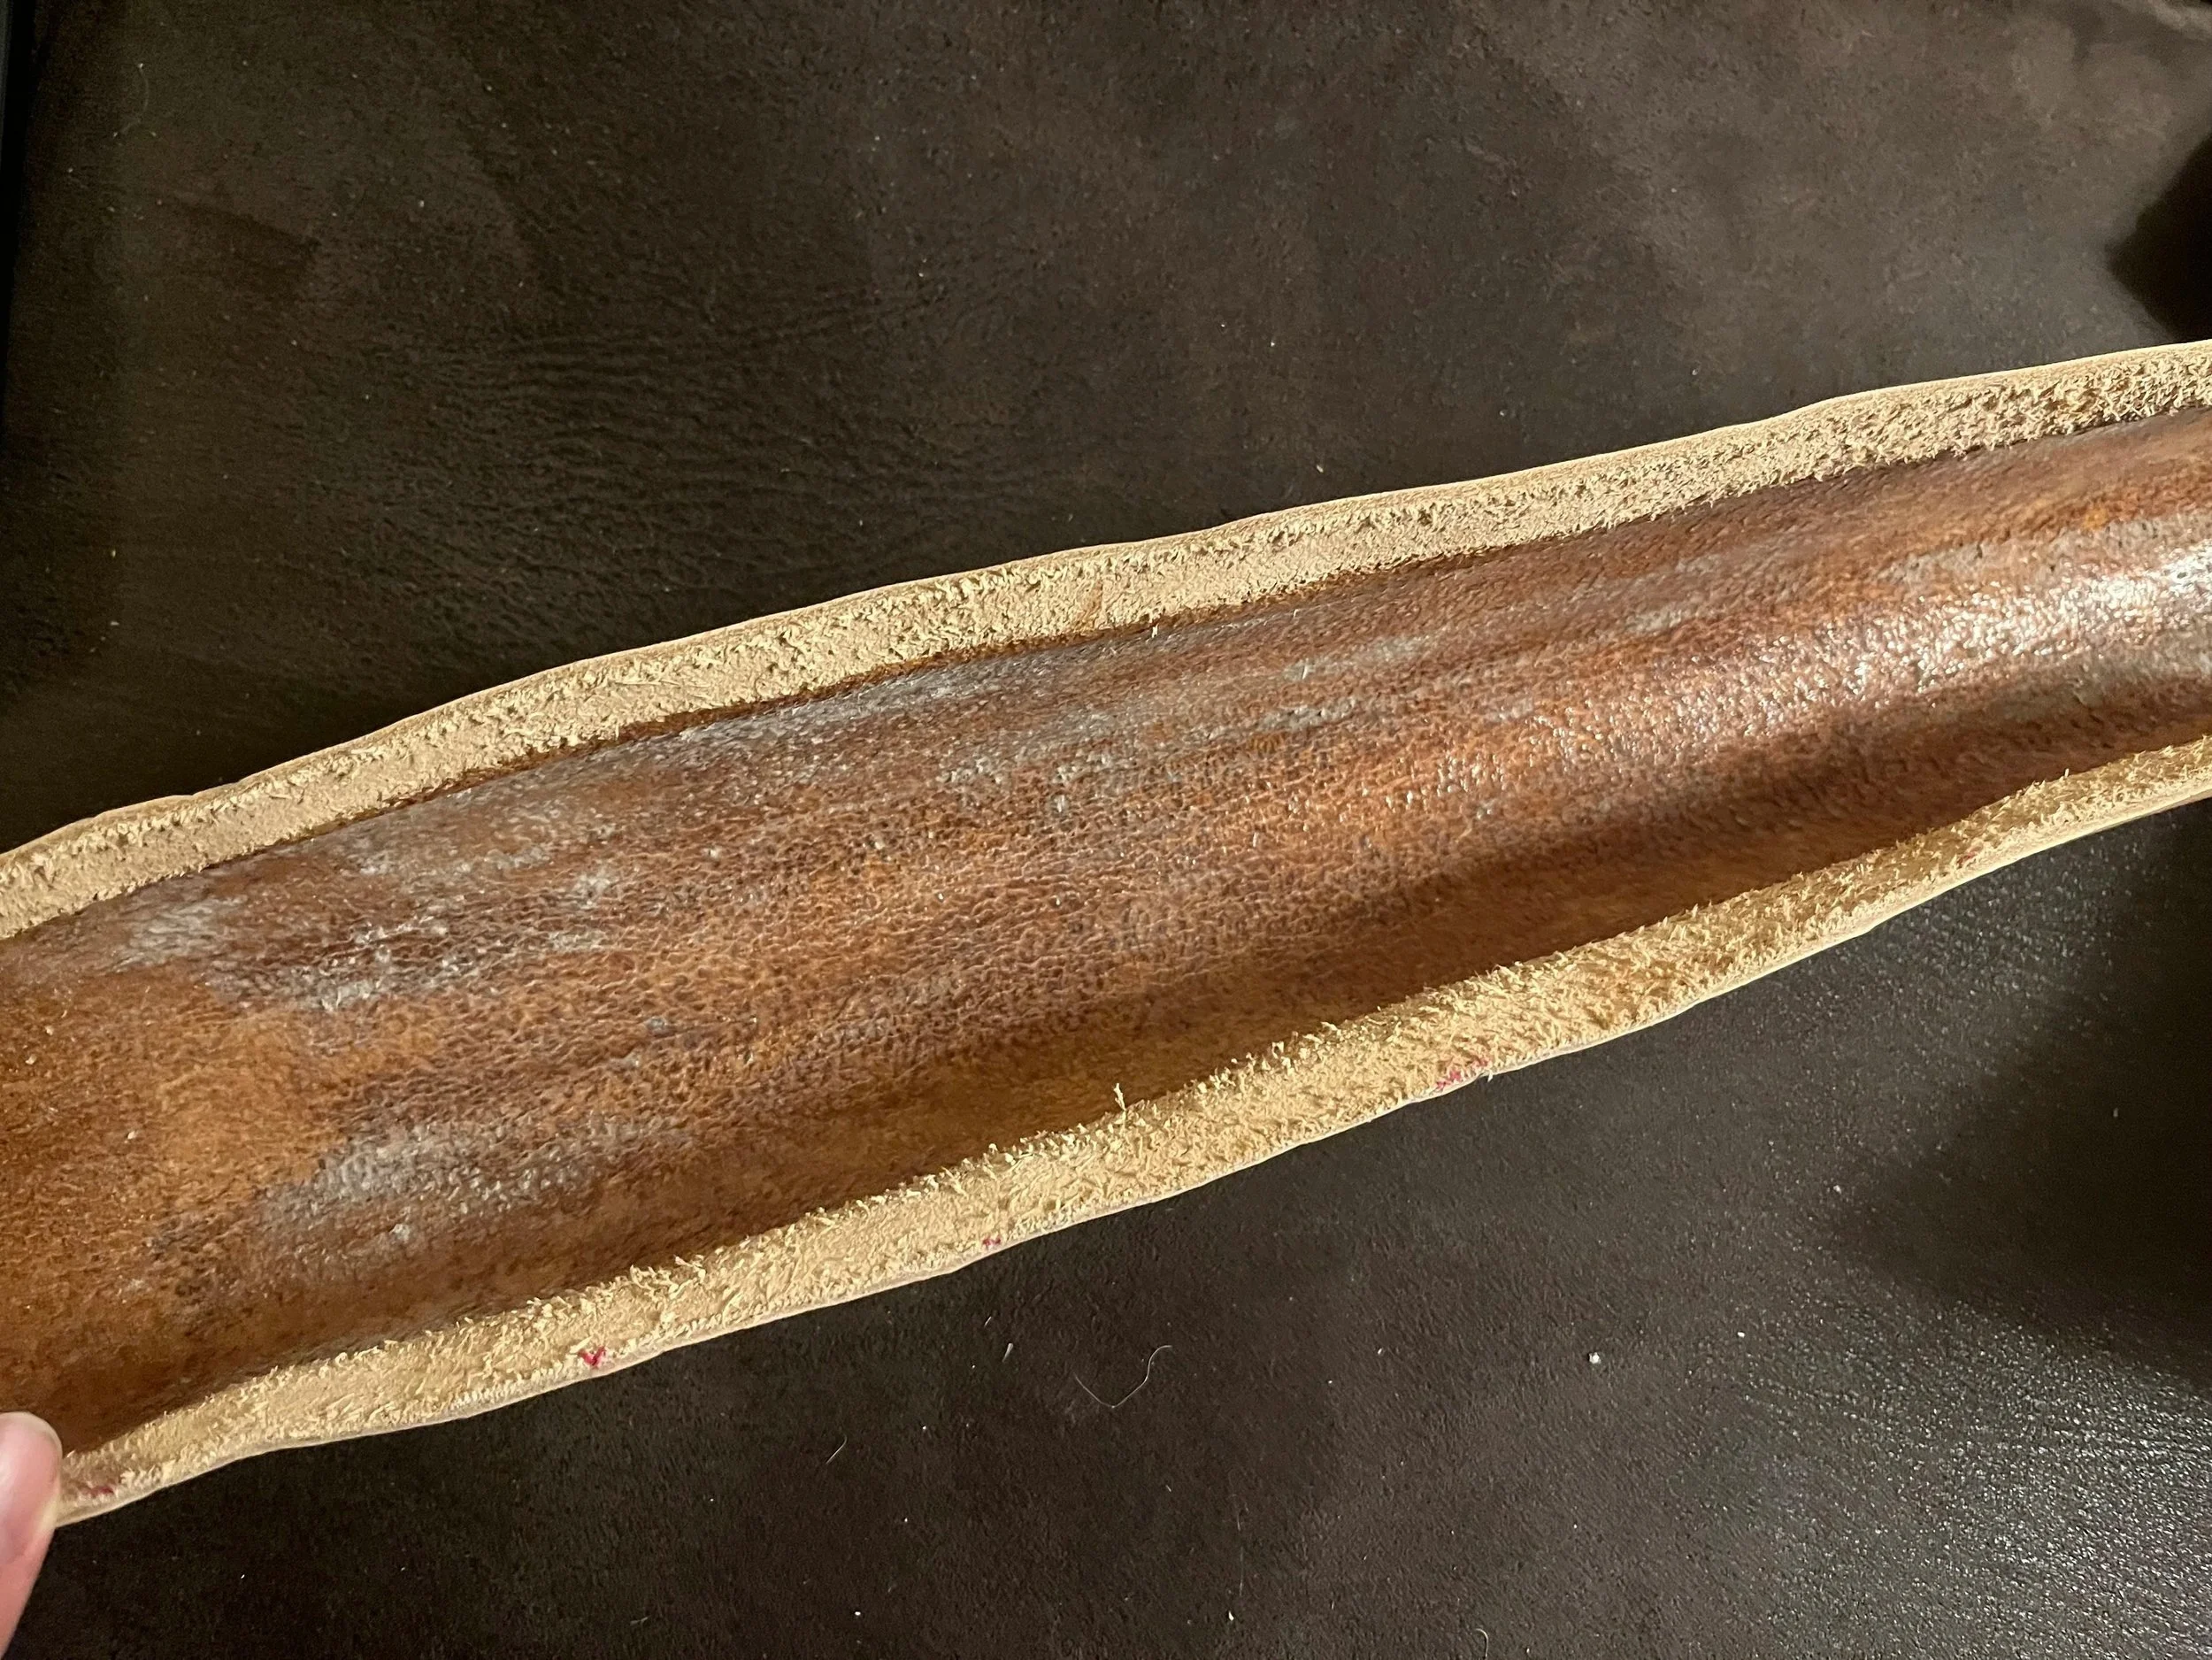
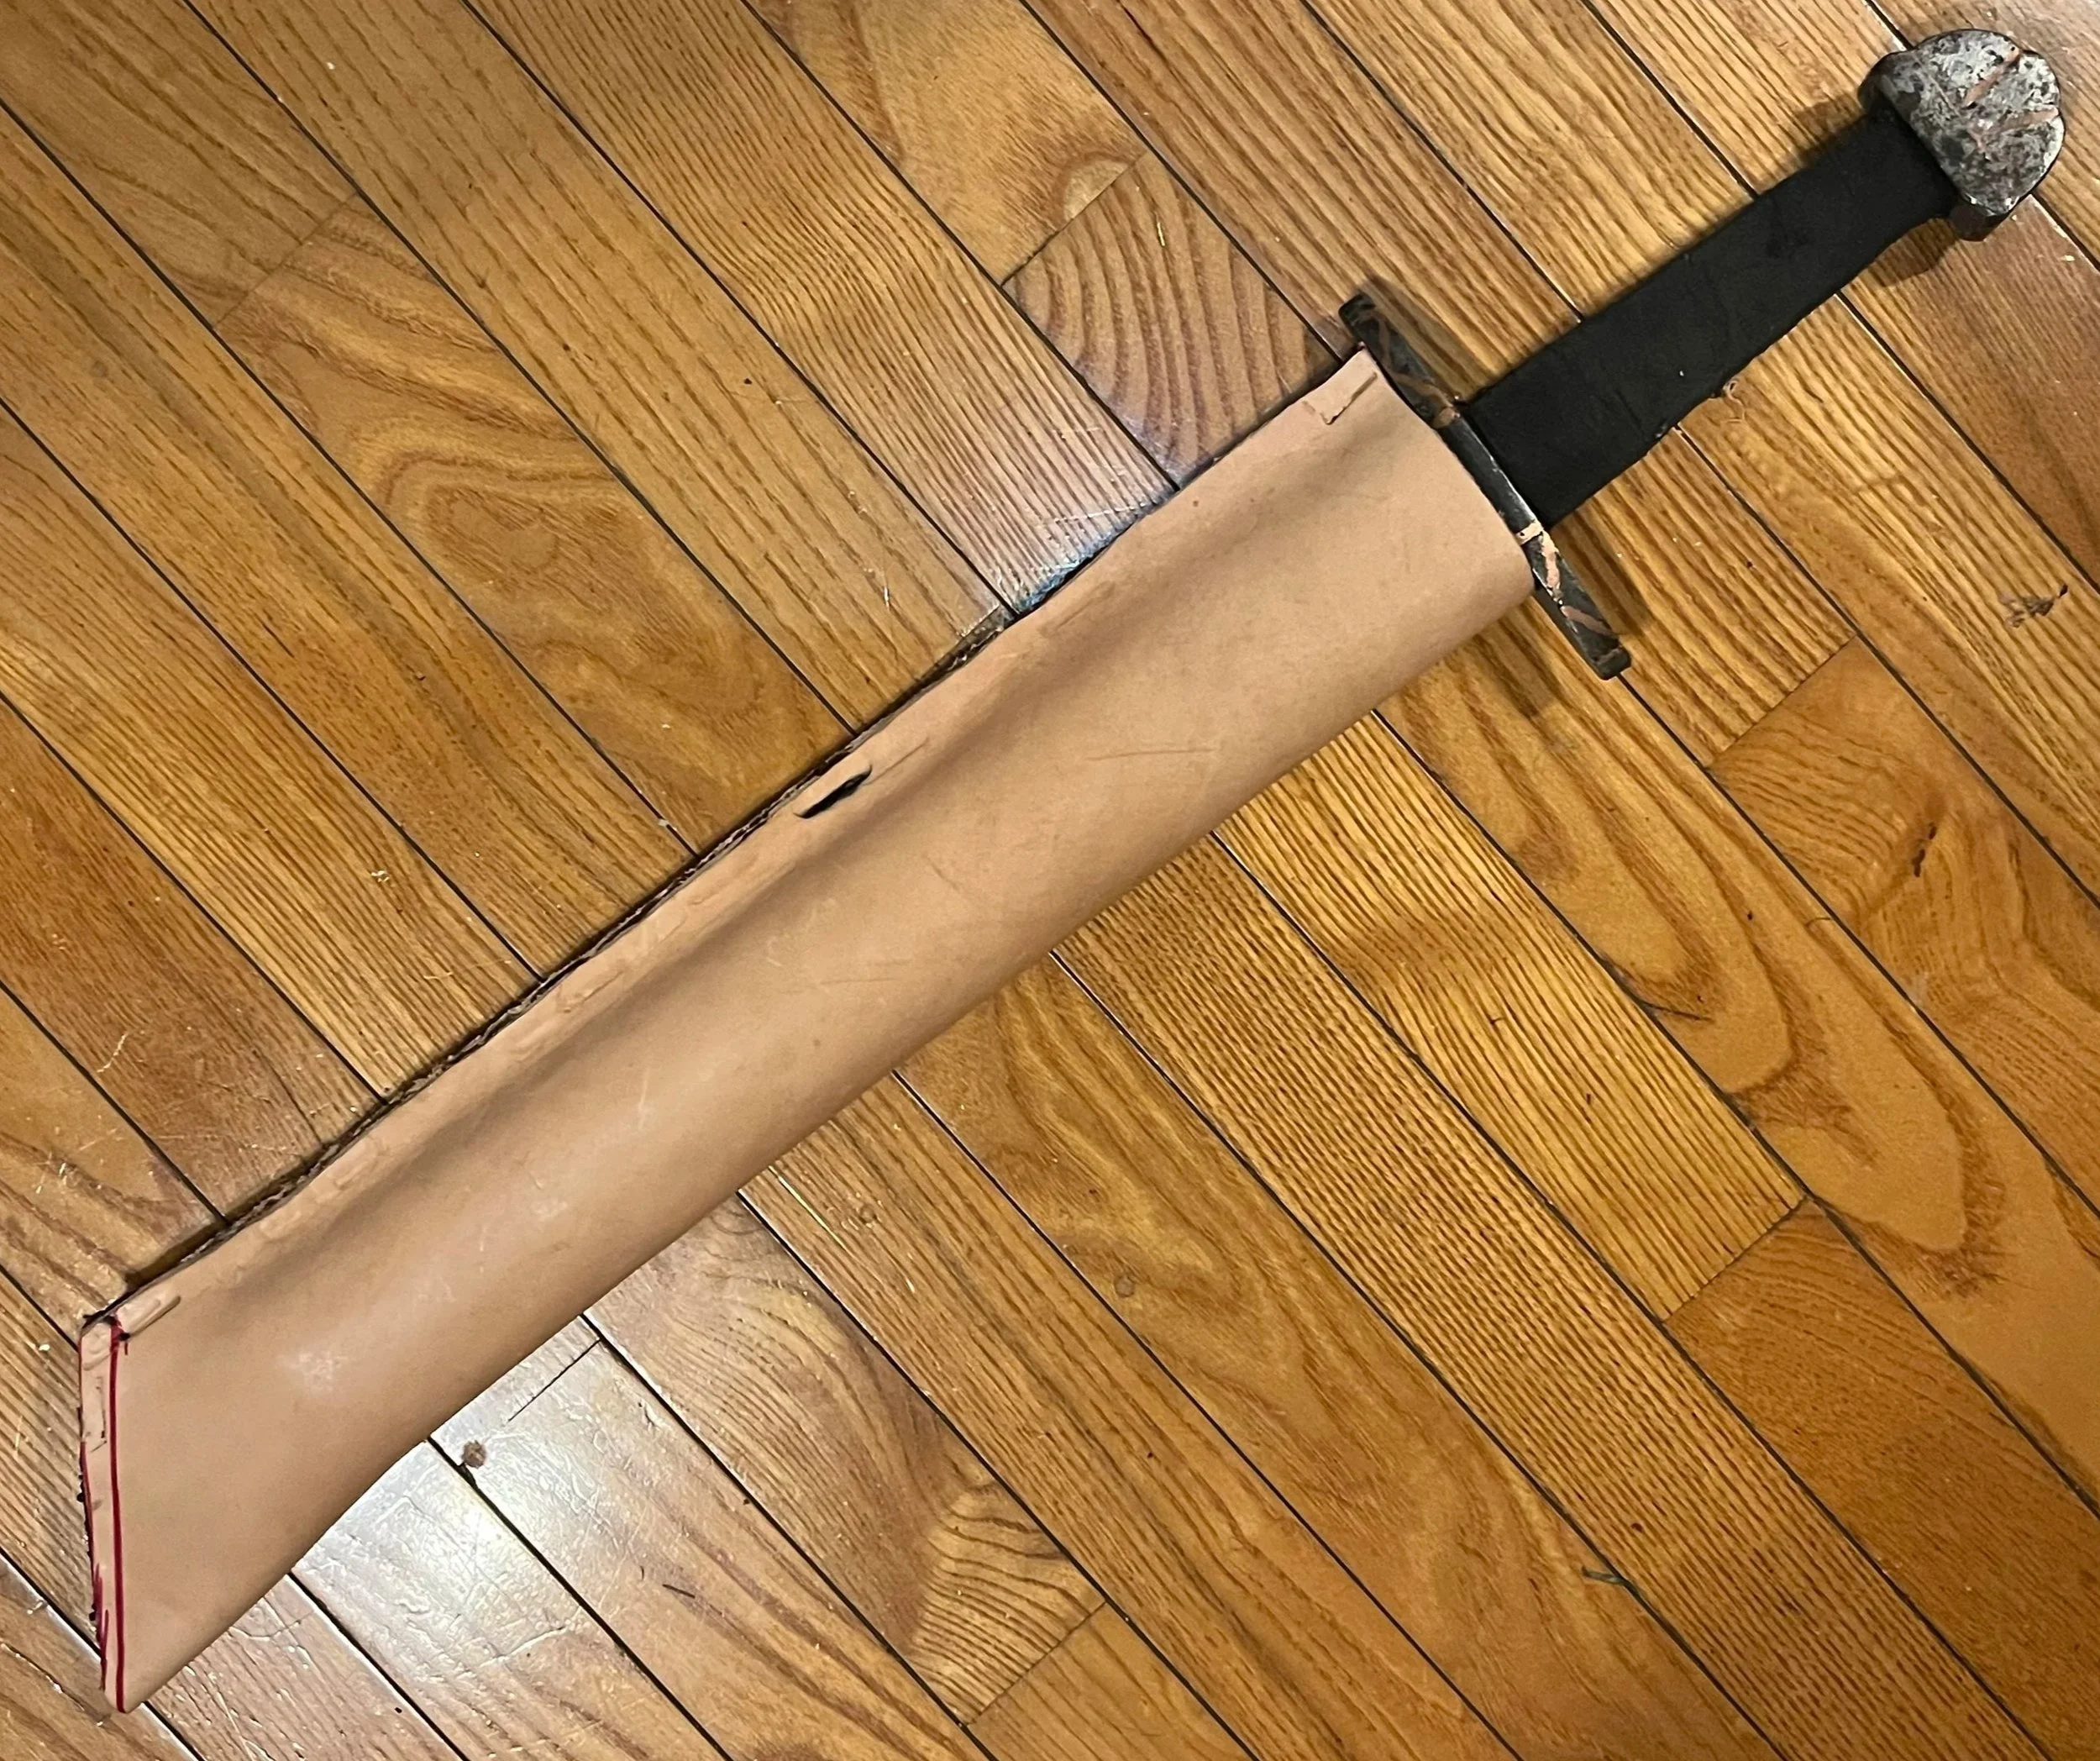
After the inside of the leather was reasonably smooth, it was time to lose it up. To give the sword a bit more room, I added two 4mm leather strips of leather at the top of the leather’s opening before sealing it. I used a two-part epoxy and clamped the layers together.
After the epoxy dried, I trimmed away the excess leather on top. This proved to me a harder job than I thought, and I had to use the Demel tool. To give the sheath a more Sax shape, I cut the end into a point (making sure not to cut away too much or the sheath would pinch the tip of the sword.). I then epoxied and clamped the end shut.
Hardware
Next was the hardware. Based on several recreations I saw, fancier Saxes were decorated with brass plaques. I had a little time, and I wanted the project to have a bit of flash. So, I got out some sheet brass.
I measured around the top of the sheath to make sure each segment would reach around the same length (in this case, it was about an inch). Using a couple of pairs of pliers, I carefully shaped each piece of brass to fit into place. To suspend the Sax from the belt, the sheath needed suspension points. I picked up a couple of welded rings from Home Depot, and shaped a couple of brass brackets over the rings. The make the fit as tight as possible around the rings, I used a ballpein hammer and a jeweler’s anvil to beat the metal into shape.
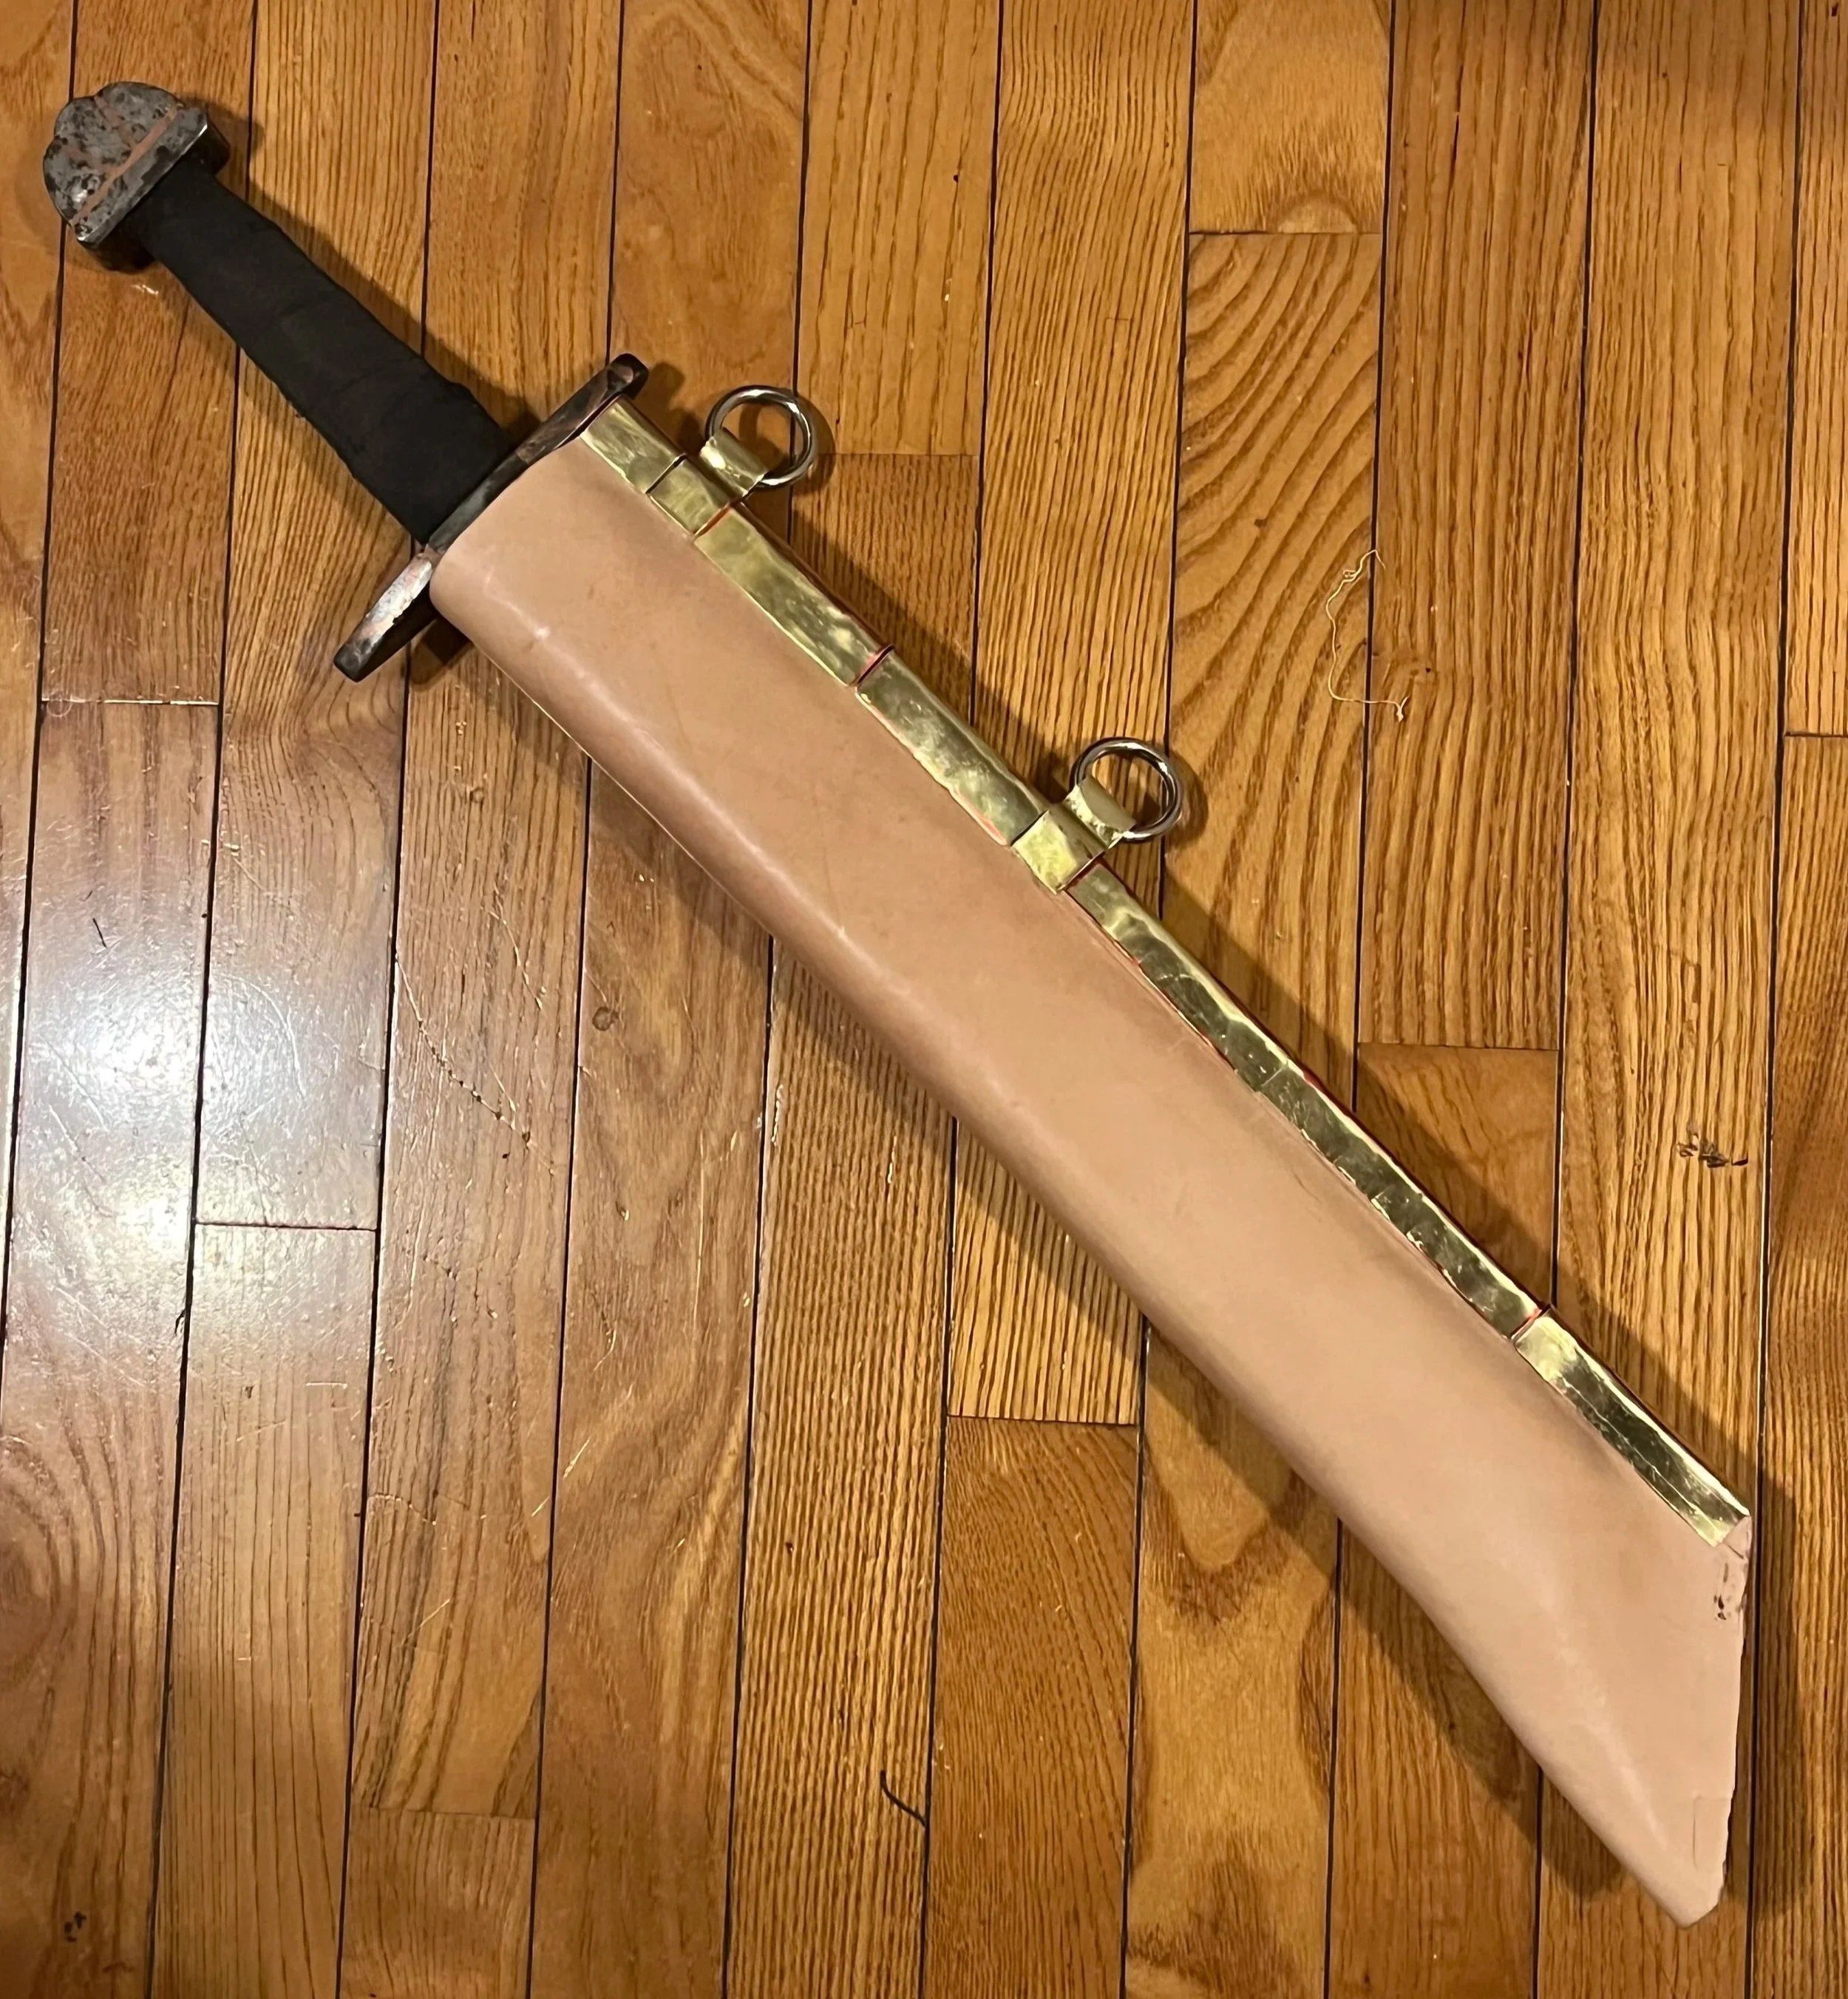
I coated the inside of each plaque with two-part epoxy and tightened the brass over the top of the sheath. I then left the glue to dry.
Dye
I put the sword into the scabbard and drew it a couple of times. The fit was tight enough to keep the sword from falling out, but loose enough to pull out. Seemed to be ok. However, to prevent the leather from distorting, I left the sword in the sheath as I applied the dye. I used a medium sized, soft bristled brush to apply red leather dye in smooth even coats. I applied 2-3 coats over the exposed leather of the sheath to achieve a rich, uniform coat. After the leather was dyed, I applied a leather seal, then an acrylic seal to prevent the lather from bleeding.
Riveting
I had planned to use some copper rivets I had to secure the brass plaques to the sheath. Unfortunately, they were too short. I had longer brass rivets, but not as many as I needed. I did not have time to order more. I needed to make sure the rings were at least secure, so I drilled through the brass holding the rings and through the top portion of the sheath, and riveted everything in place. Once everything was secured, I polished the brass.
Mistakes
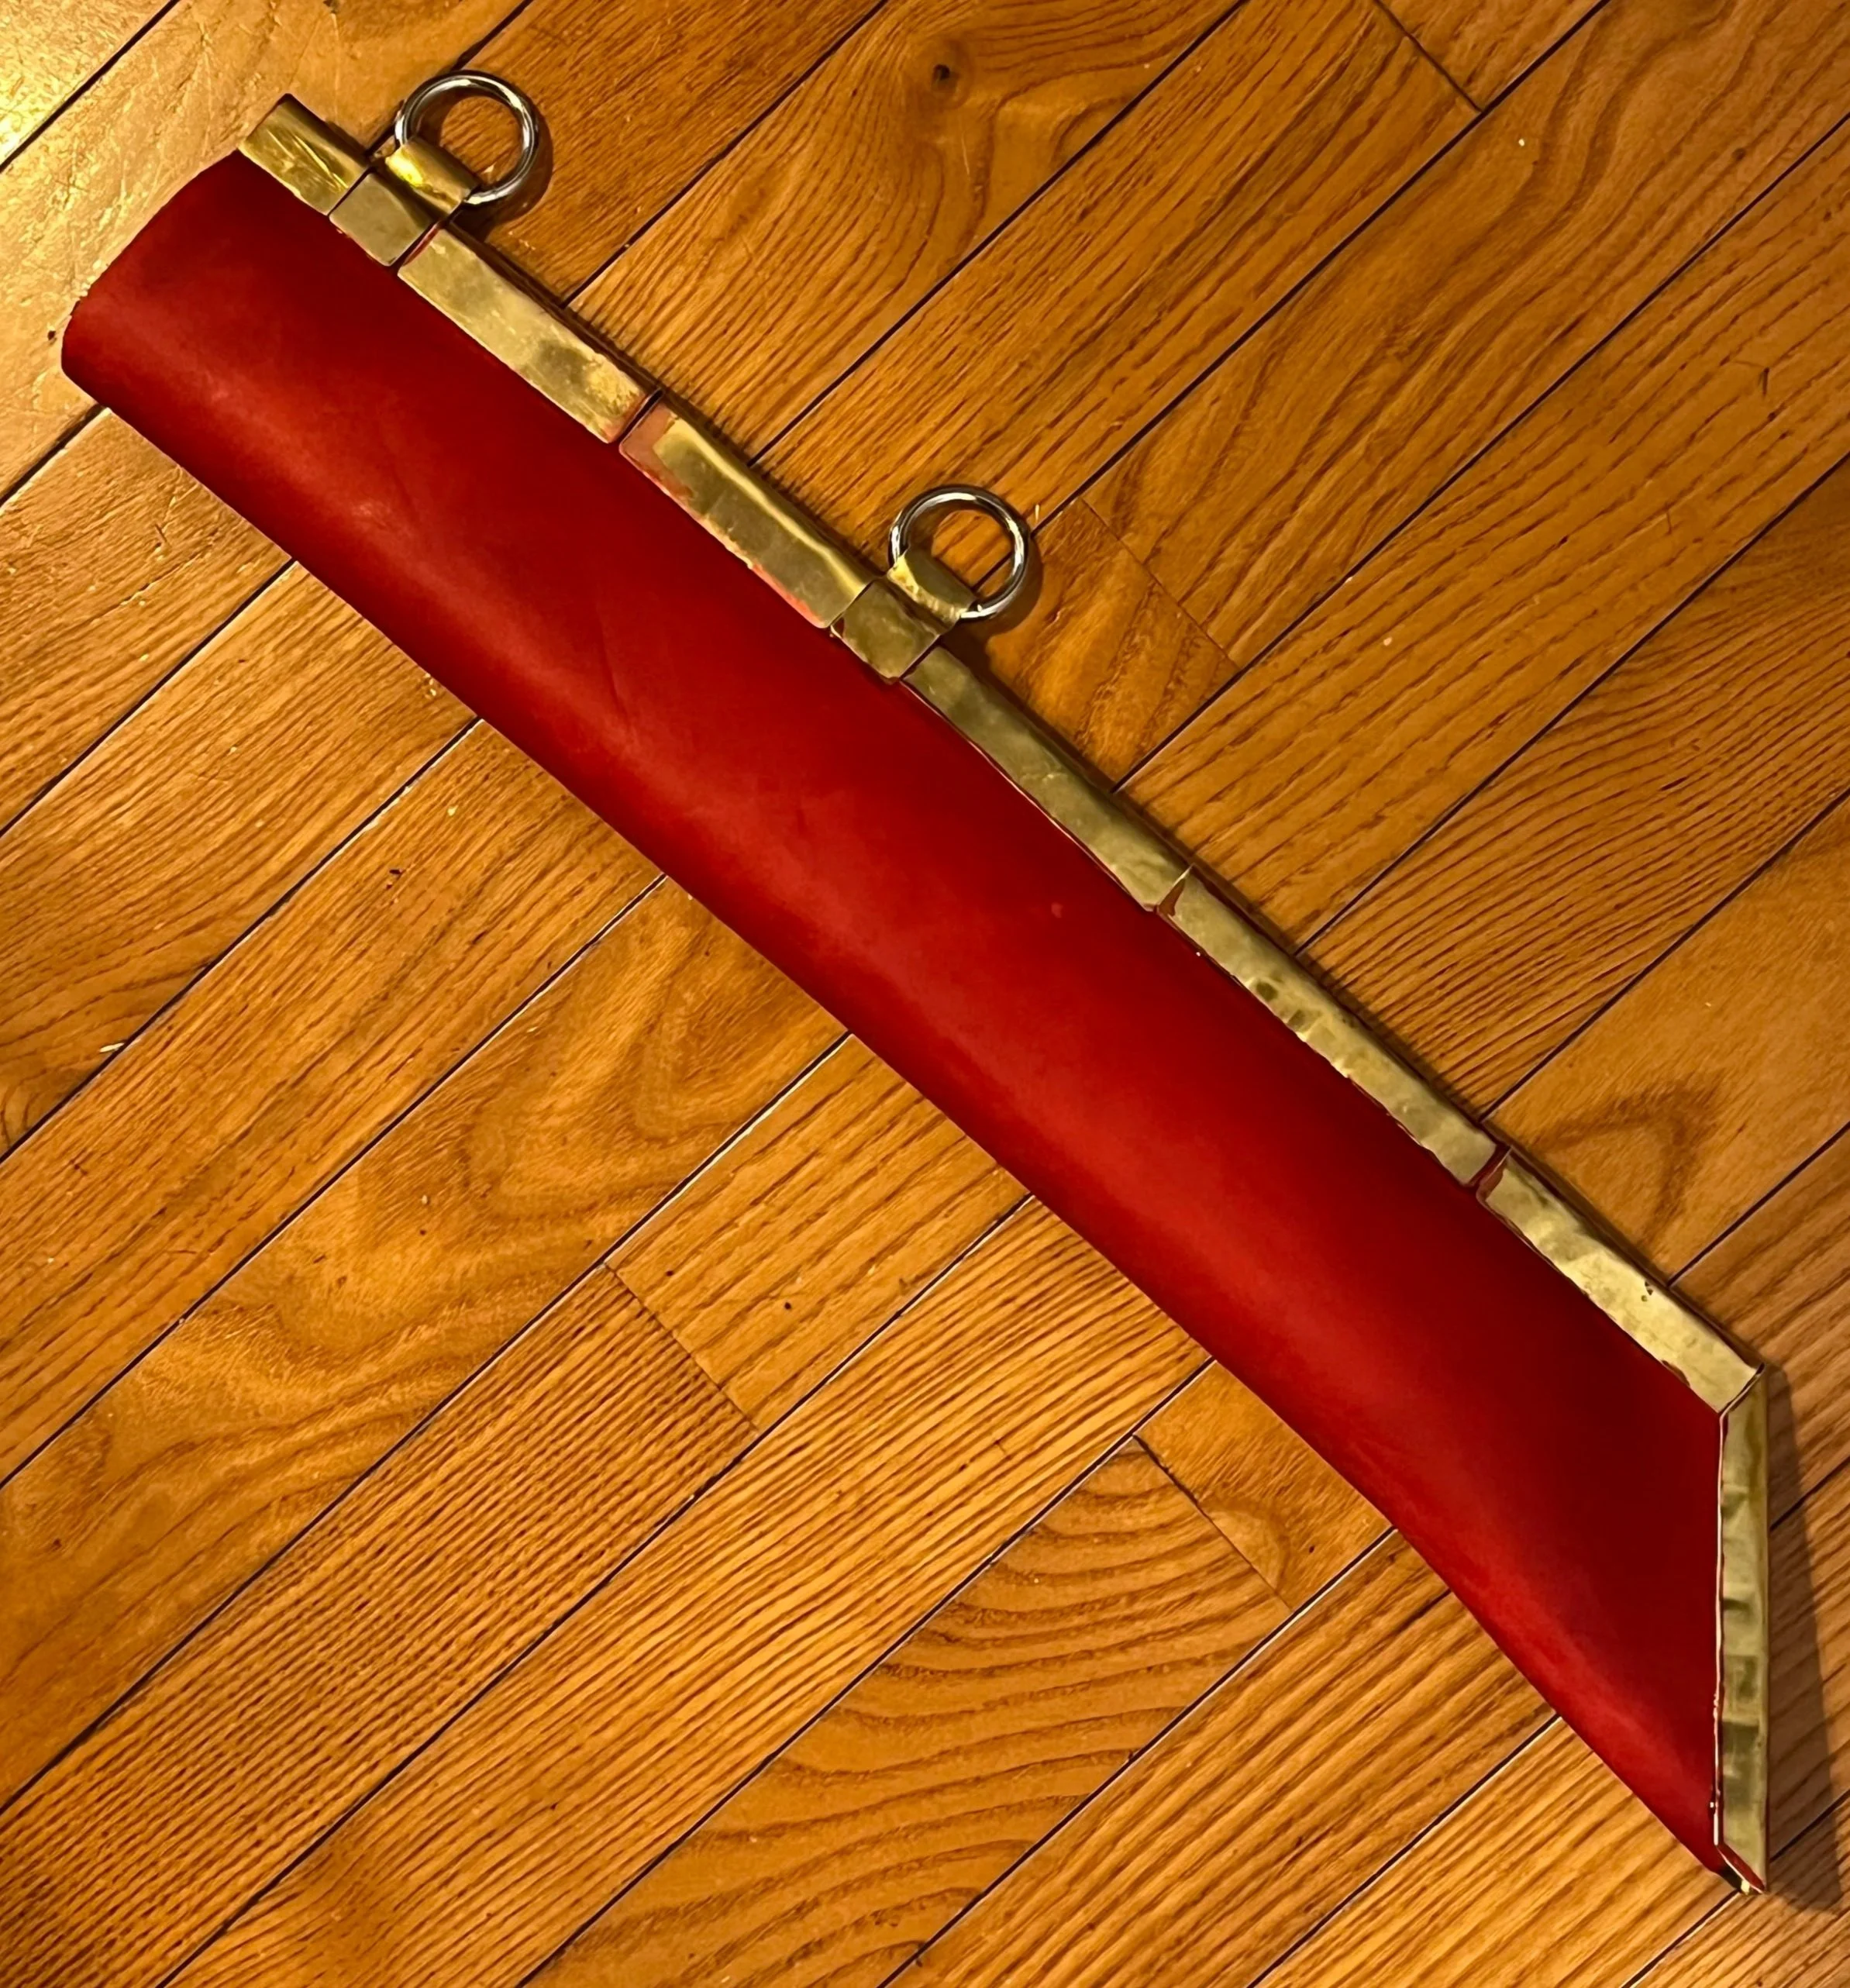
As I was polishing the brass, dark stains formed where the brass met the leather. The seal did not prevent the stains from setting. I was running low on time, so I got my red leather paint. I painted over the dye of the sheath to create a uniform color again. I then applied more seal, and the stains were no longer visible.
Hangers
I cut two straps for the sheath. They are made of 4mm leather. The straps are diamond-shaped. One strap is about 6 inches long over all, the other is 12 inches long, and both are about 2 inches wide in the middle. After being cut out and trimmed, they dyed red and sealed. I then riveted the straps over the rings using brass rivets and stainless washers.