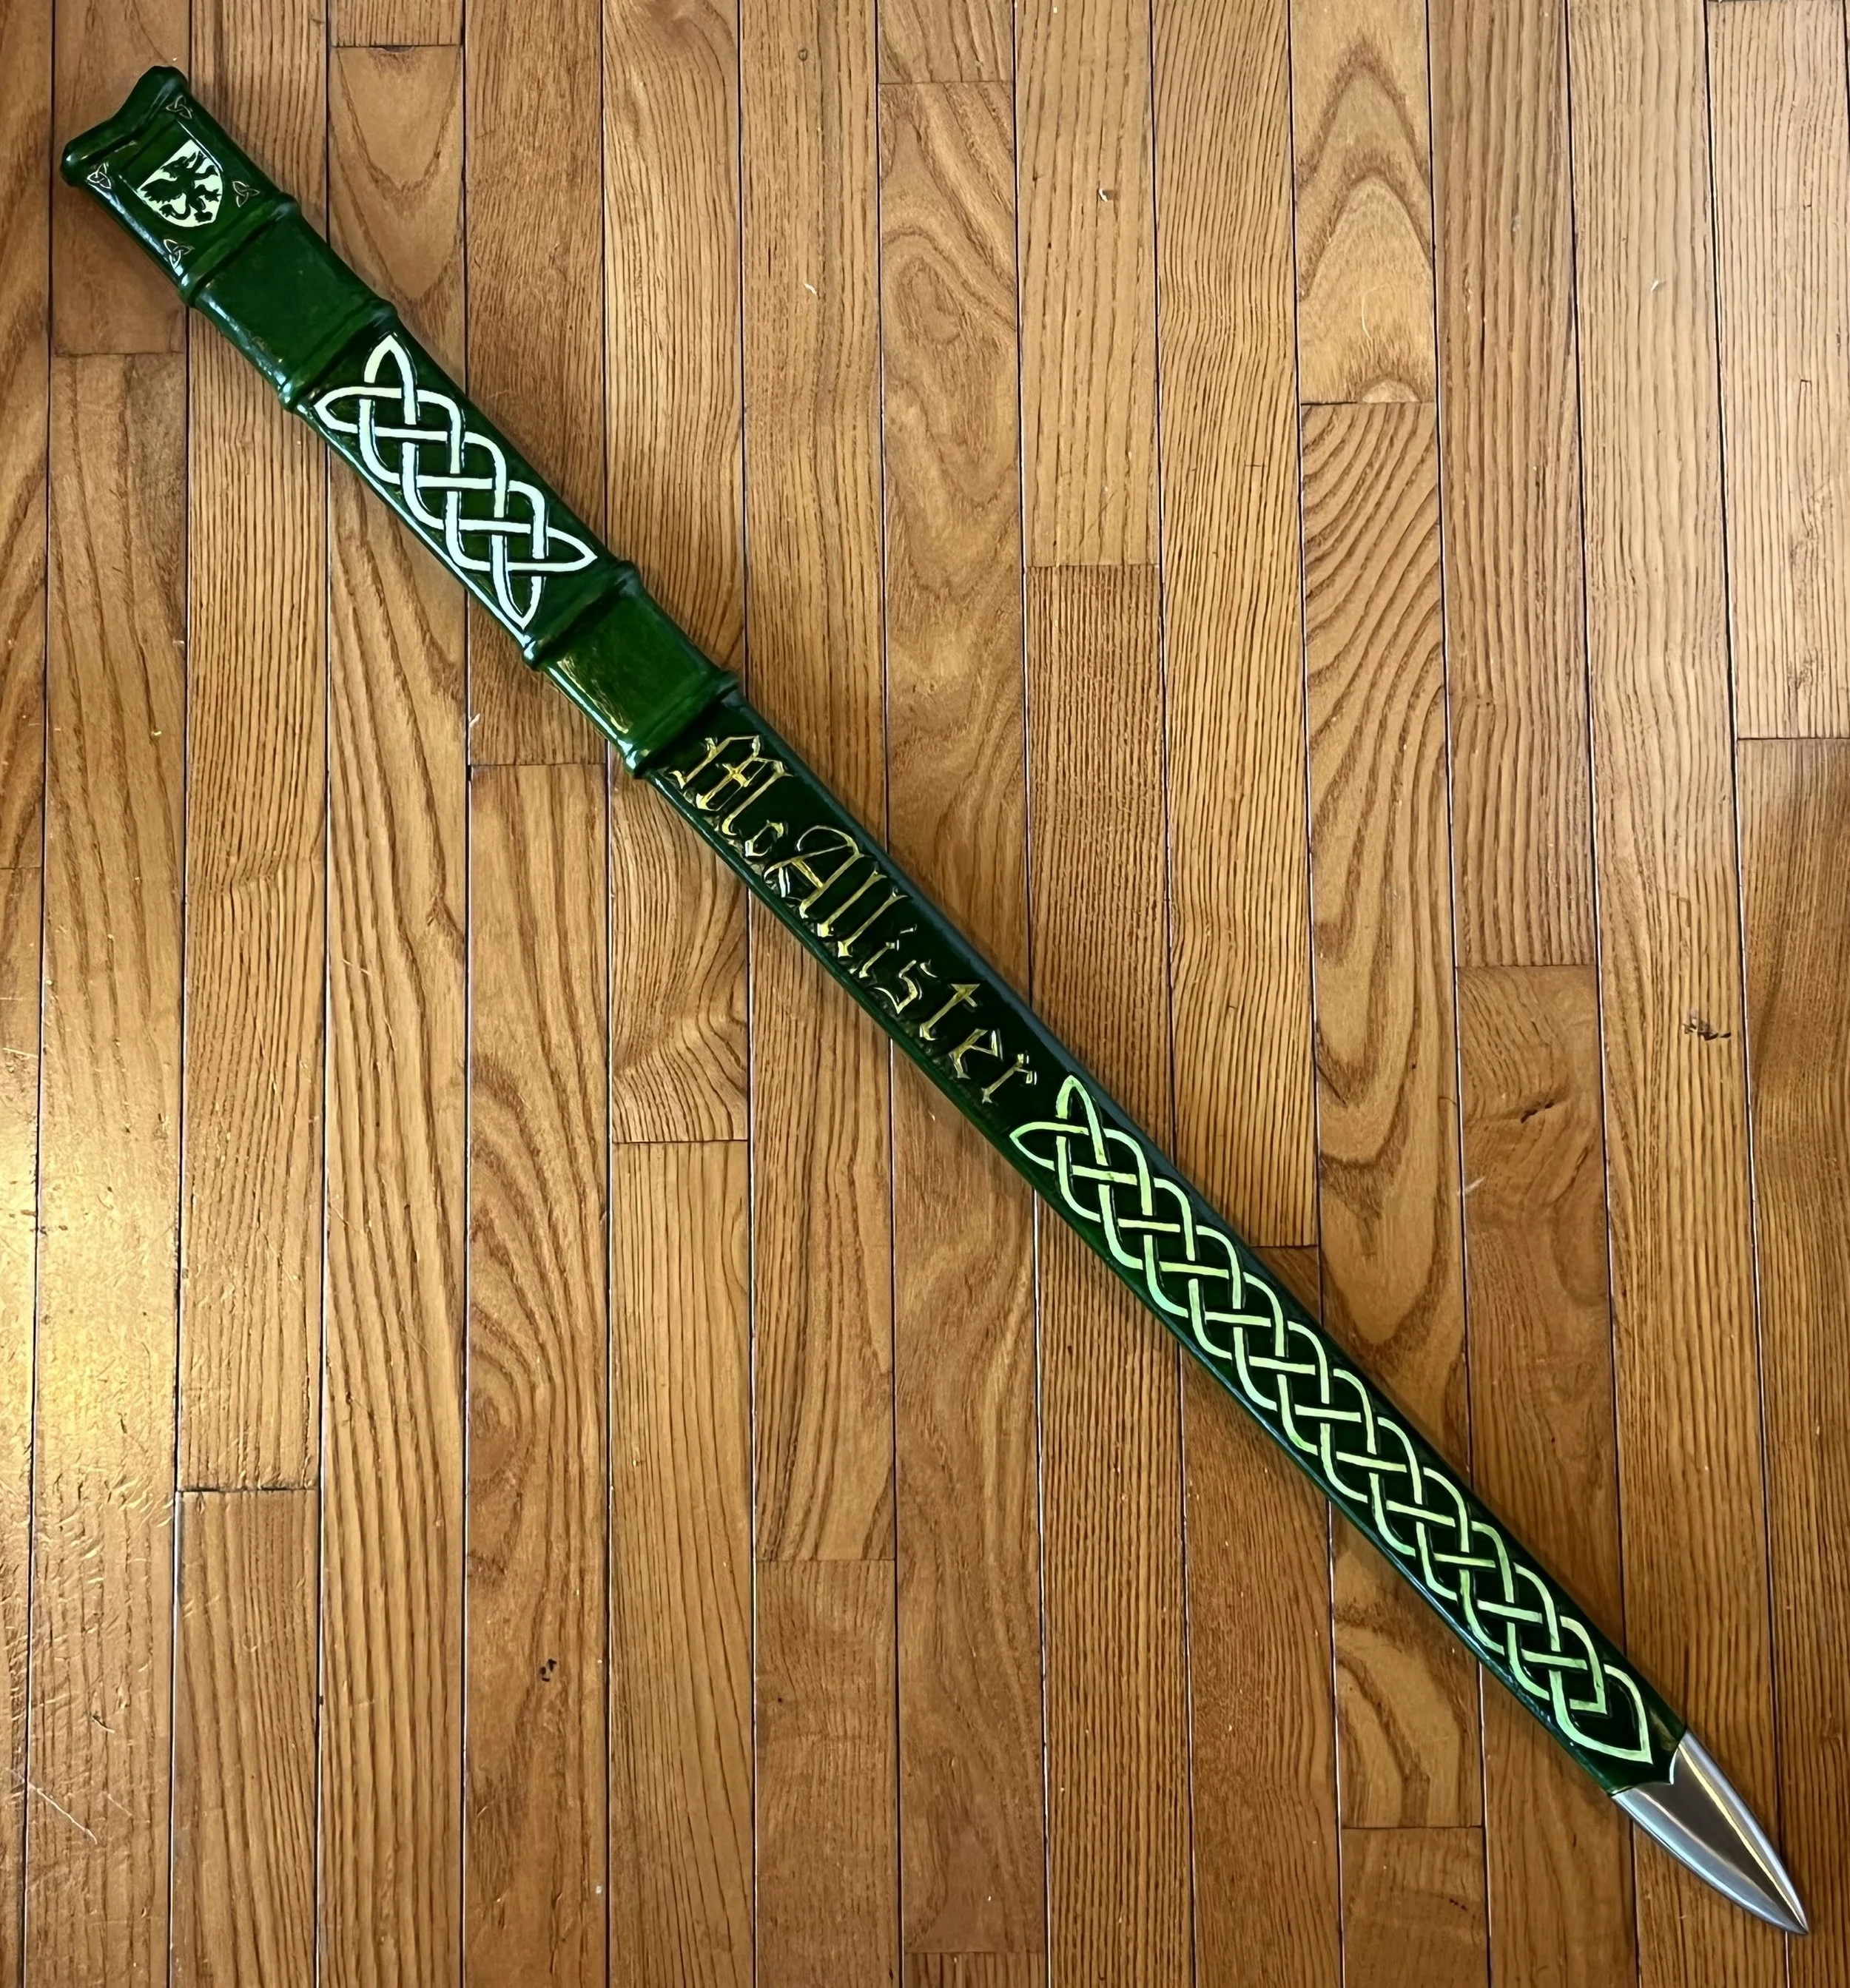
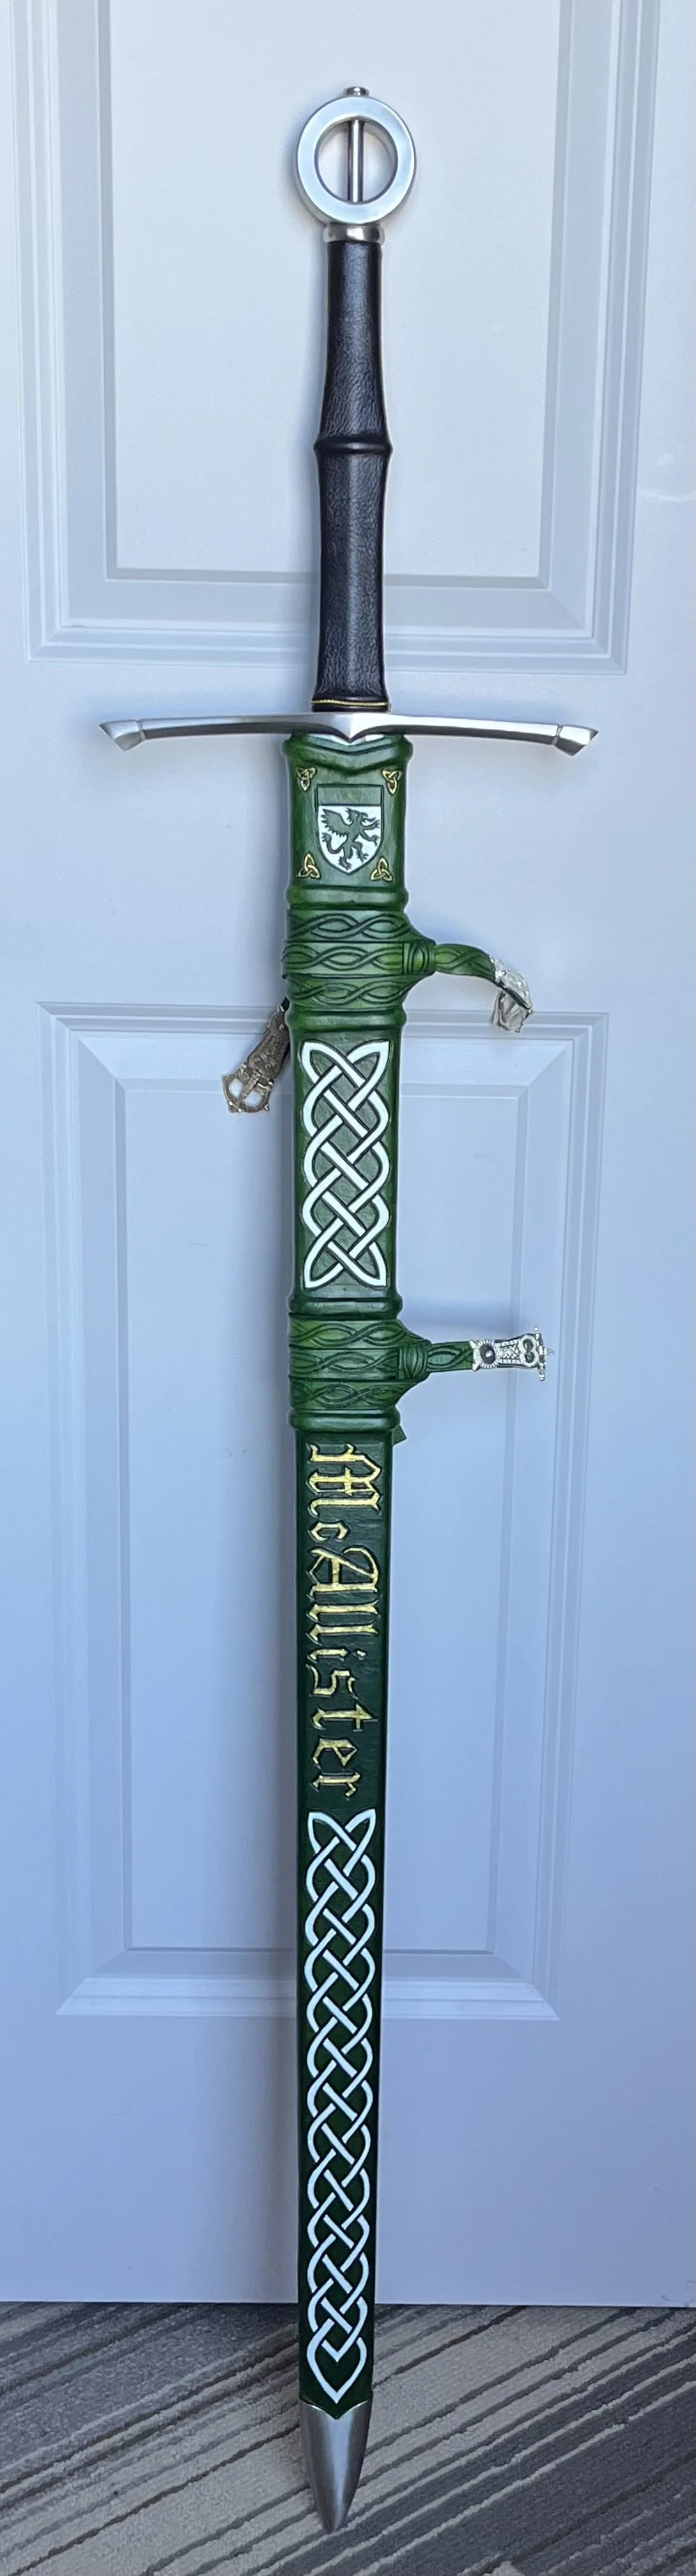
McAllister Wedding Sword
A friend of mine was getting married, and to celebrate the occasion I got him a sword and remade the scabbard. I also made a sword belt to accompany everything.
I messaged his fiancé, and she helped pick out a sword he would like, and she provided feedback on the design. The sword selected was an Irish ring-pommel longsword, similar to sword tattoo my friend got a couple of years ago. The sword came with a wood core scabbard covered in fake leather. The core was reasonably well-fitted to the blade, so, rather than starting from scratch, I decided to strip the exiting scabbard down to the core and build off of it.
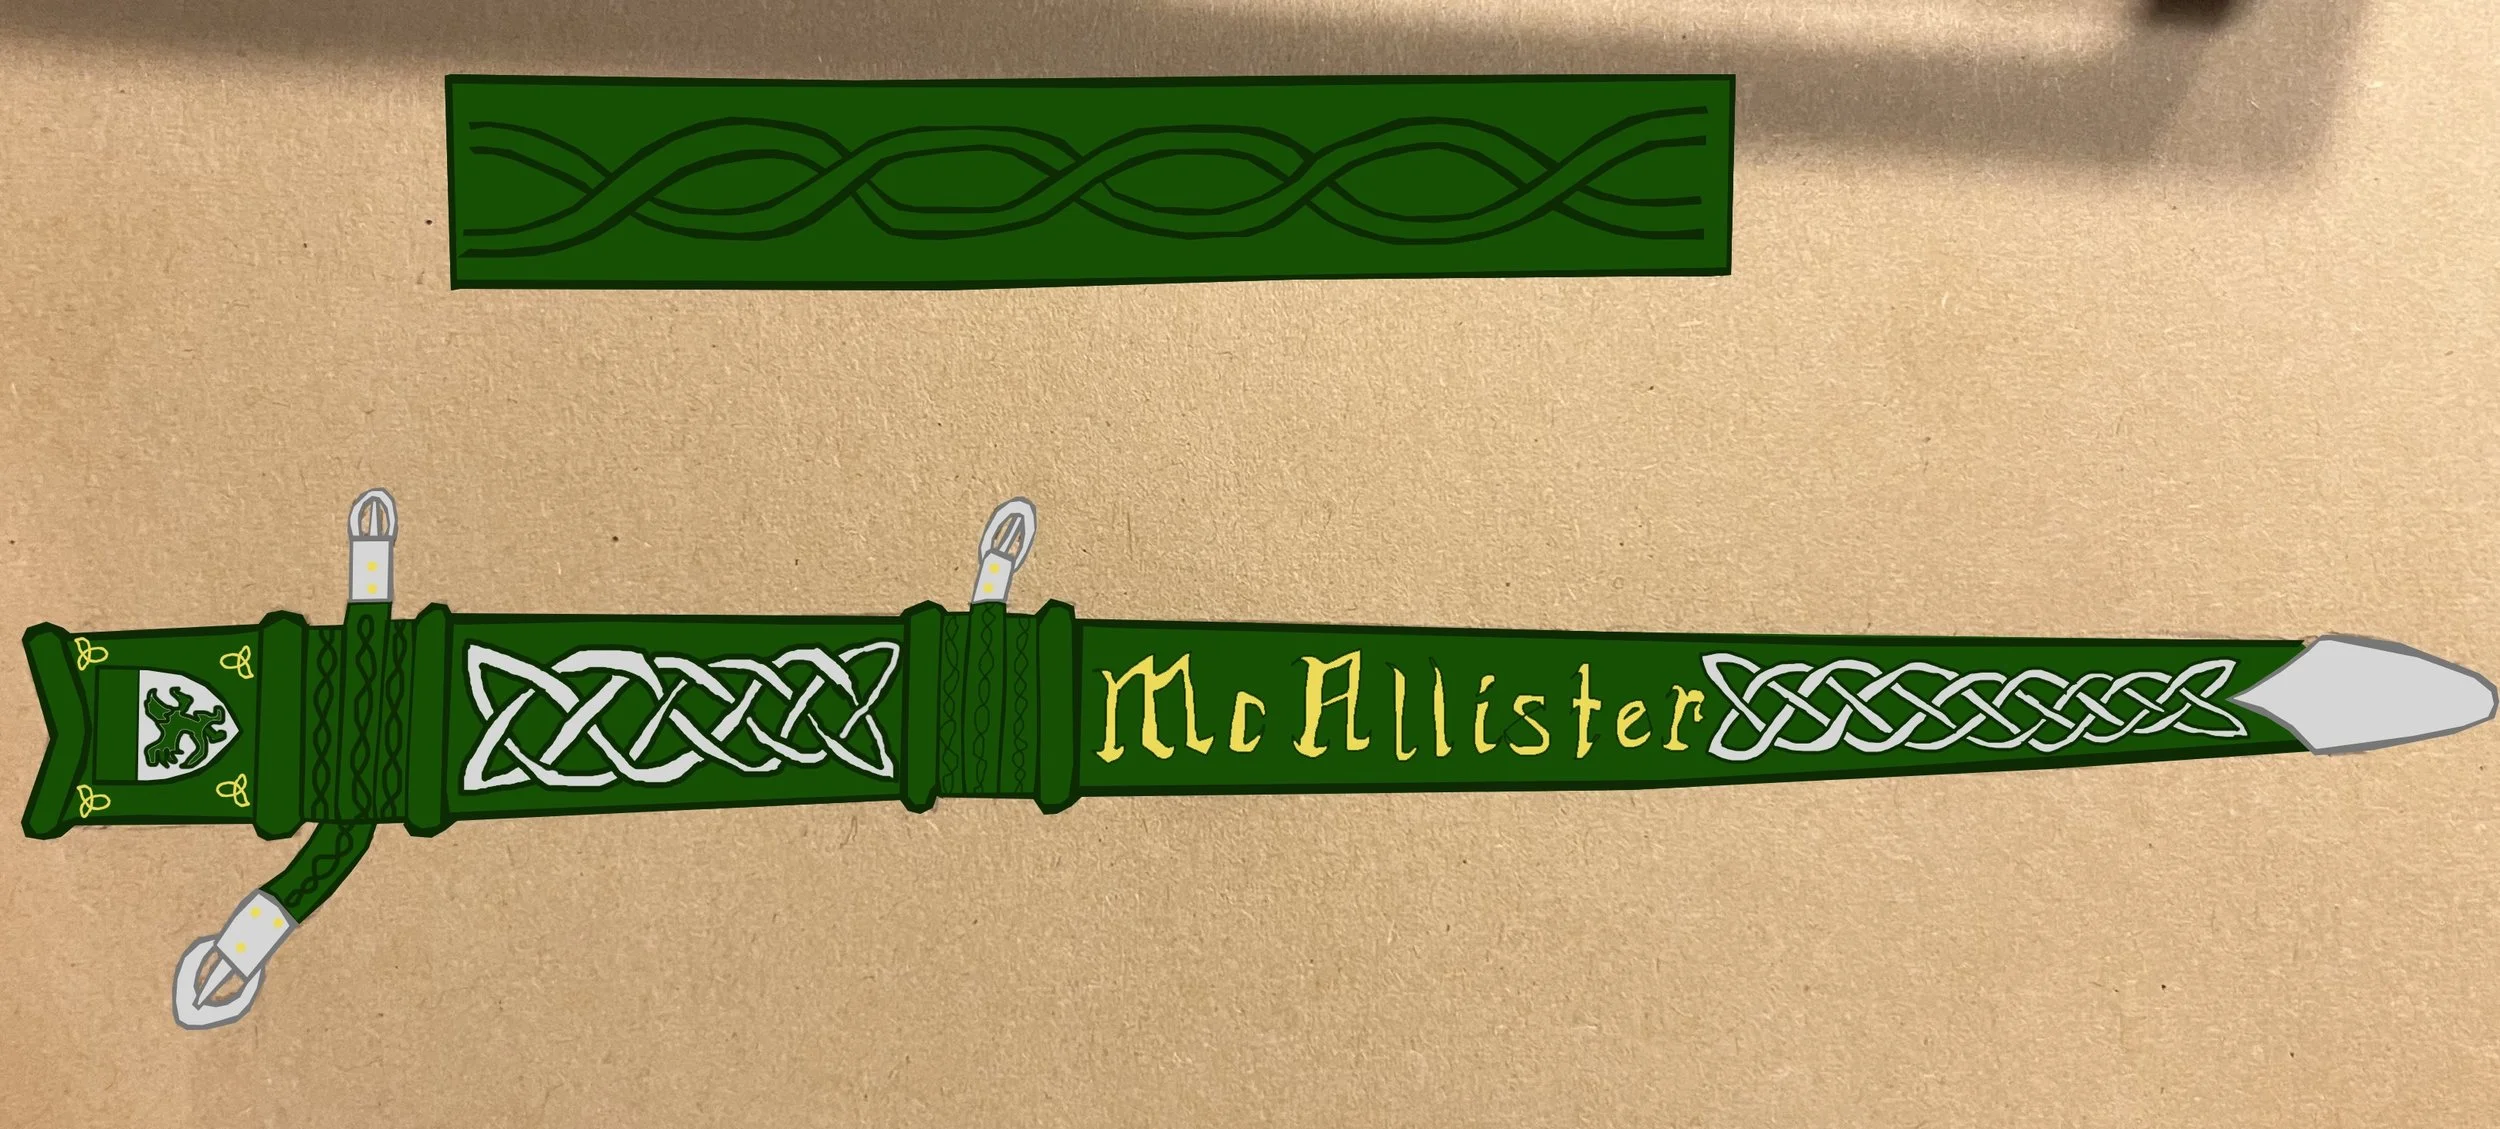
Sketch for new decorations
The sword was from Kult of Athena, maker Ronin Katana: https://www.kultofathena.com/product/ronin-katana-irish-two-handed-long-sword/
Supplies
An existing scabbard
0.8 mm leather
2 mm leather
4 mm leather
Belt hardware (4 buckles, a chape, a belt slider with ring, and a hook)
Brass and silvered rivets
Stainless washers
Hot glue gun (with glue)
A needle for sewing
Artificial sinew
A leather punch/spike
A 1-2 inch wide, soft-bristled paint brush
Miniature painting brush
Green leather dye
White leather paint
Gold acrylic paint
Leather sealer
Acrylic sealer
Acrylic sealer (matte)
X-acto knife
Scissors
Two-part epoxy
Goo Gone
Sandpaper
Woodfill
A mechanical pencil
A smooth metal wedge
The Belt
Part I: Leatherwork
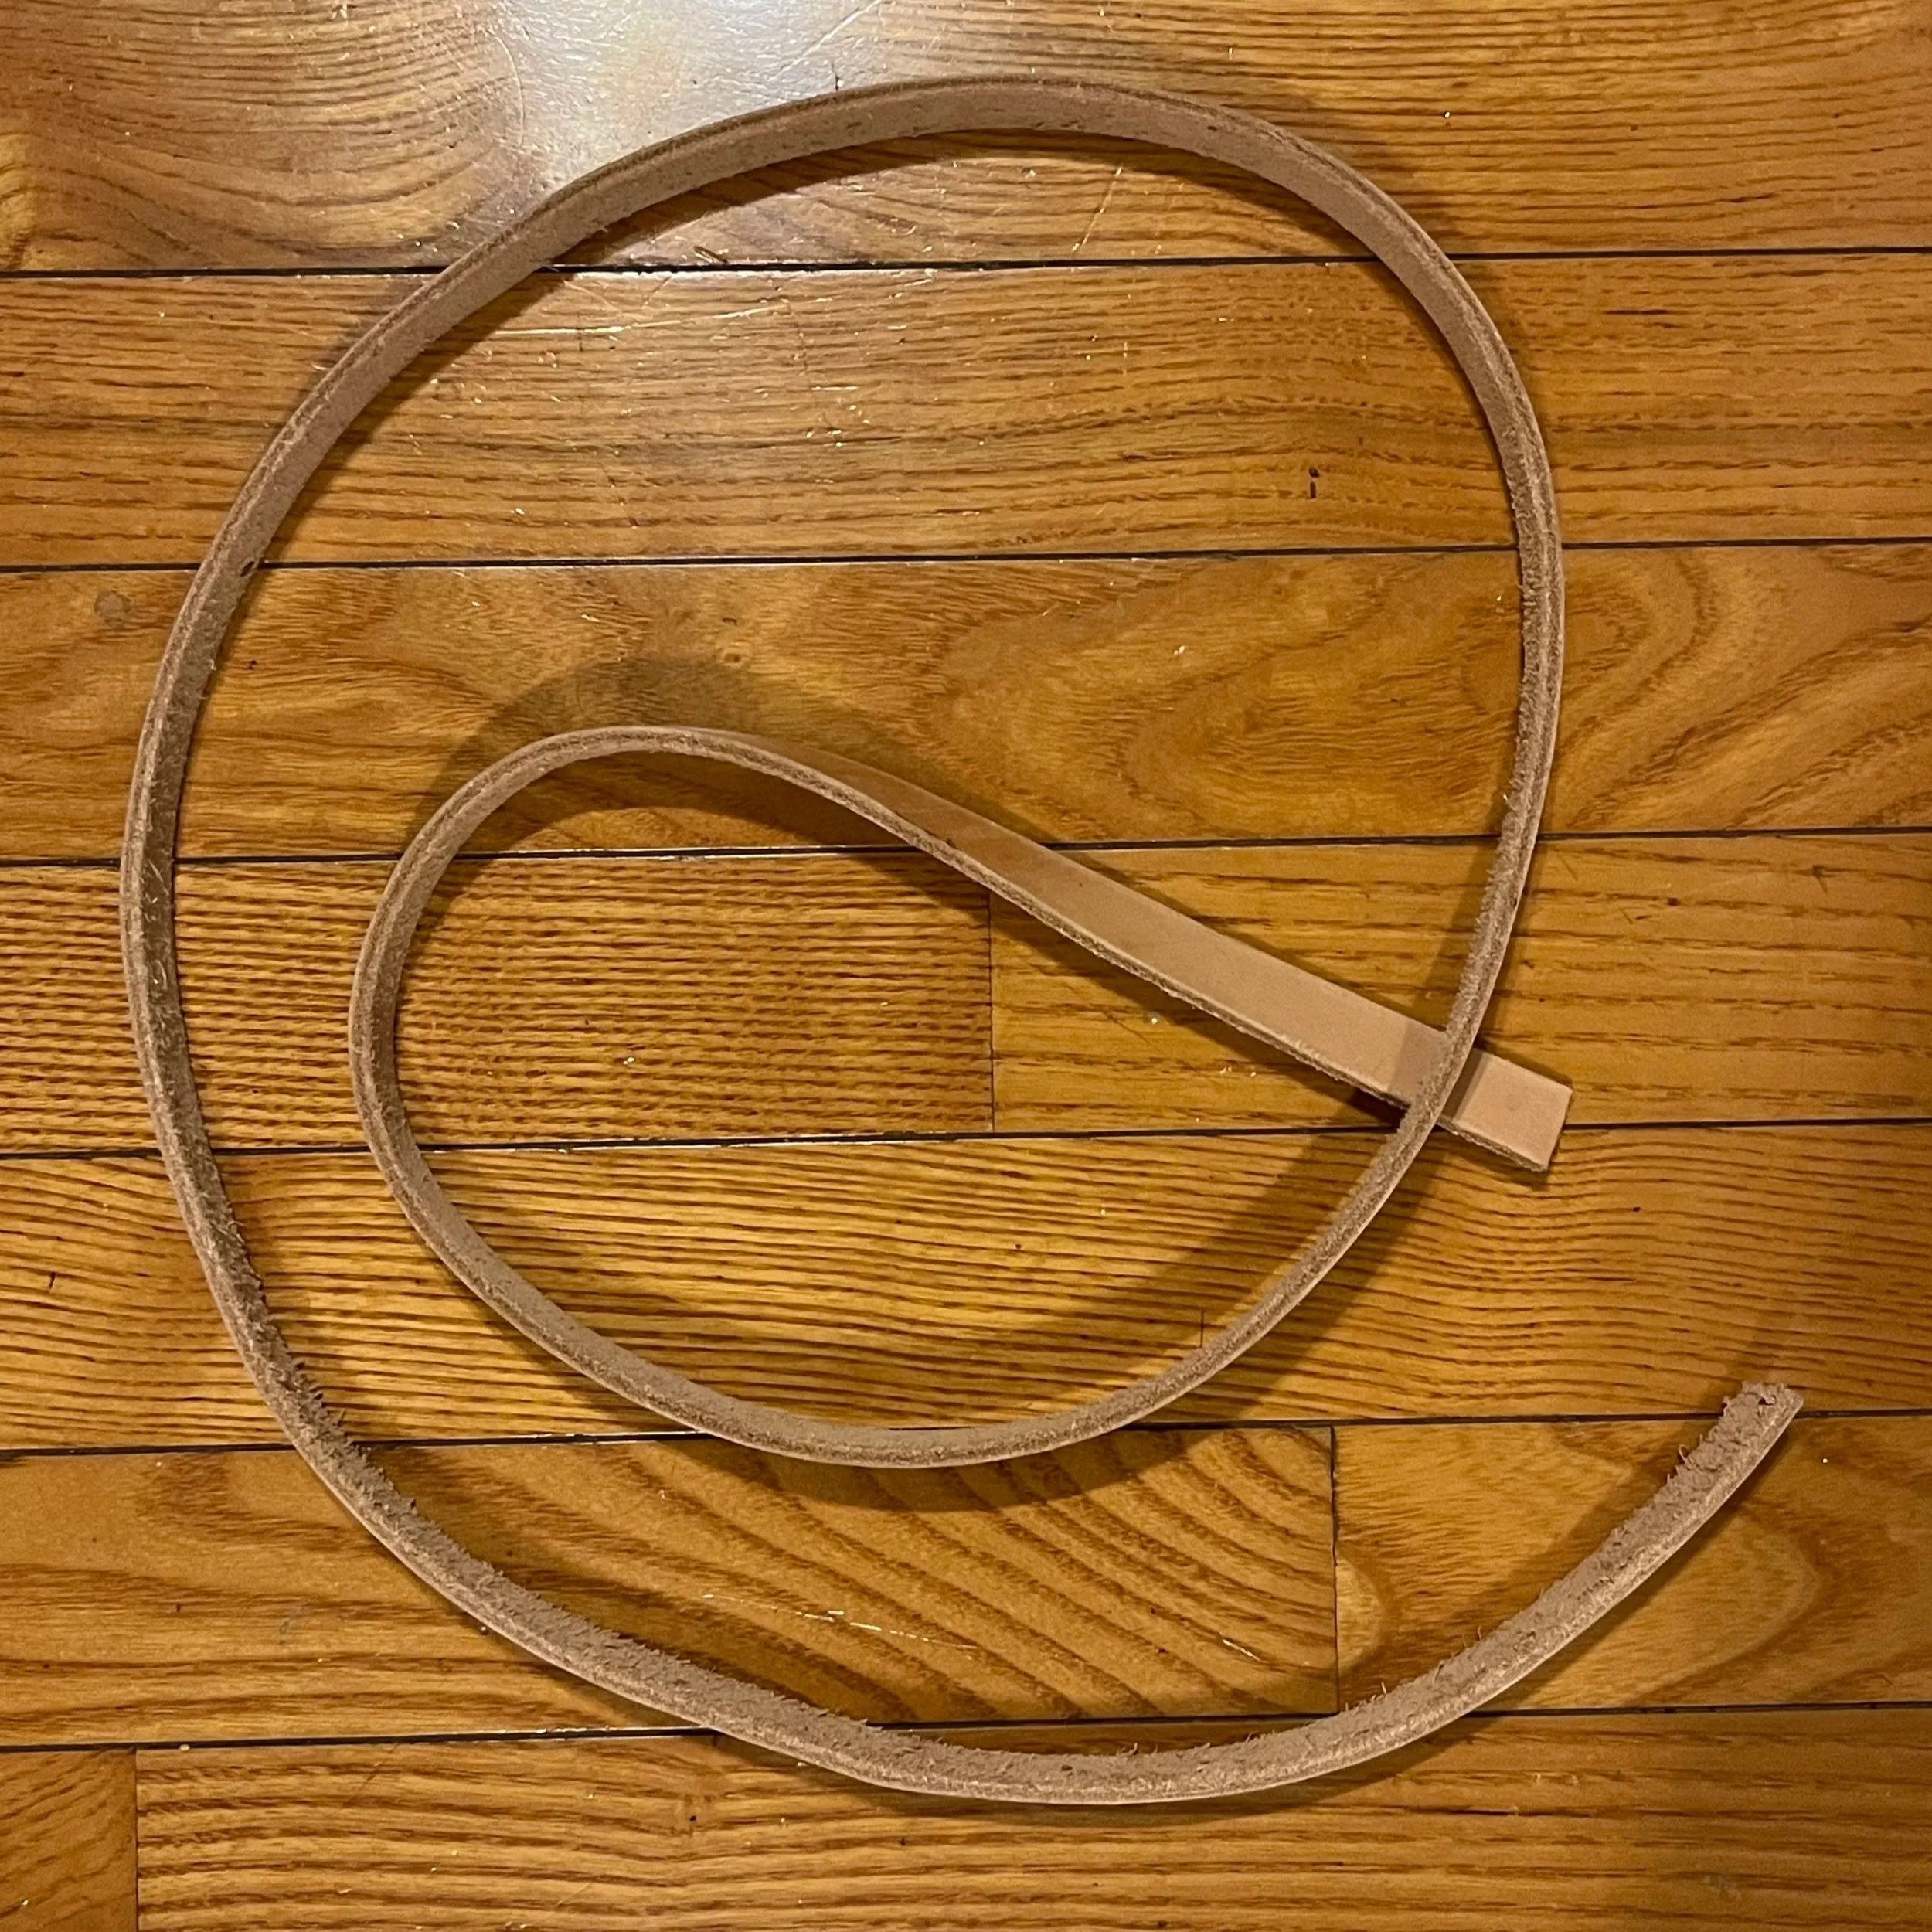
I began by cutting a strip of 4 mm leather to serve as the blank of the sword belt. The strip was about 48 inches long and about ¾ of an inch wide. This might seem narrow, but it has been my experience that many sword belts do not actually need to be terribly wide to support the weight of a sword. Considering that the belt would have the added strength of 4mm leather, ¾ of an inch wide would be sufficient.
My friend’s fiancé liked the idea of a tooled Celtic knot pattern on the belt. So, I traced out a quick pattern on a piece of paper which I could use as a template.
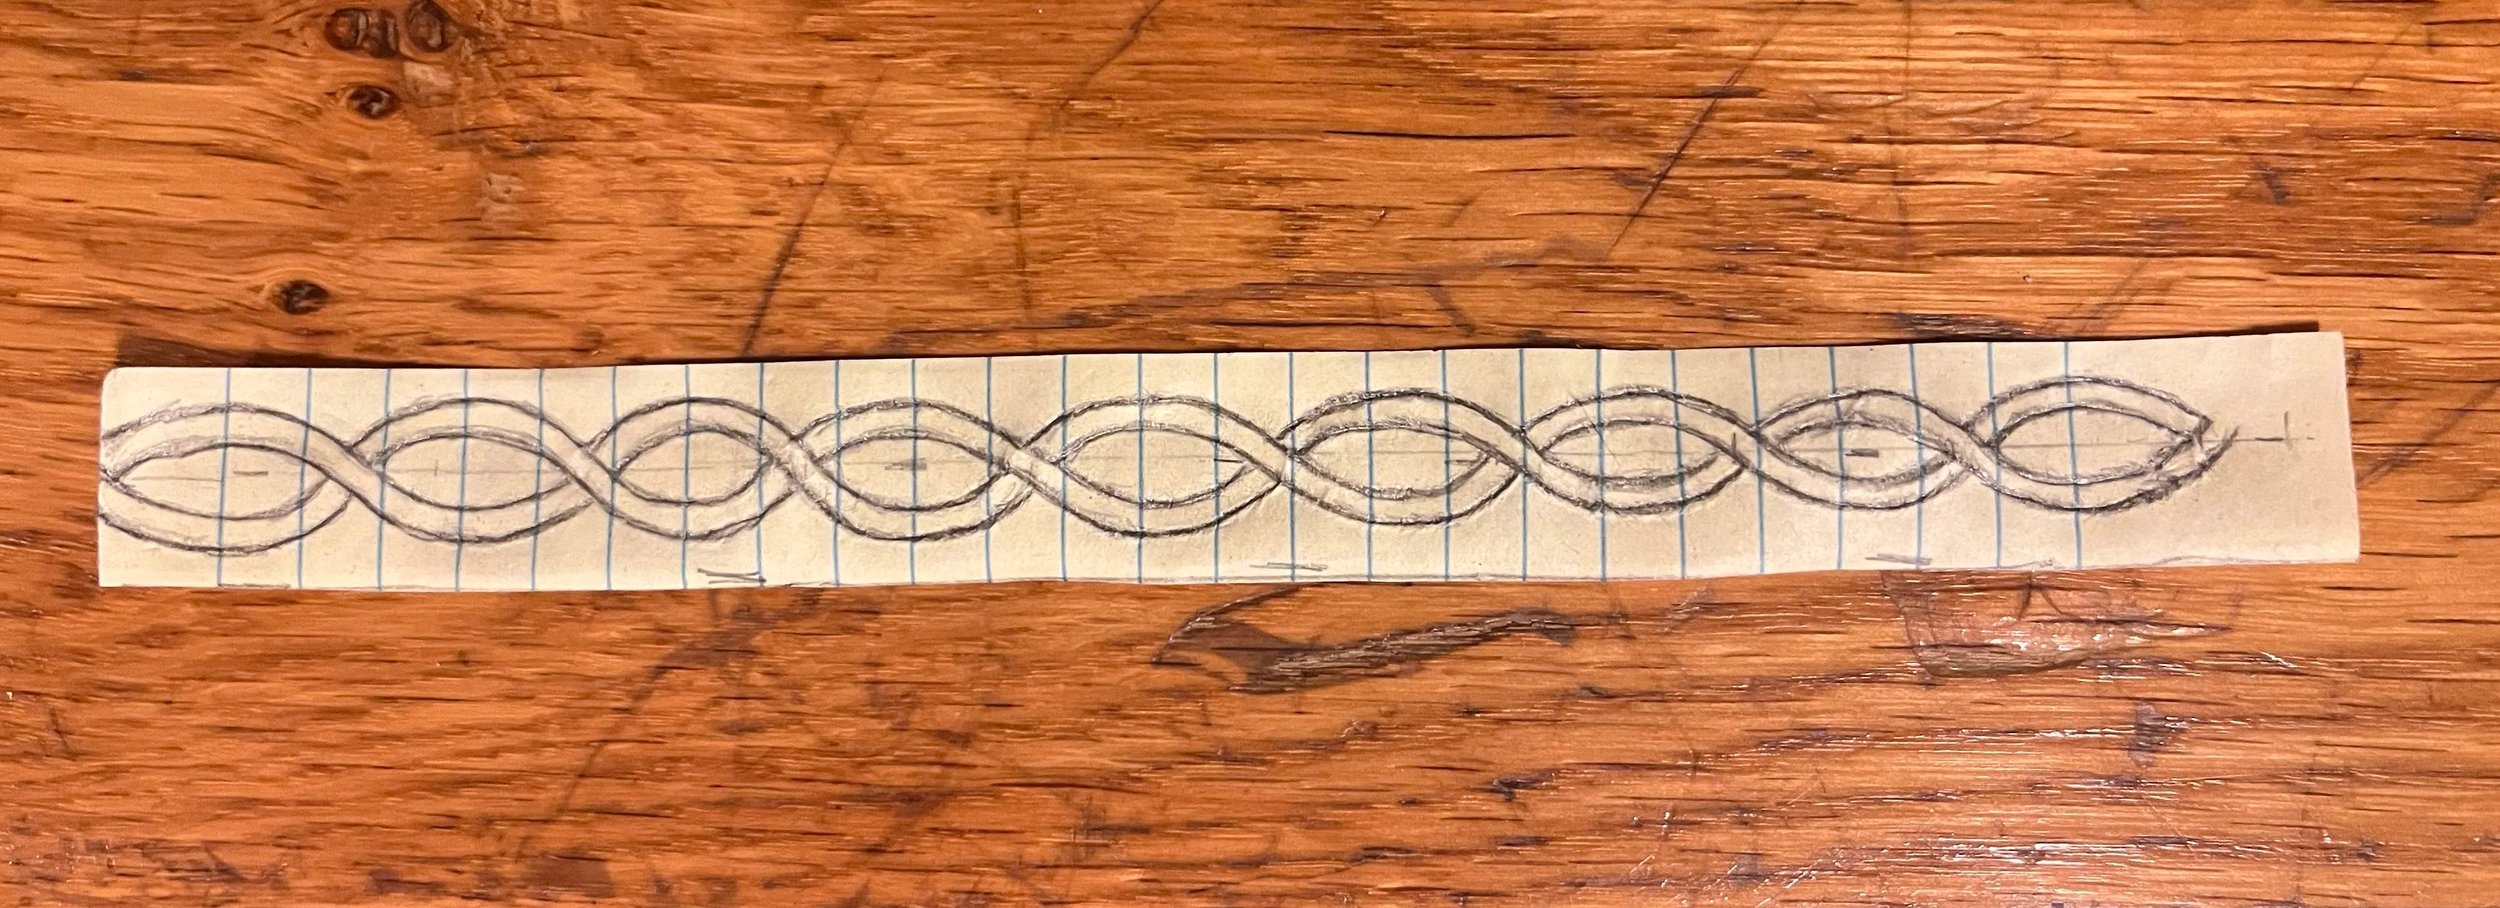
I then wet the leather before laying the design over the belt blank. I traced the pattern onto the leather using a mechanical pencil with the lead retracted. This left the knotwork pattern behind which I could use as a guild for cutting into the leather.
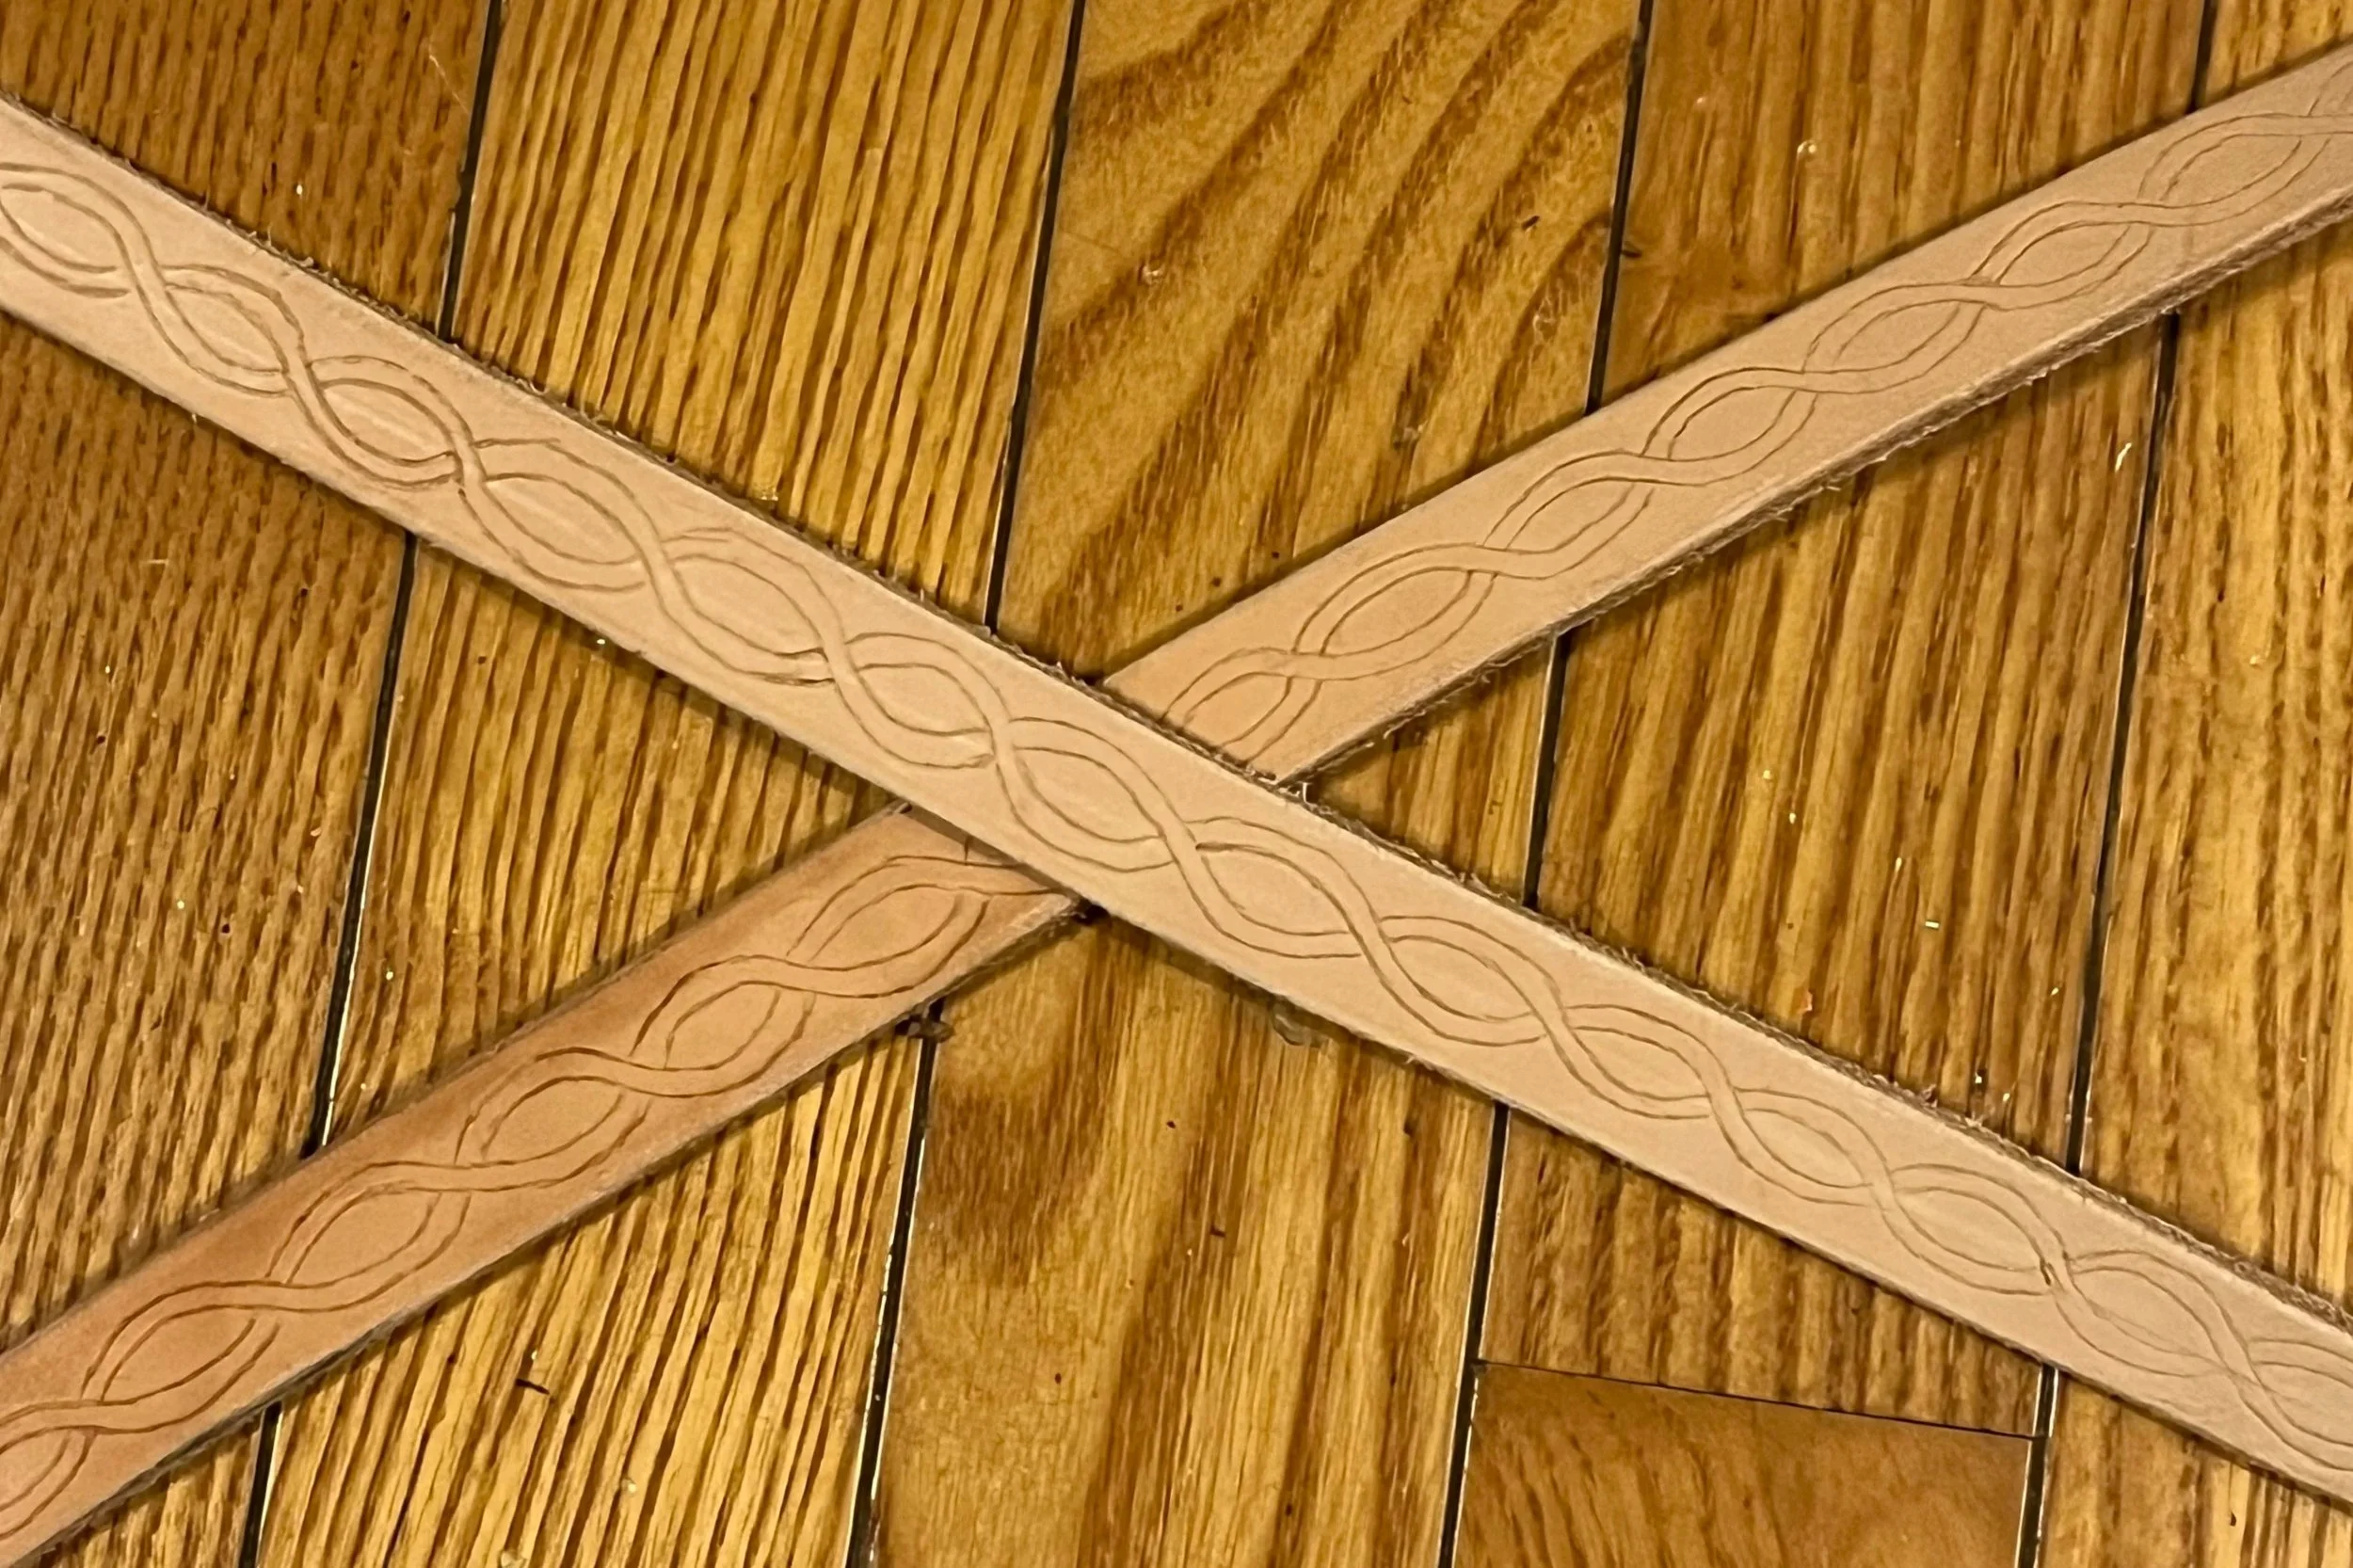
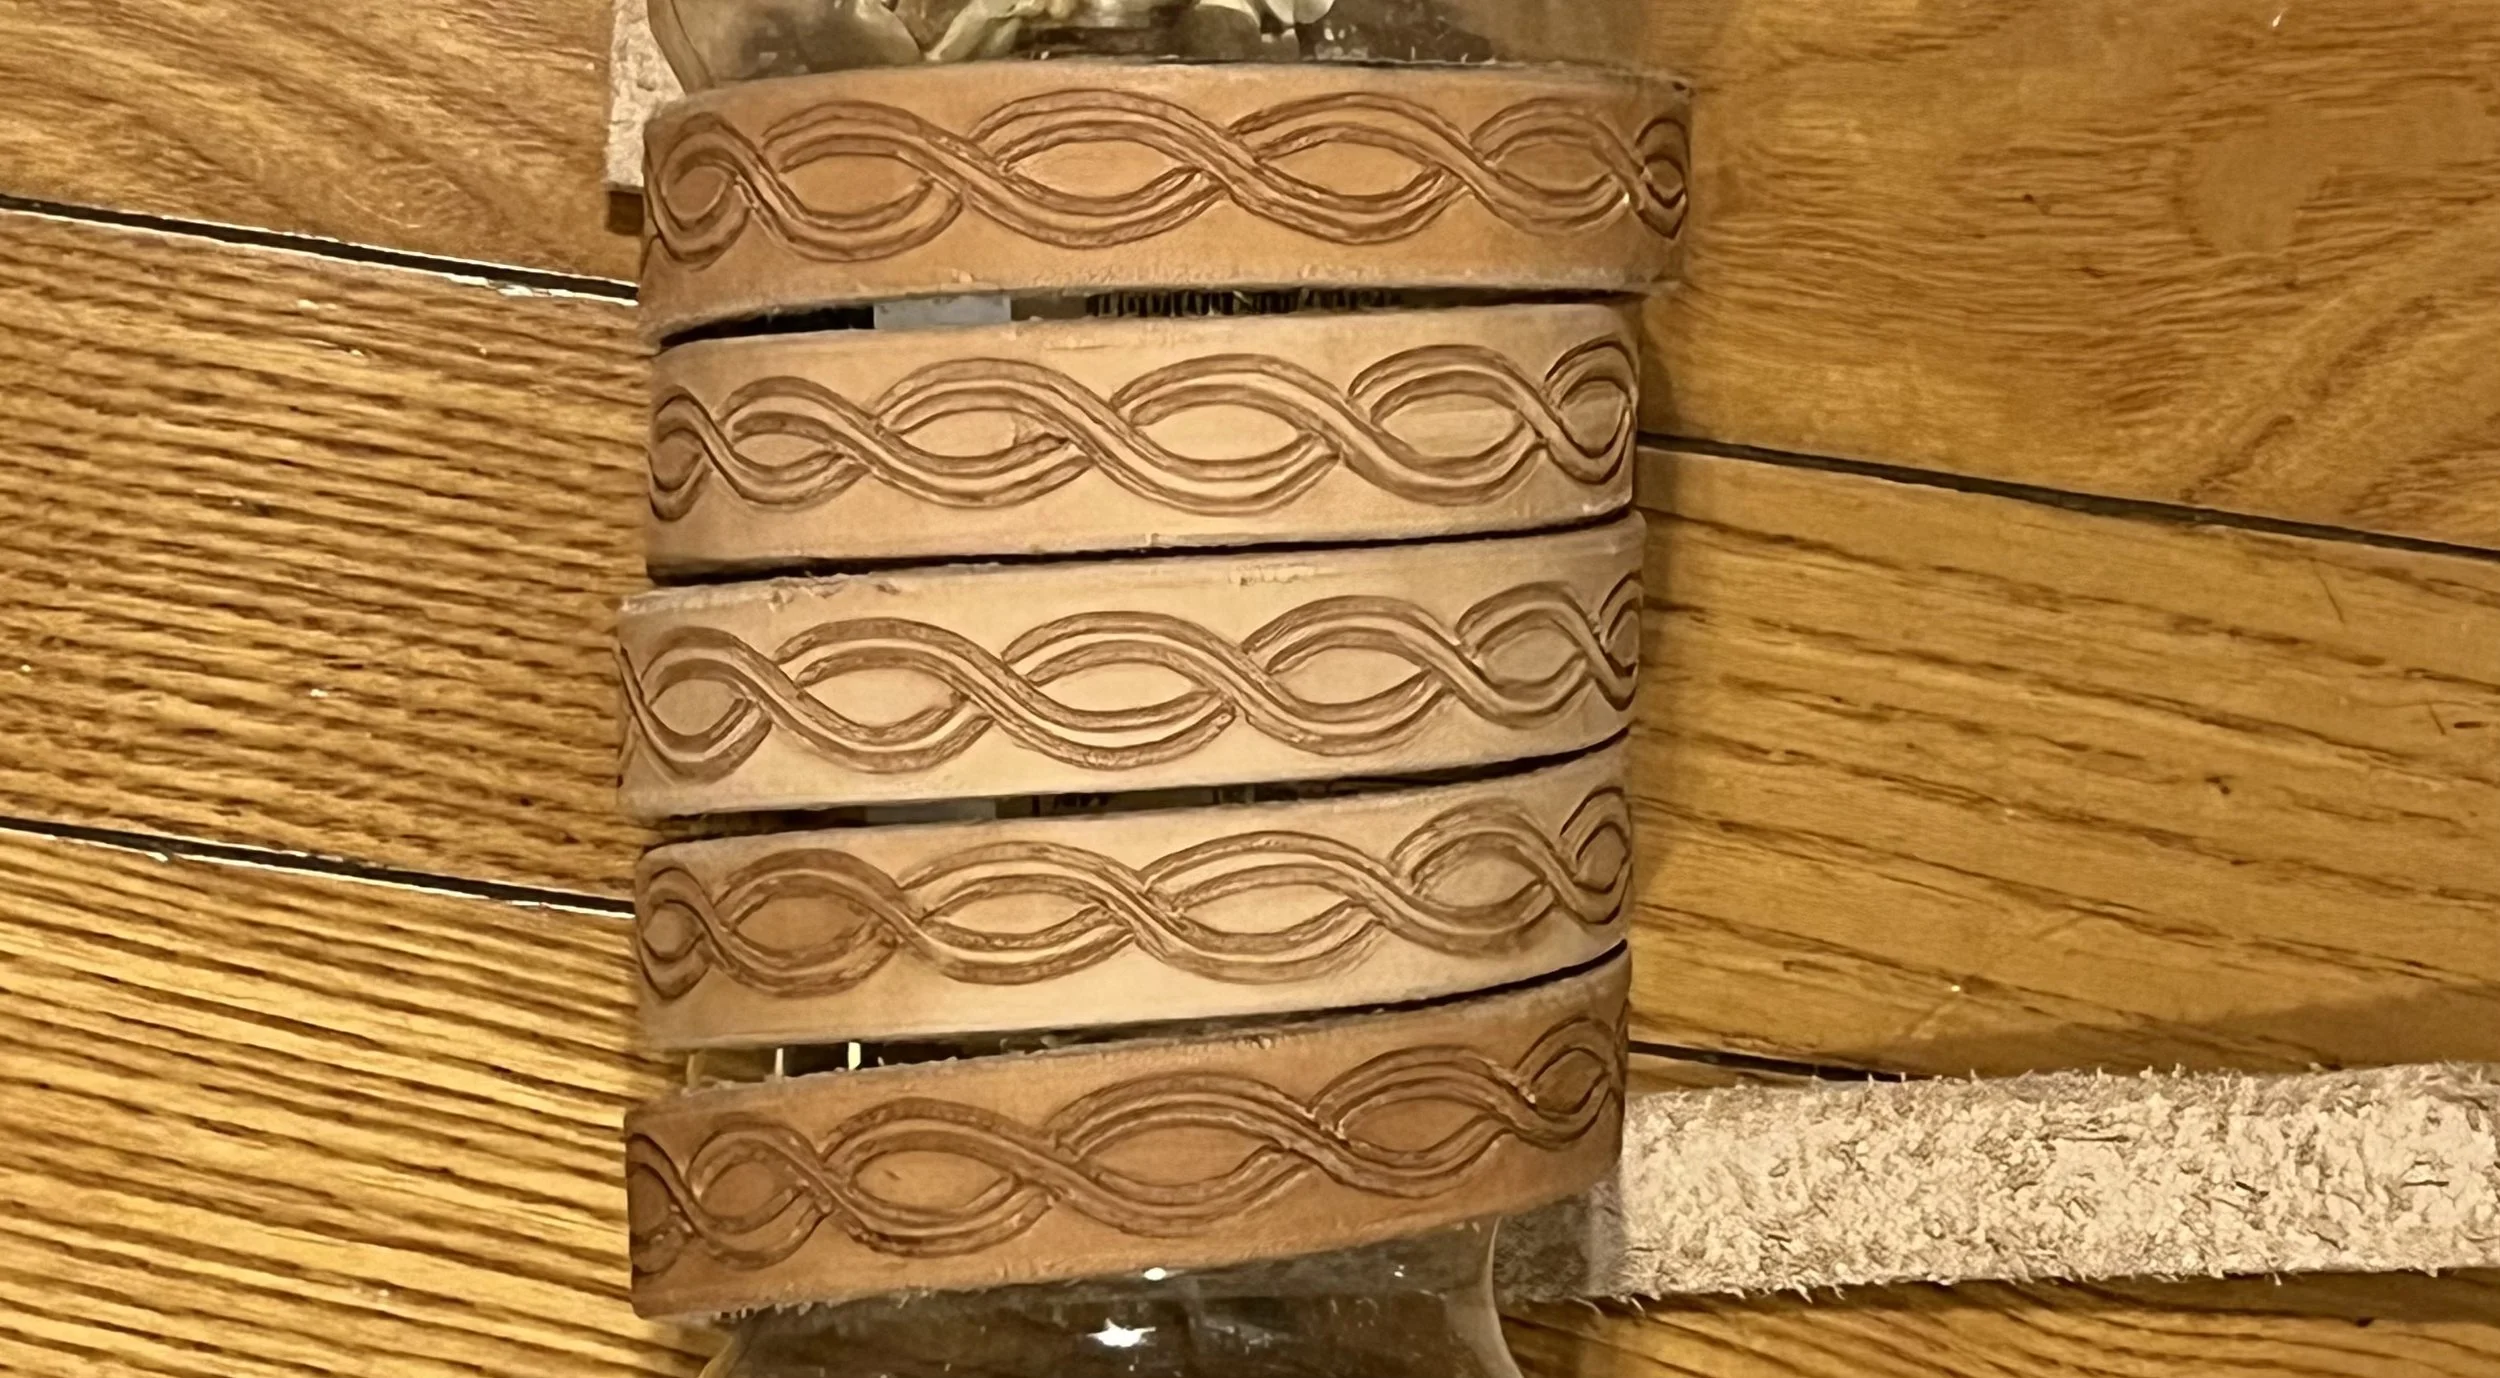
I wet the leather again using a damp paper towel to assist with the cutting. I then used an X-acto knife to make shallow cuts into the leather along the traced lines.
Again, using a damp paper towel, I wet the leather before drawing a mechanical pencil along through the shallow cuts to broaden the lines of the pattern.
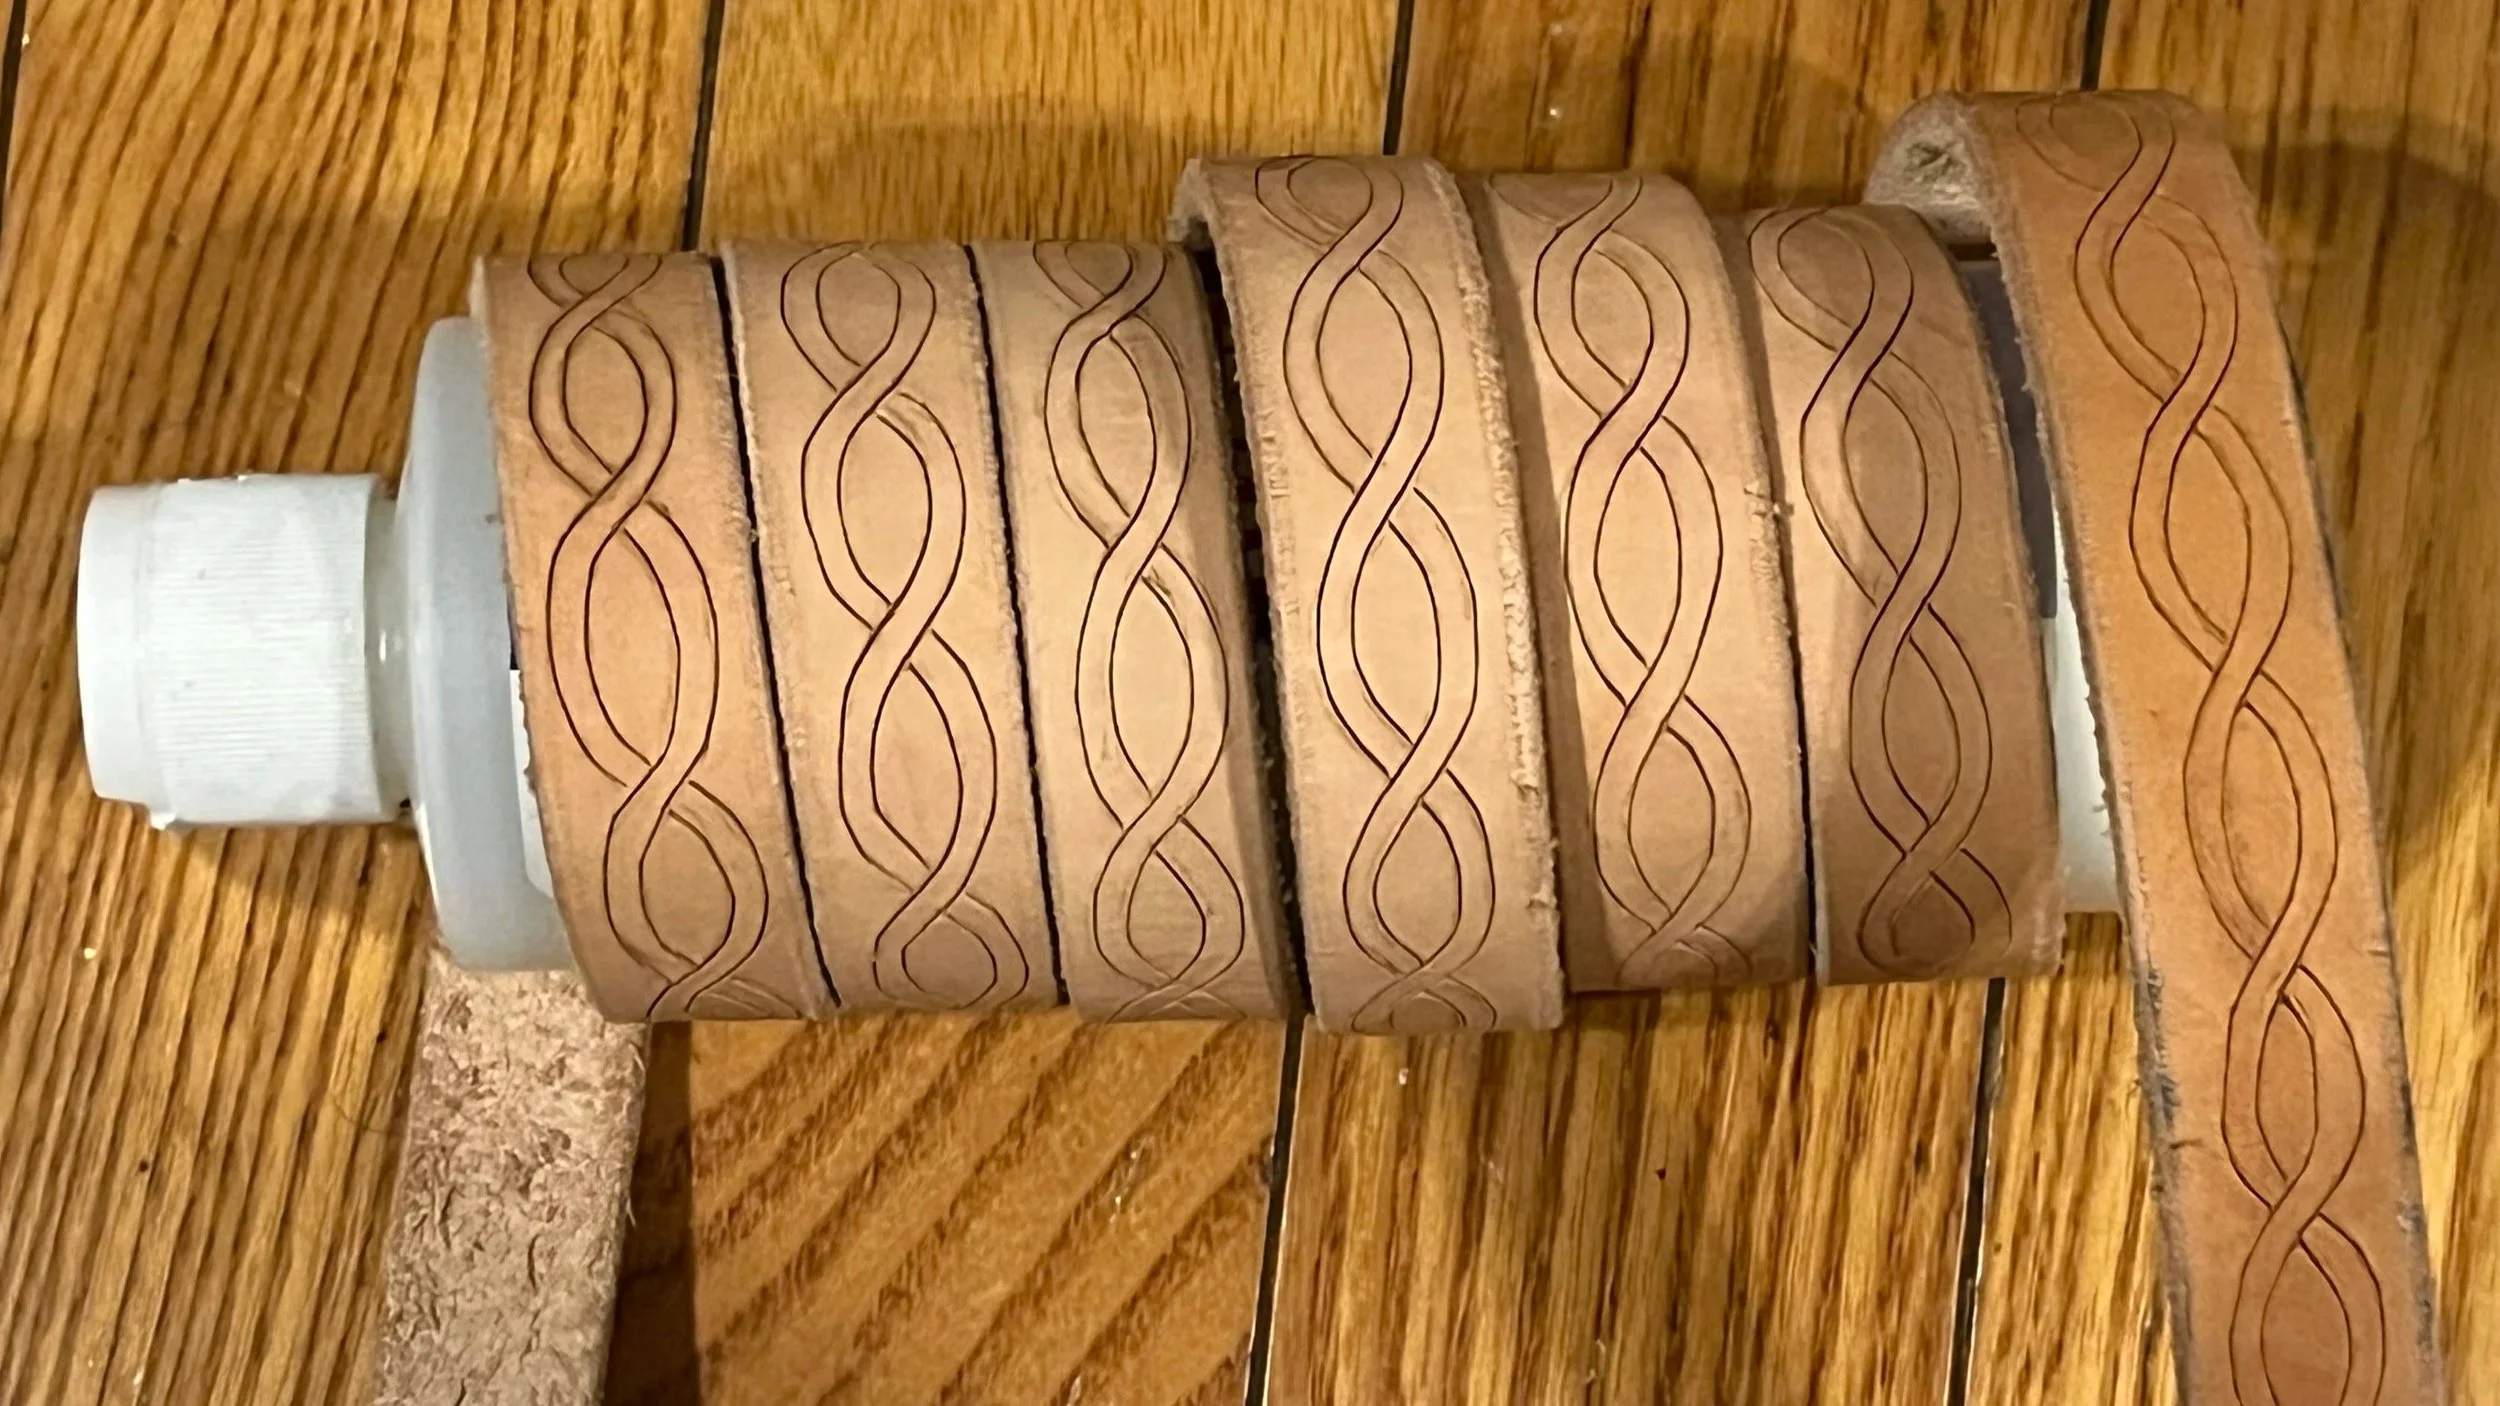
Part II: Dye
After the leather had been tooled, I applied the leather dye. I used two or three coats of Eco-Flo leather dye from Tandy Leather Factory to get a consistent green color. The dye was applied using a soft bristled brush in long, smooth strokes to avoid blotches. It did not come out as evenly as I had hoped, but the seal tends to even things out.
After the dye had set, I applied a couple layers of sealer. First there were two thin coats of Angelus leather finisher (matte). The finisher set for about 24 hours, then I applied a generic acrylic paint sealer as an additional layer. I add this additional layer because leather dye tends to still bleed through the finisher. Afterwards there was a bit more shine on the leather then I wanted, so I applied an acrylic matte sealer as a final coat.
I followed a similar process for making the straps that would connect the scabbard to the belt.
Part III: Hardware
Next, I attached the hardware. This project does not have any particular time period or source. The long sword overall is mostly late 14th-15th century, but the ring pommel is very typical of 16th century Irish swords. The buckles are based off of 9th-10th century Irish pieces. However, the goal of this piece was not to make something from a particular period source, but something a friend would appreciate. So off we go!
Hook and belt slider: Reliquaria
https://www.reliquaria.ca/search?q=hanger&options%5Bprefix%5D=last
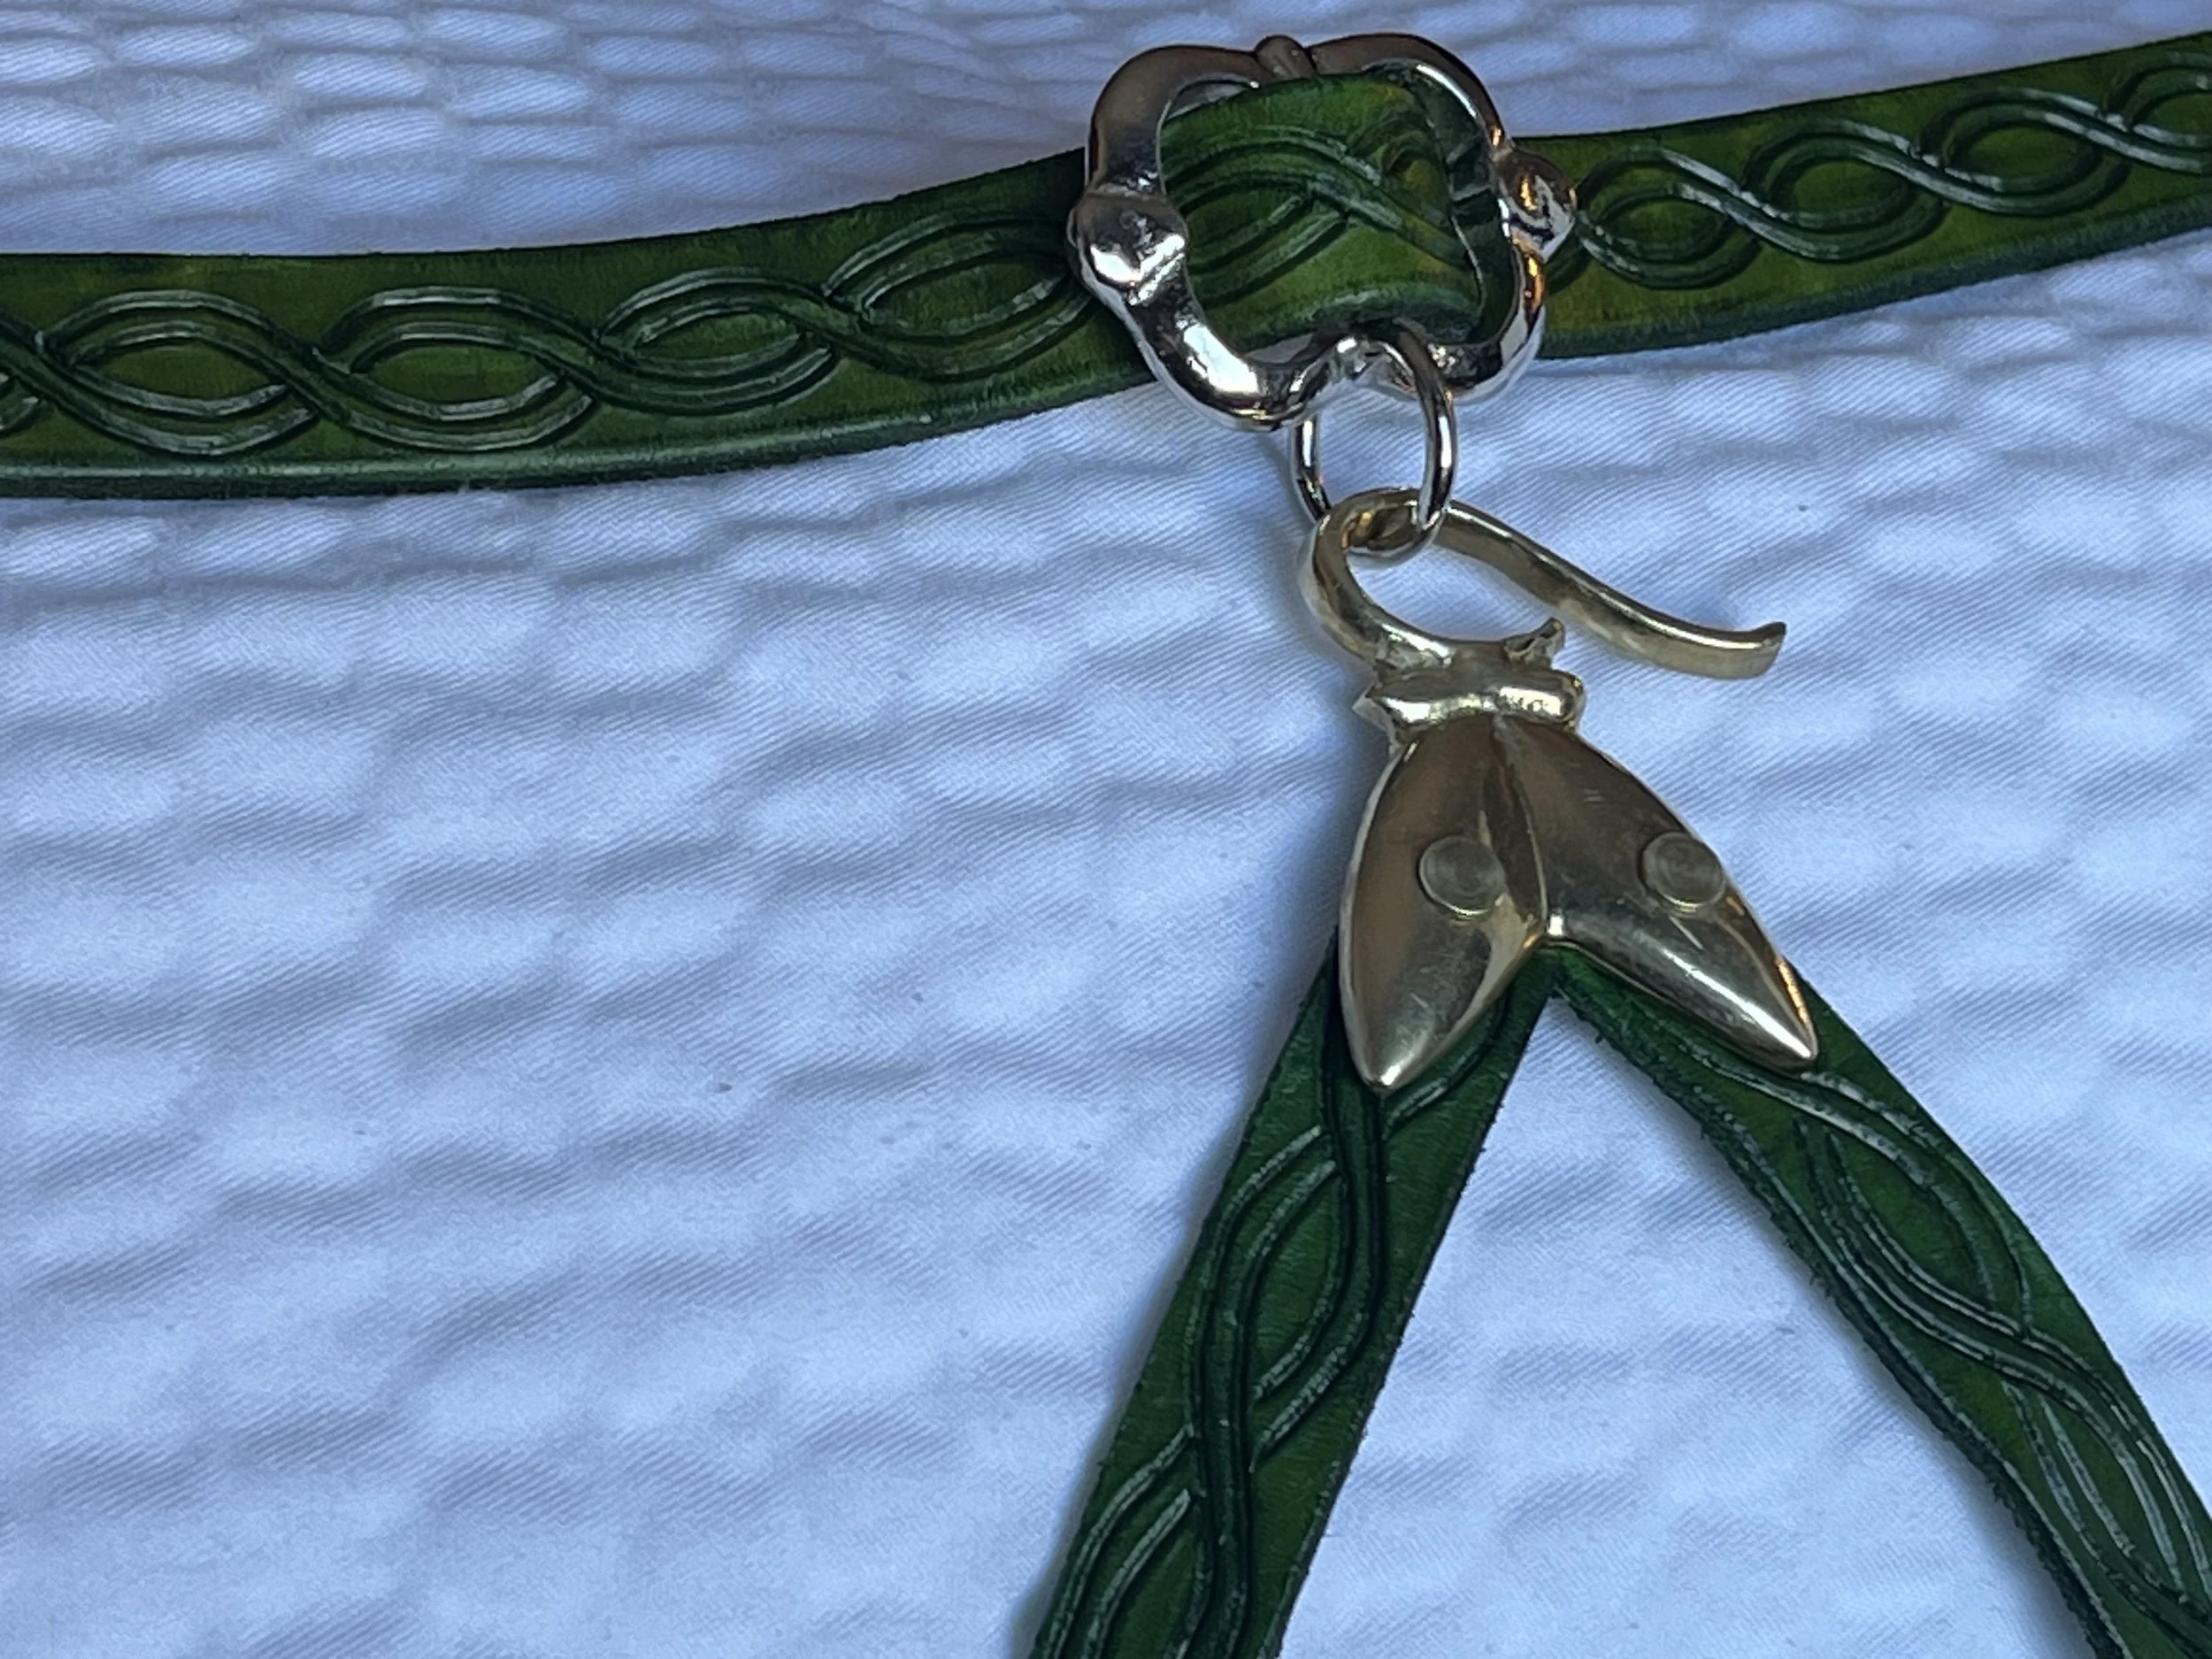
The straps that would connect the scabbard to the sword belt met at a hook that would connect to a slider on the sword belt. The straps were riveted to the hook using brass rivets and stainless washers. The piece overall has a mix of silver and polished brass hardware. To keep that theme going, I used a silver-plated slider for the belt and the hook is polished brass.
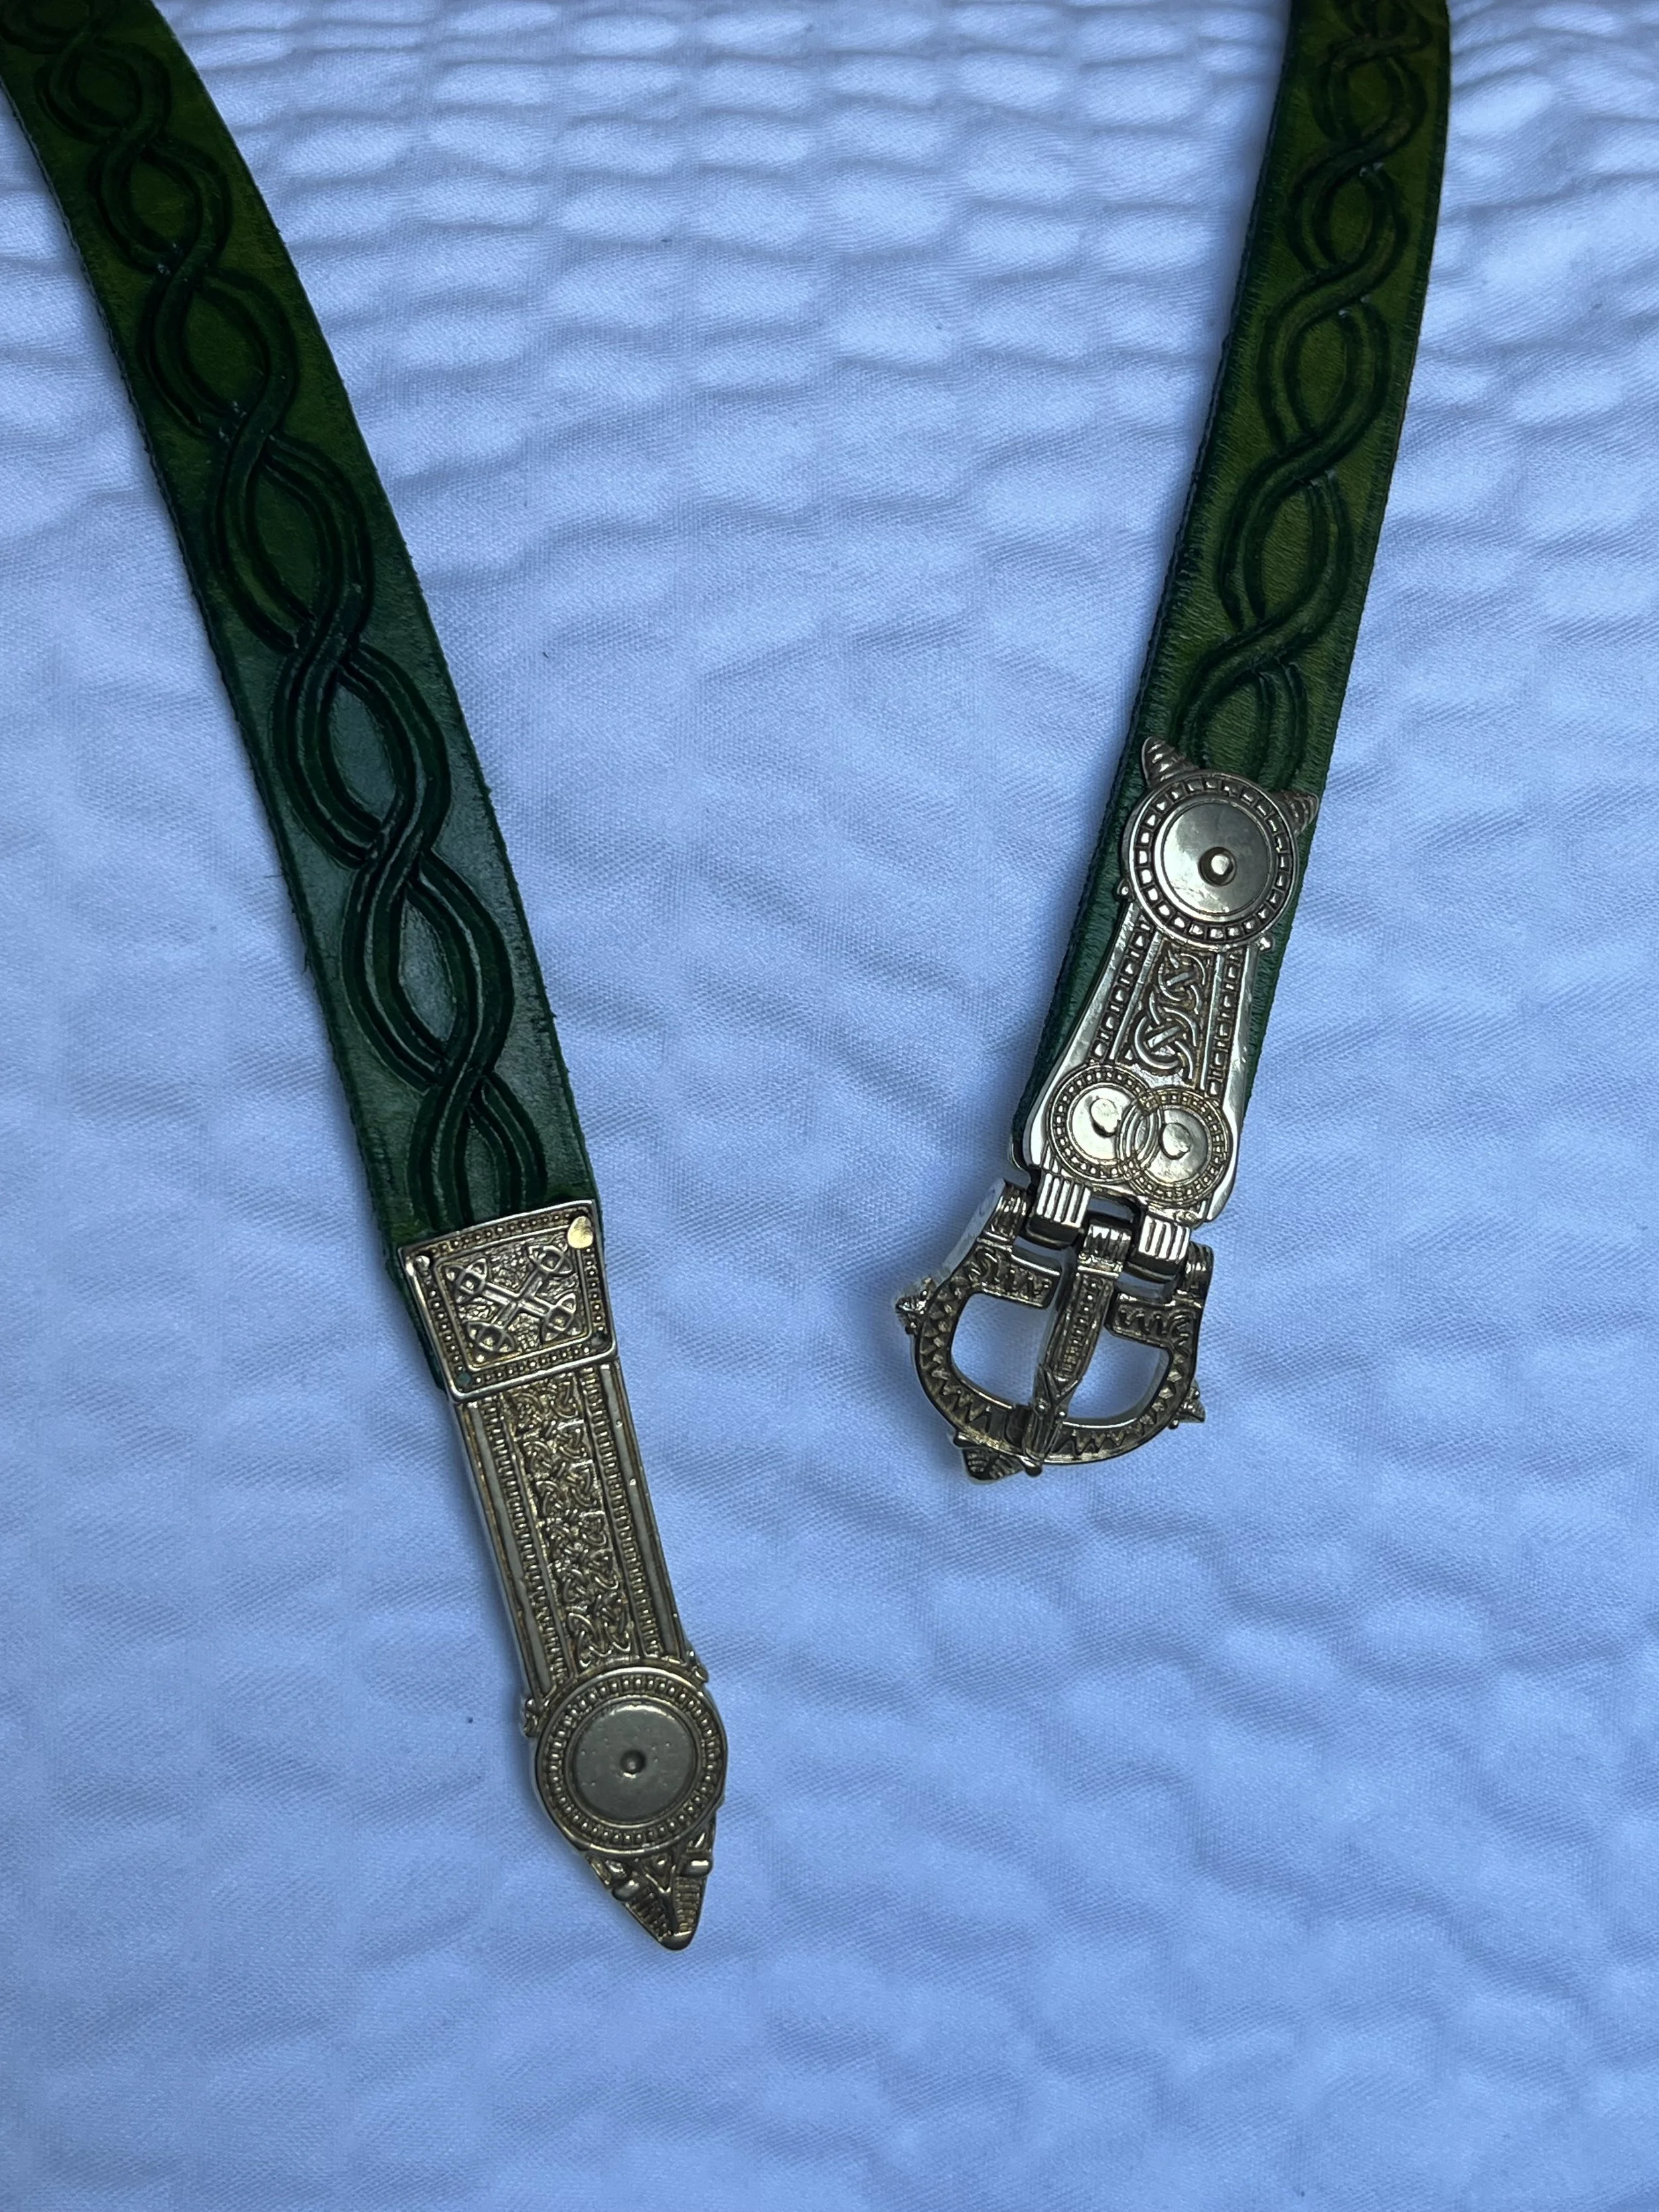
Buckle and chape from Armour and Castings: https://armourandcastings.com/en_US/products/irish-belt-set-9-10-c
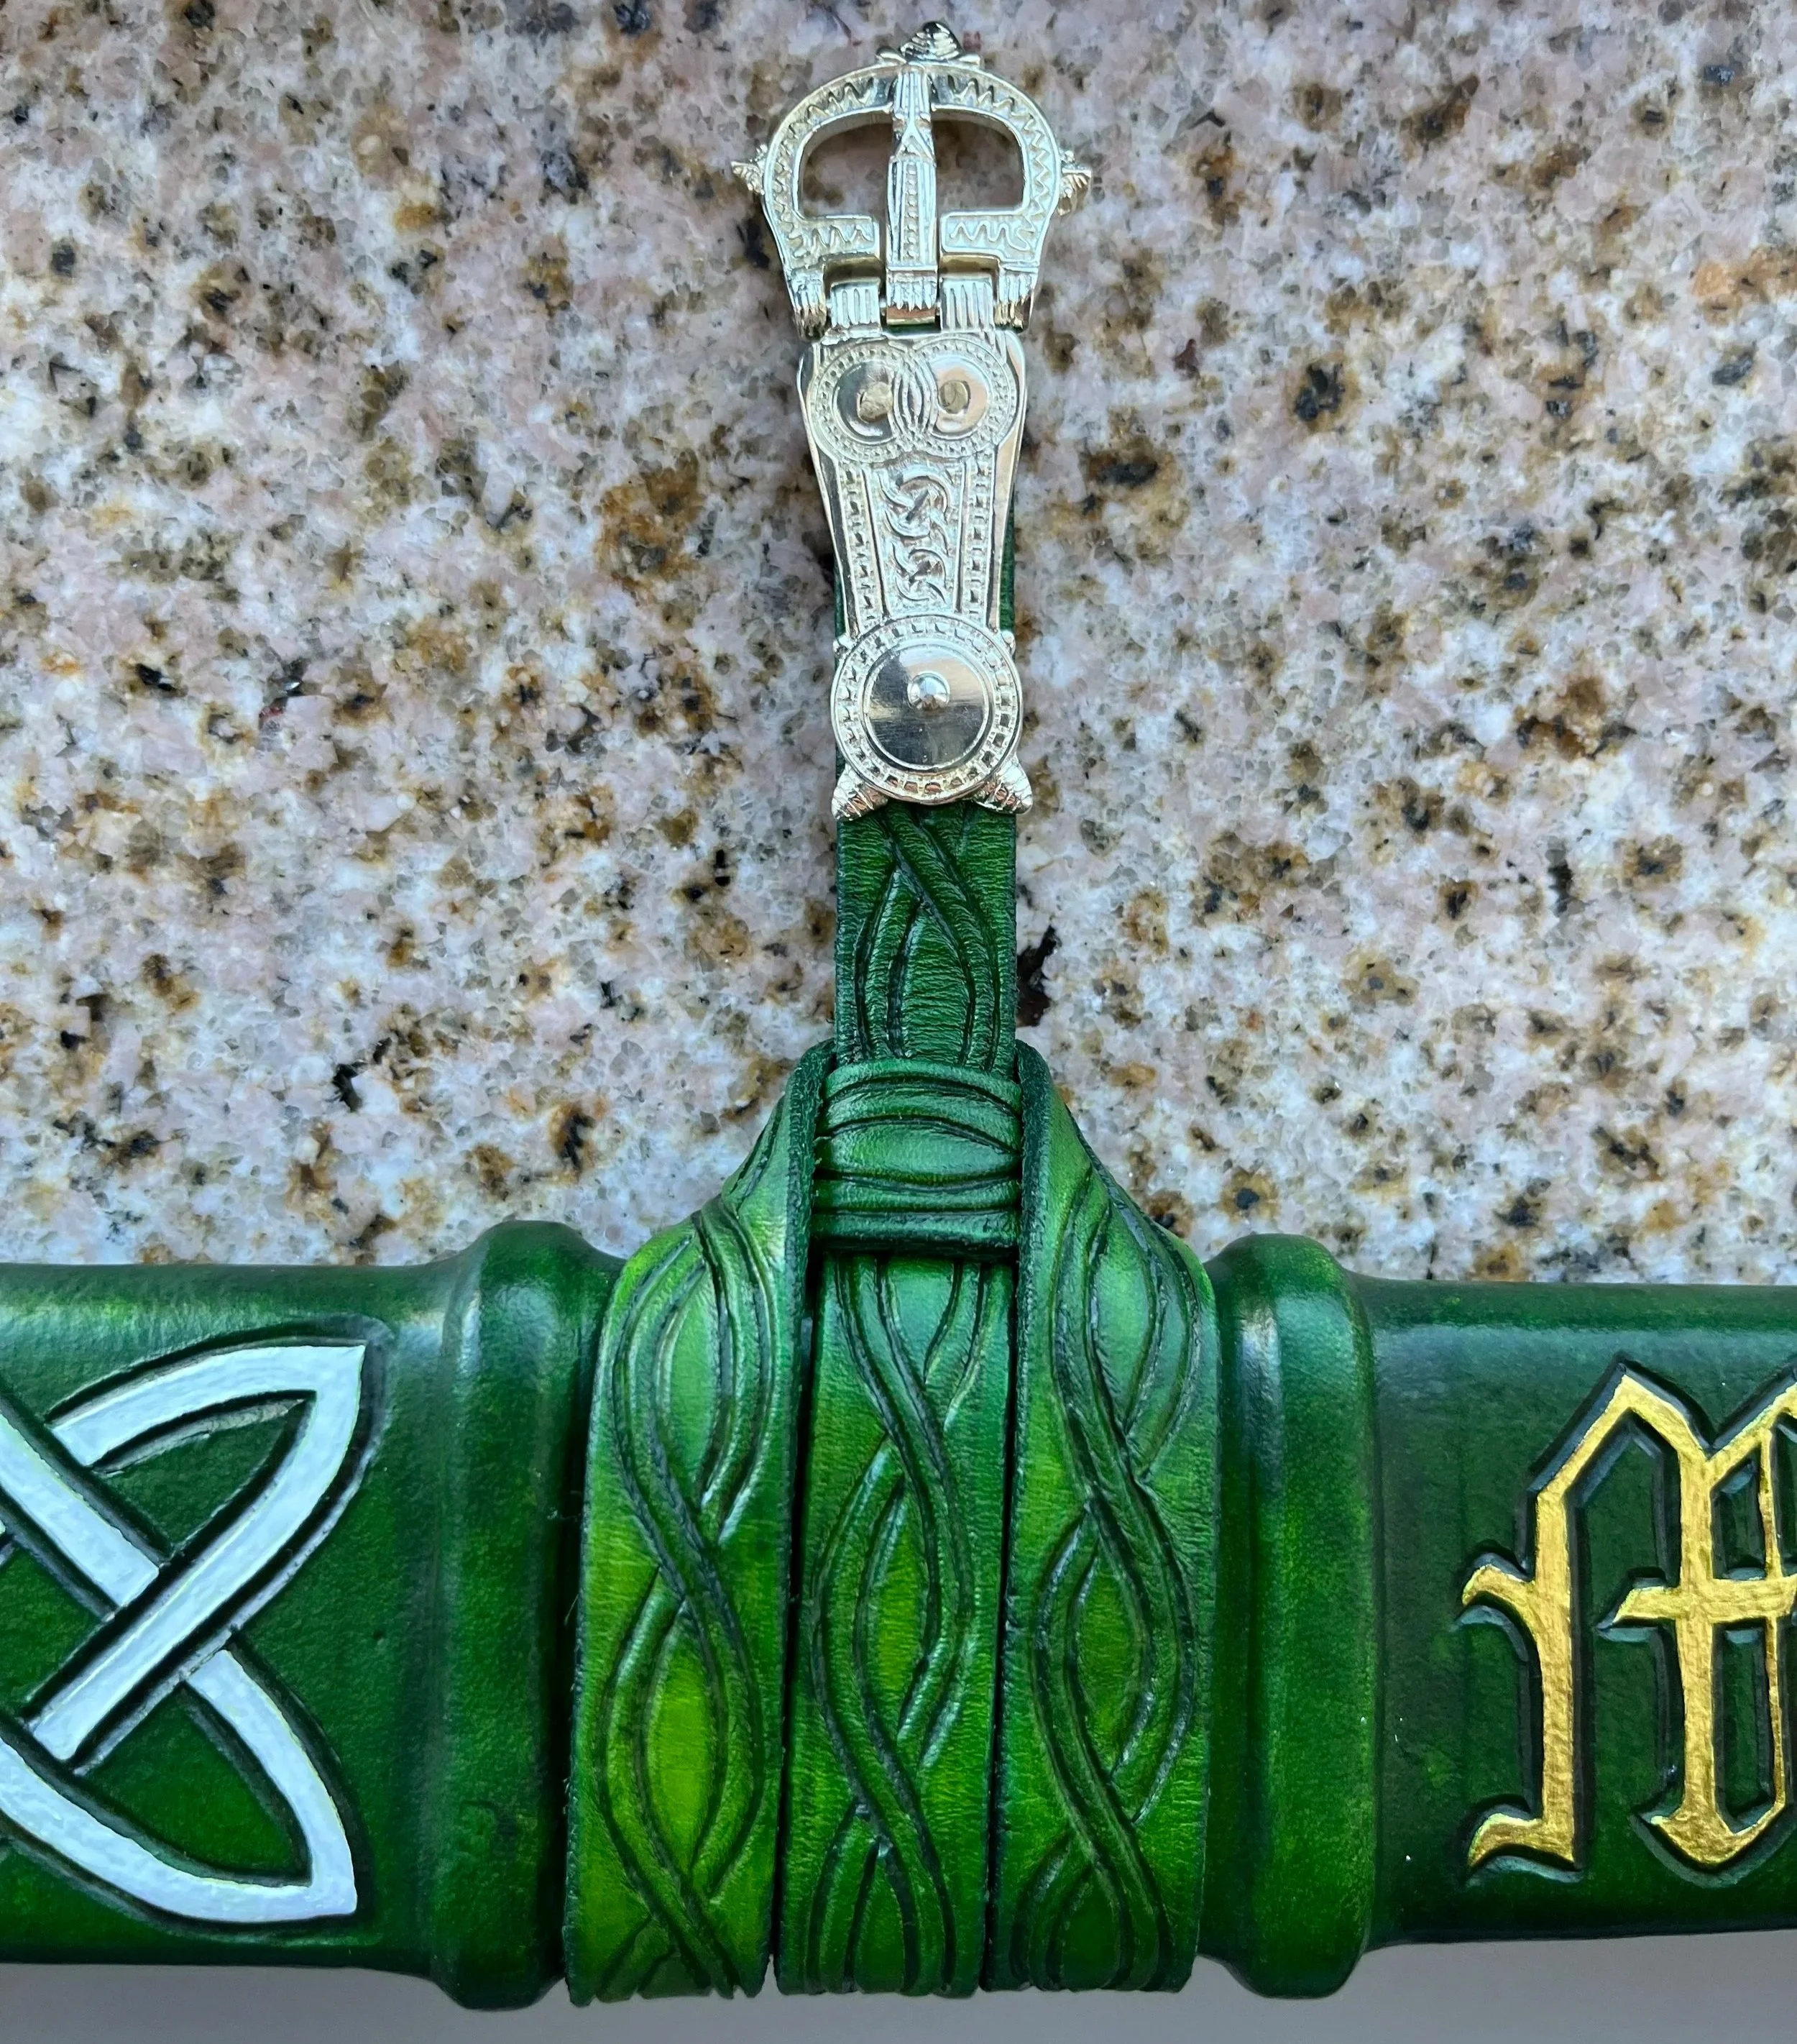
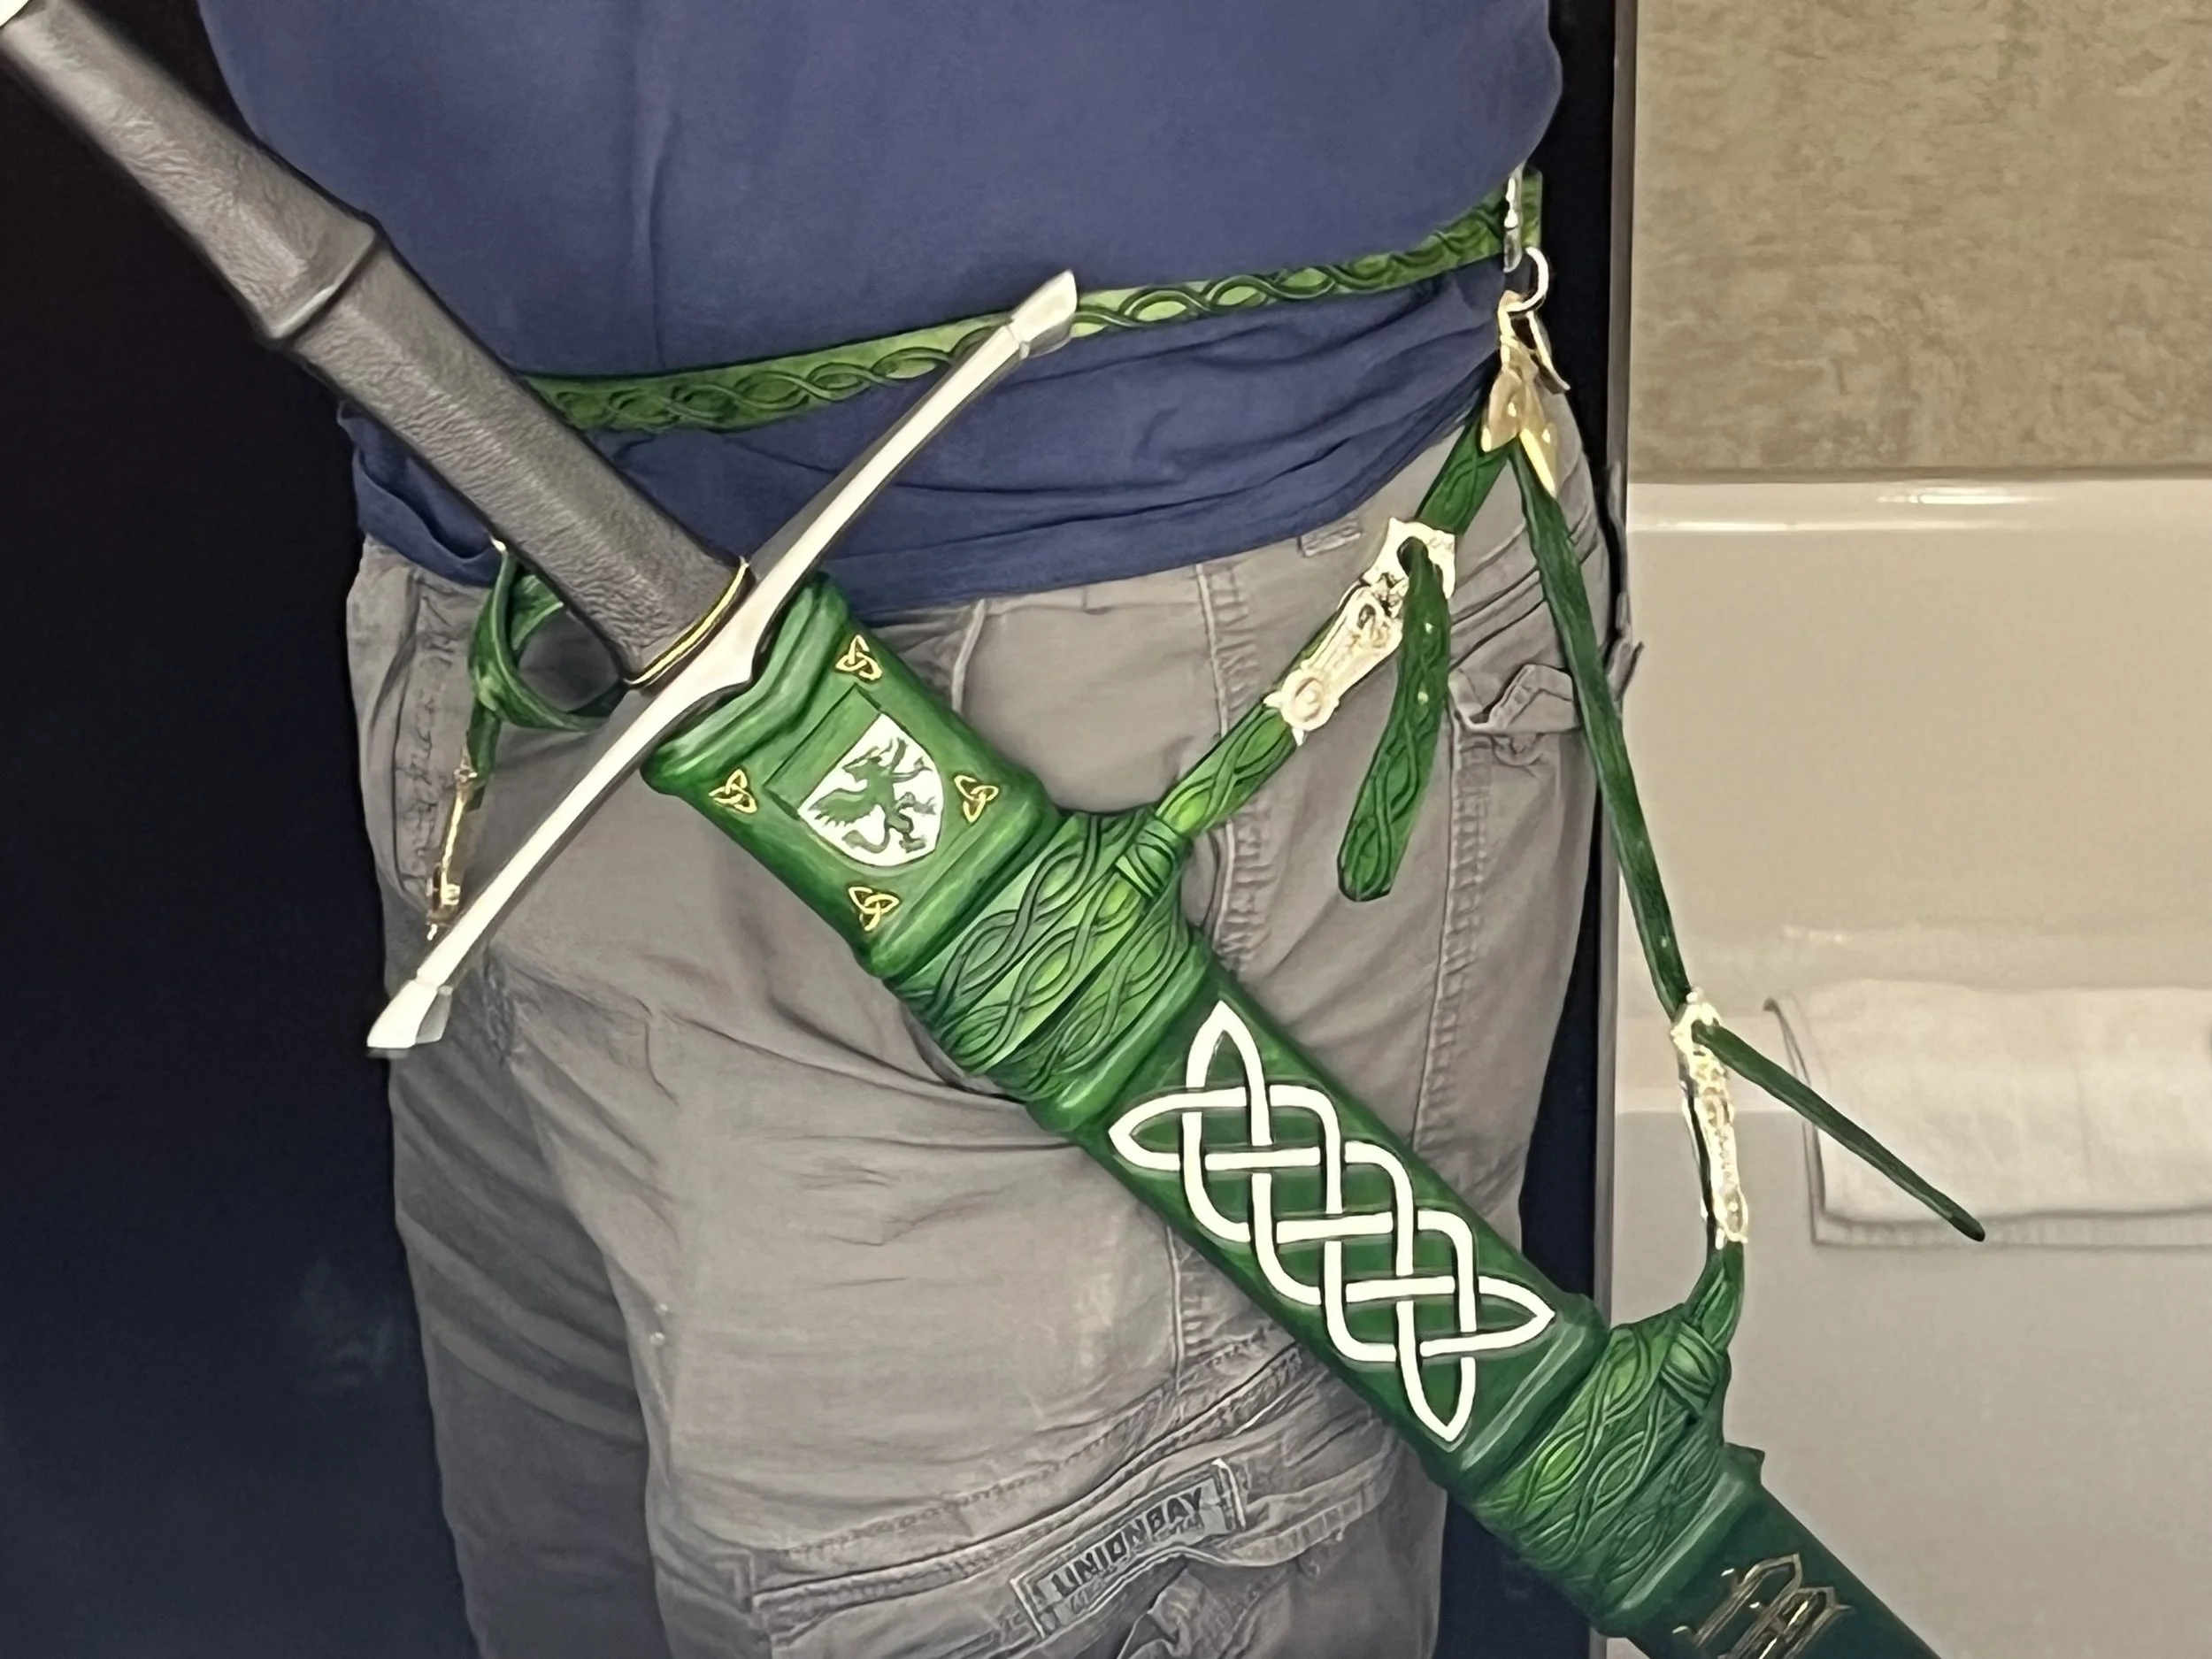
The buckles on the sword belt and straps are based on a surviving example from 9th-10th century Ireland. The buckle and belt chape on the sword belt are polished brass, and were riveted into place using brass rivets. For the sake of making assembly and adjusting for my friend easier, all of the buckles connecting directly to the sword belt are polished brass, while the buckles connecting the scabbard to the suspension straps are silvered.
The Scabbard
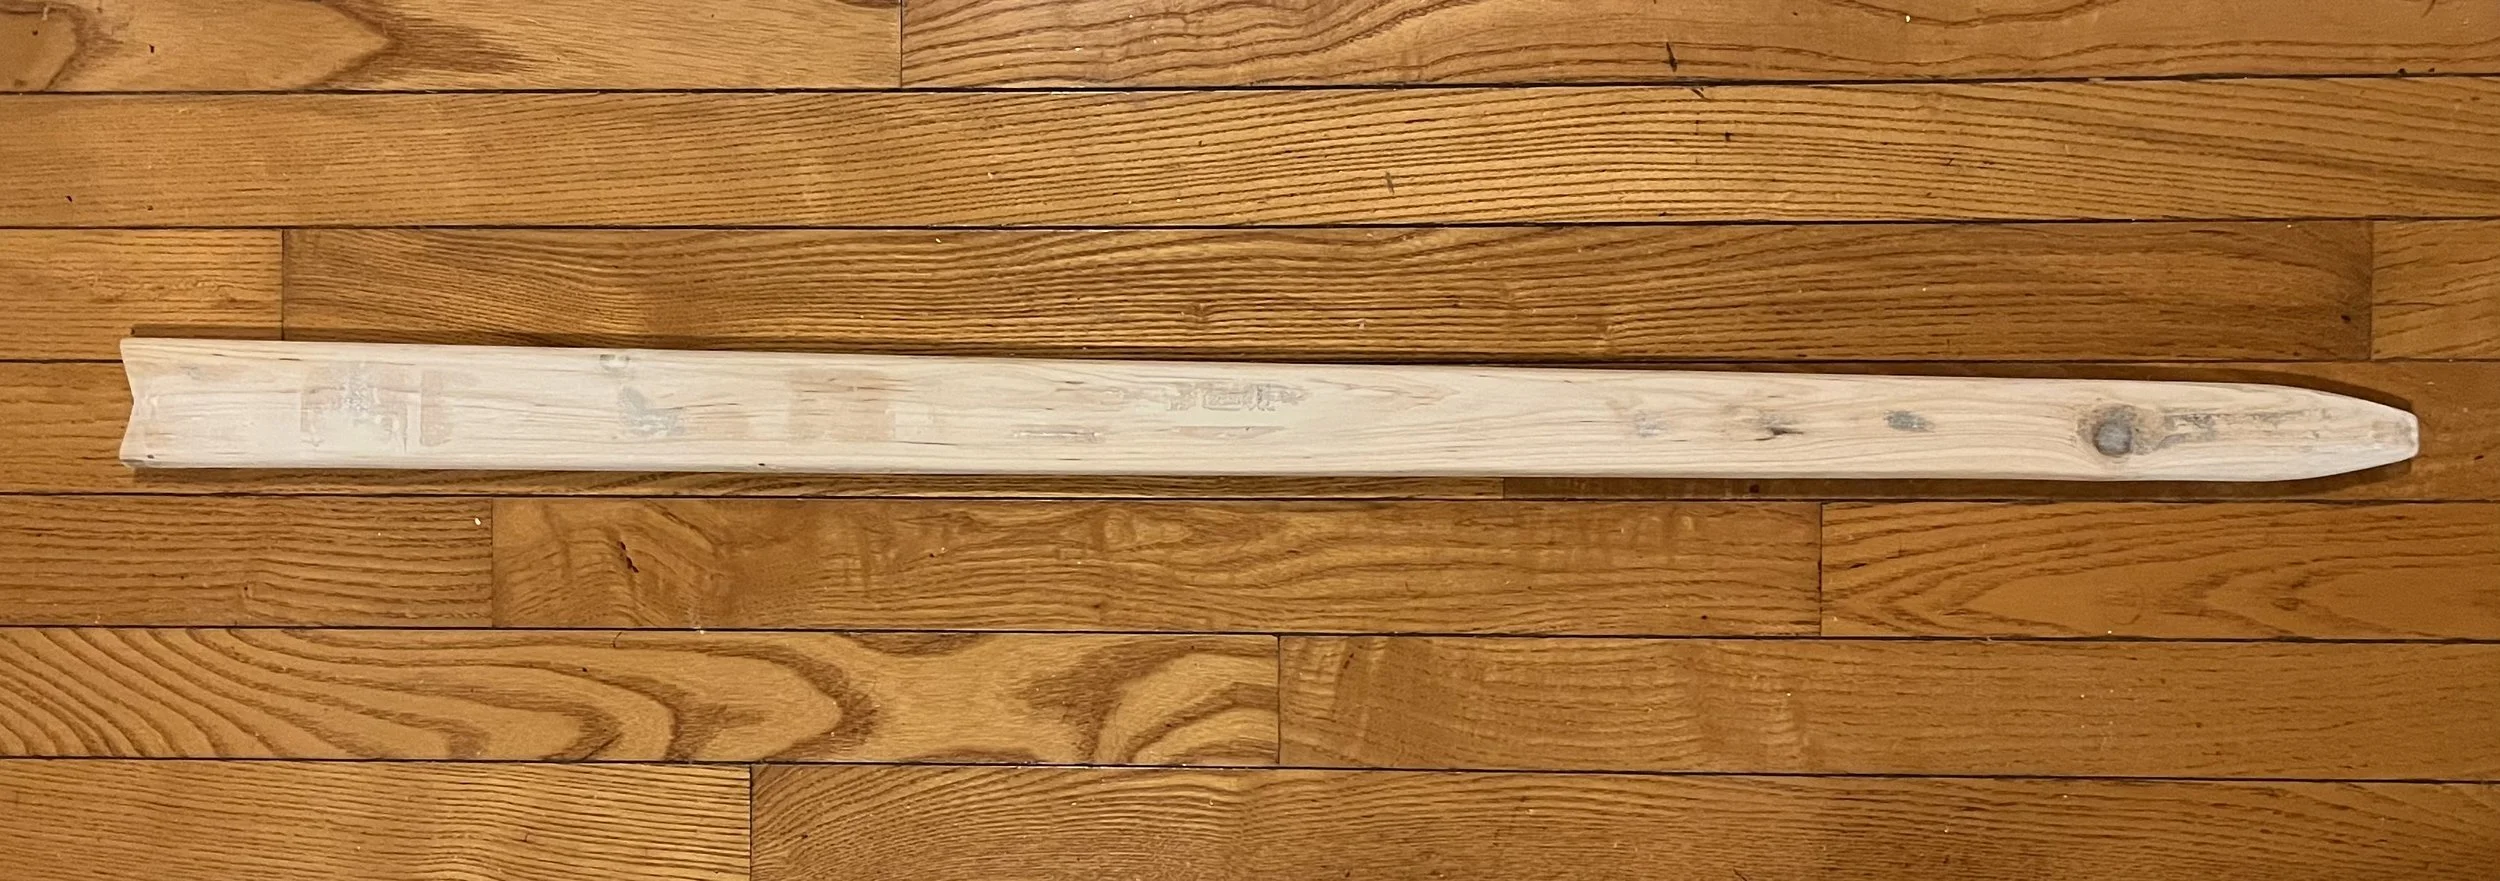
Part I: Prep work
I stripped the outer-layer of fake leather off of the scabbard and the chape was pried off. The fake leather and the chape proved difficult to remove. However, applying heat helped reduce the glue’s hold (thanks to Duke Andreas for the assistance). I saved the chape, as it would be needed later.
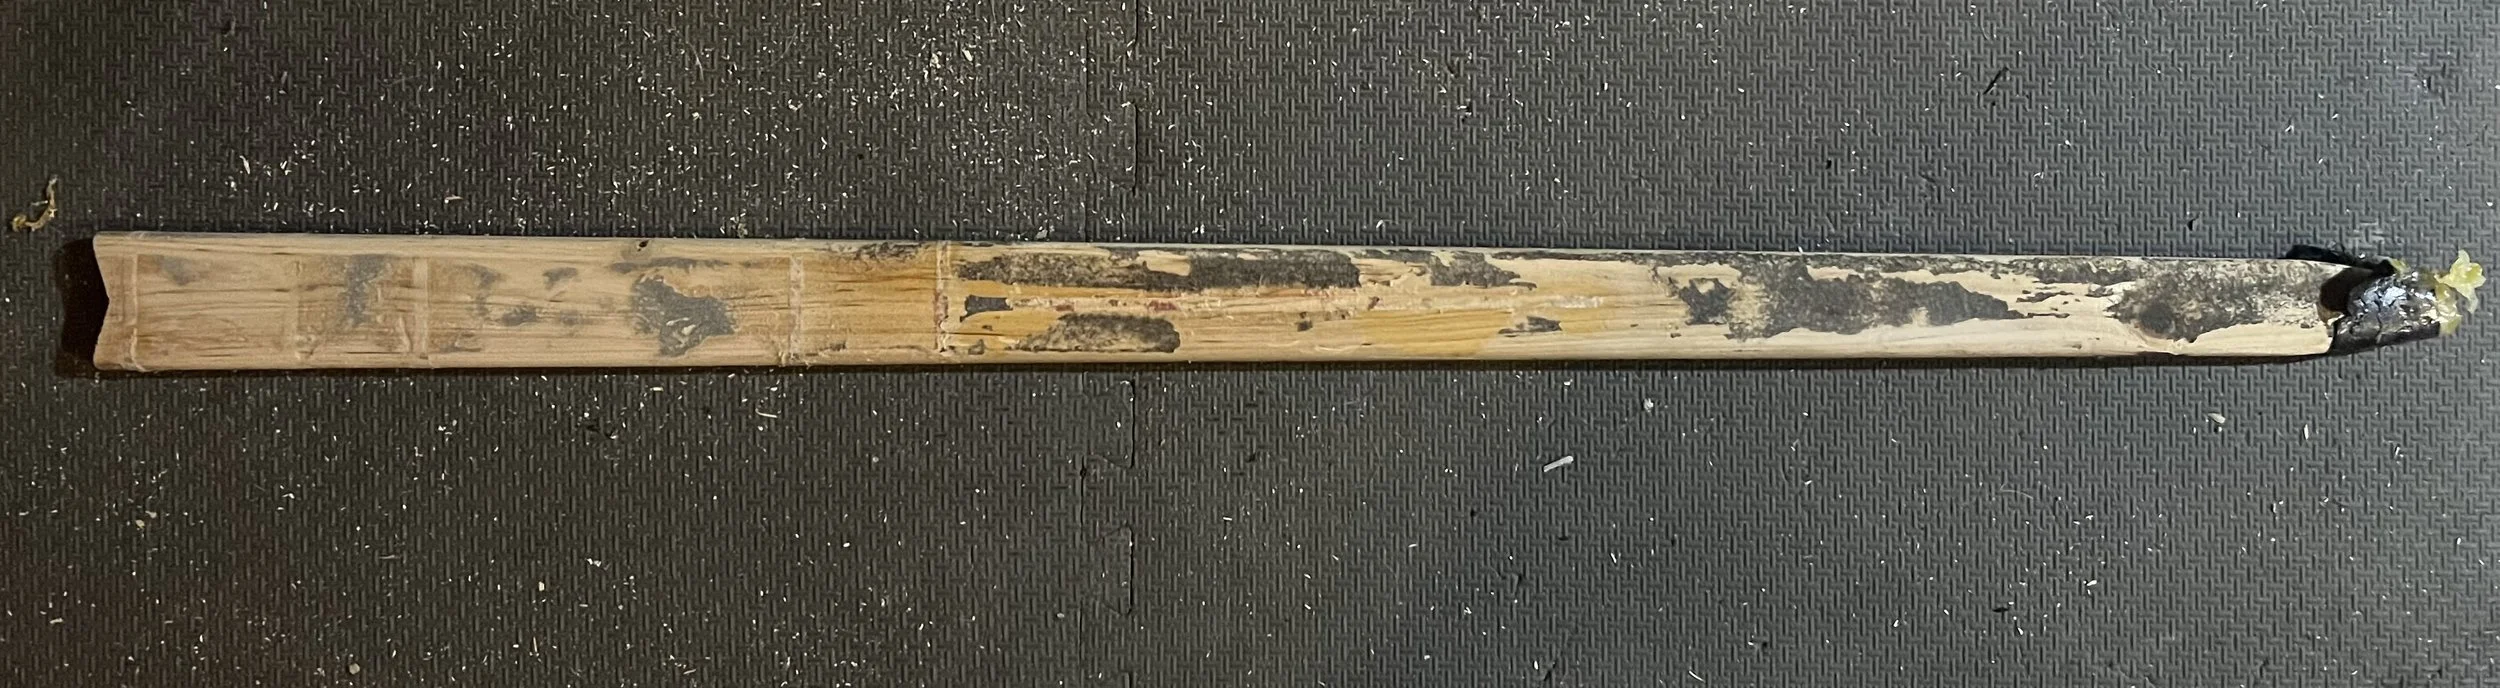
A bit of glue was left over after most of the fake leather was off. I sanded this glue off as best I could. I used Goo Gone to assist with this.
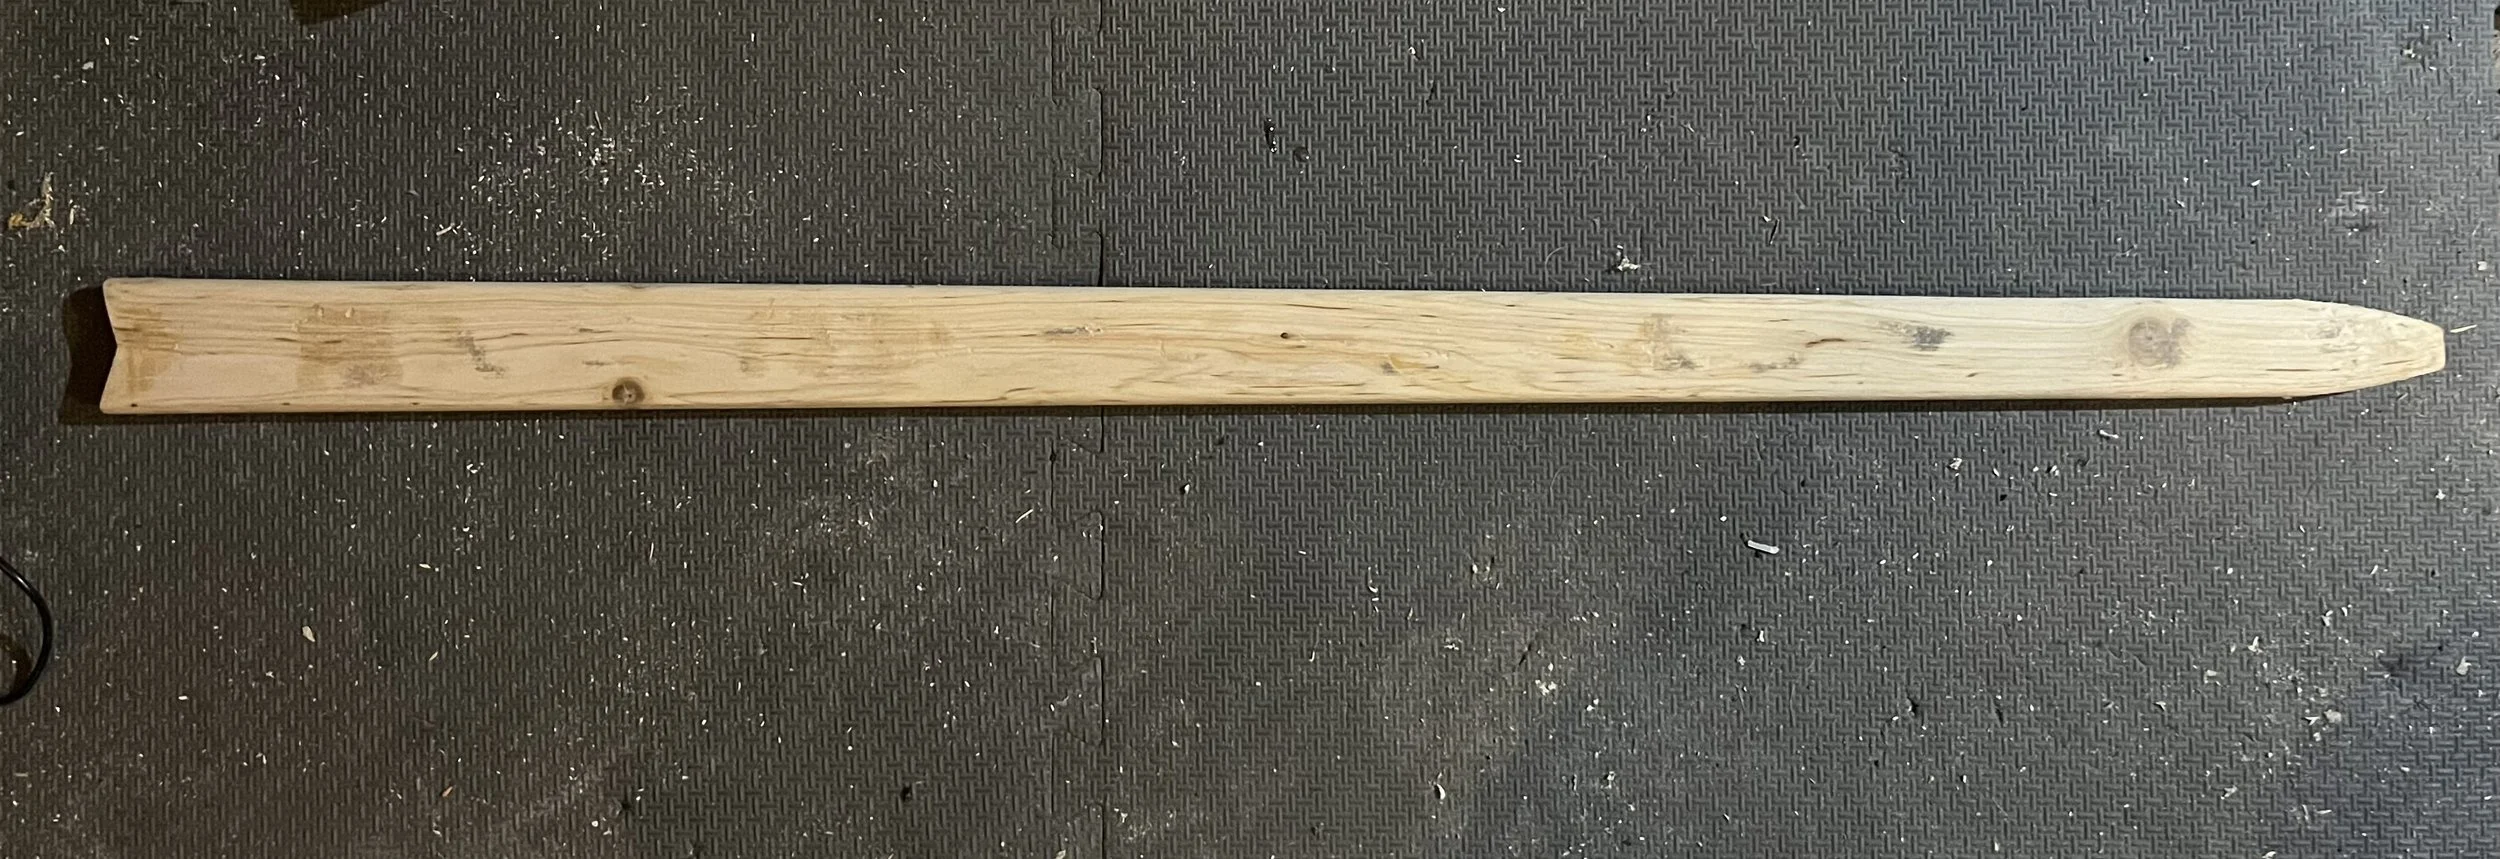
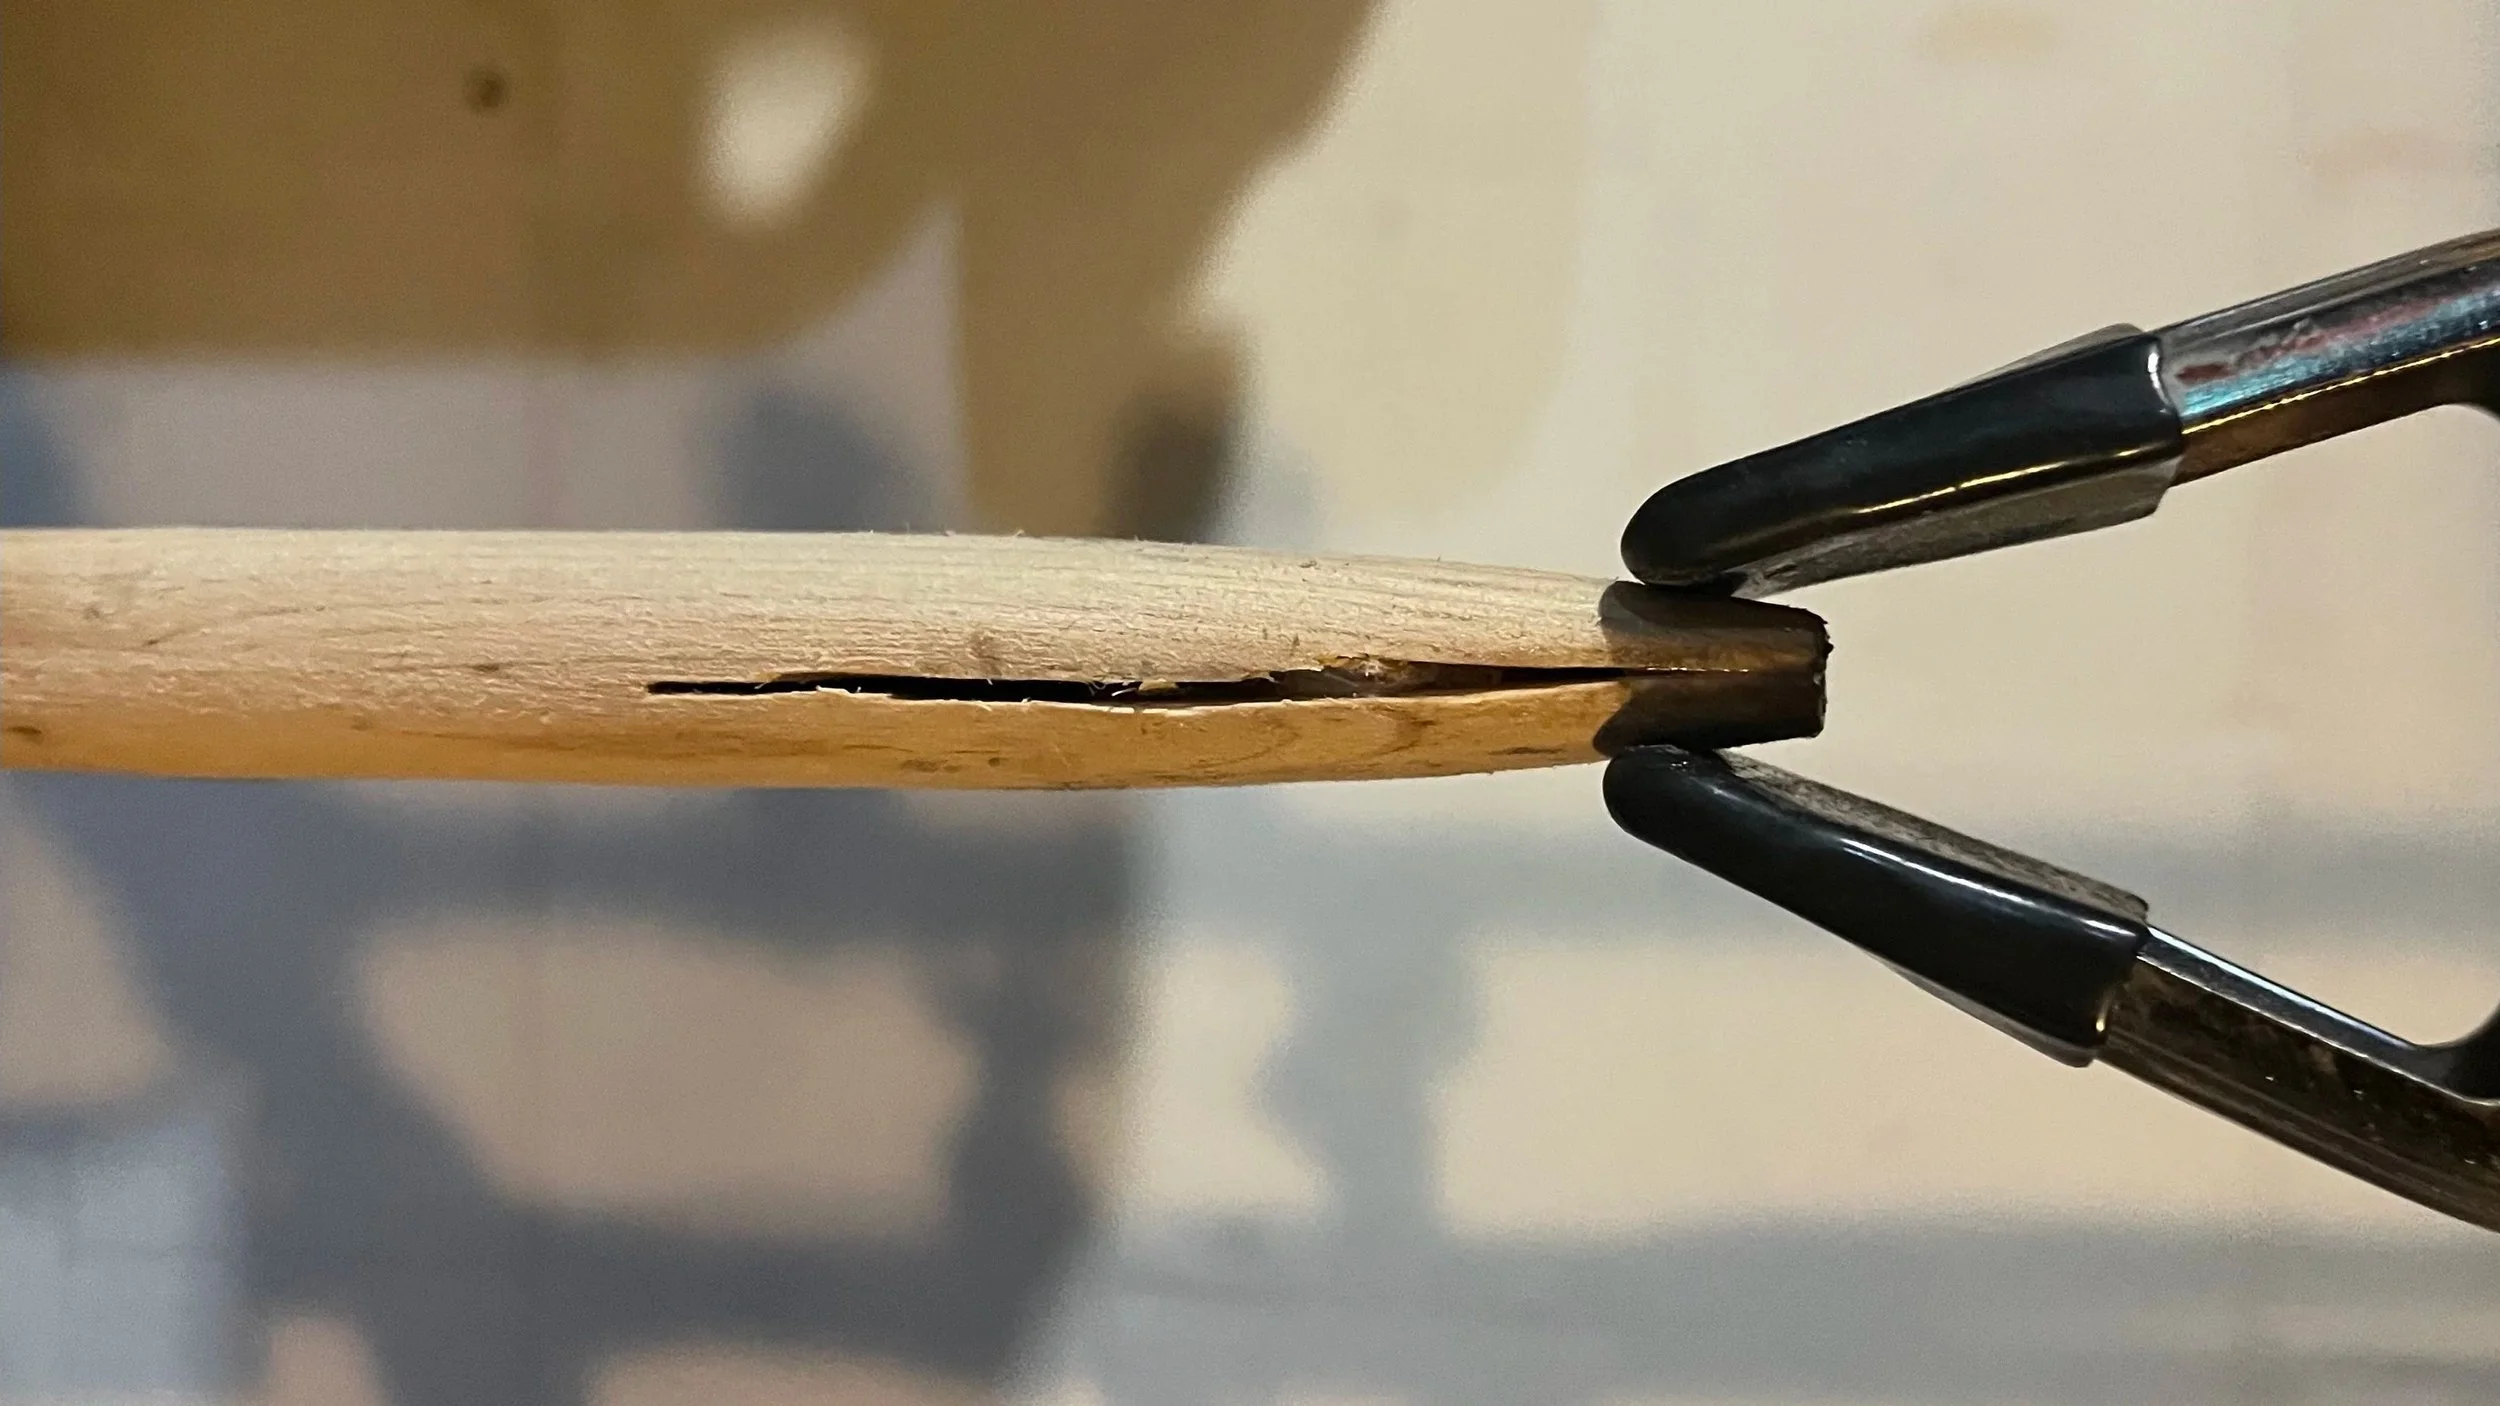
Overall, the scabbard’s fit was pretty good. It was just a little loose near the chape where the sword got narrower (this caused a rattling sound when the sword and scabbard were shaken). To improve the fit, I took a Dremil tool and cut a small notch into the end of the core. I then carefully applied glue (so that is would not seep inwards into the hollow of the scabbard) and clamped it down.
After I was done, there were a fair number of gauges in the wood. To even this out, I applied some wood fill and sanded it smooth again.
Part II: Leatherwork
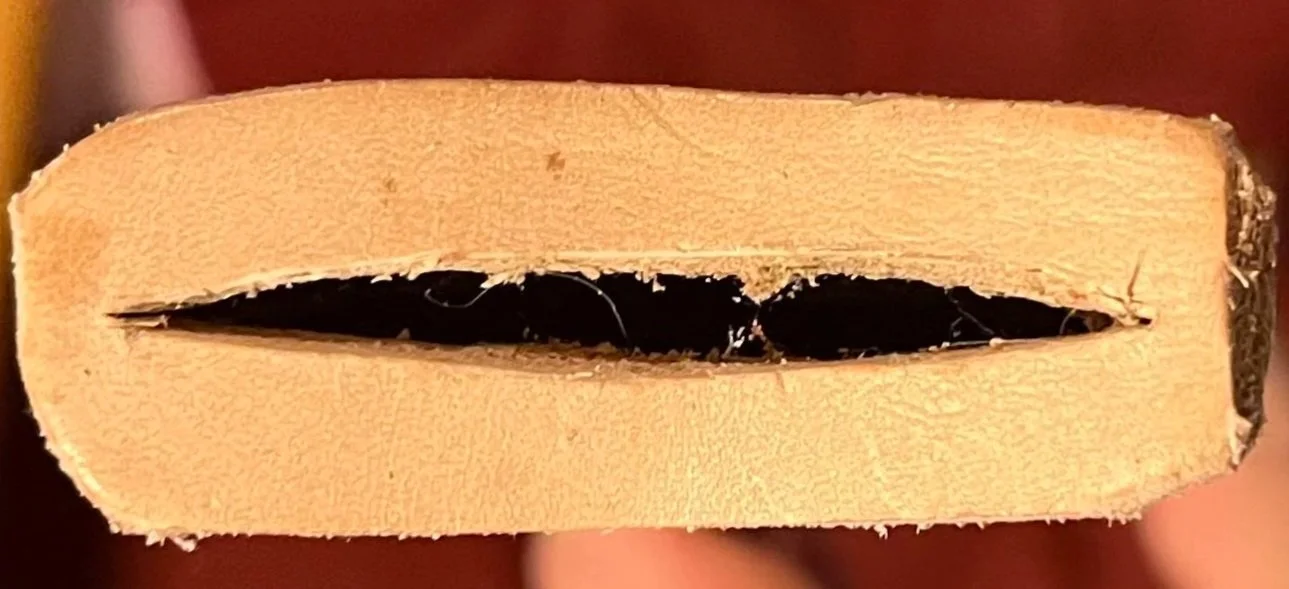
After the core was ready, I made a change to the top opening (the mouth). I cut out a bit of 4 mm leather and added a slit to this leather. This slit was just wide enough for the blade of the sword to pass through. I then glued this piece of leather to the mouth, carefully, using two-part epoxy. This leather strip helps to grip the blade and keep the sword from sliding out of the scabbard.
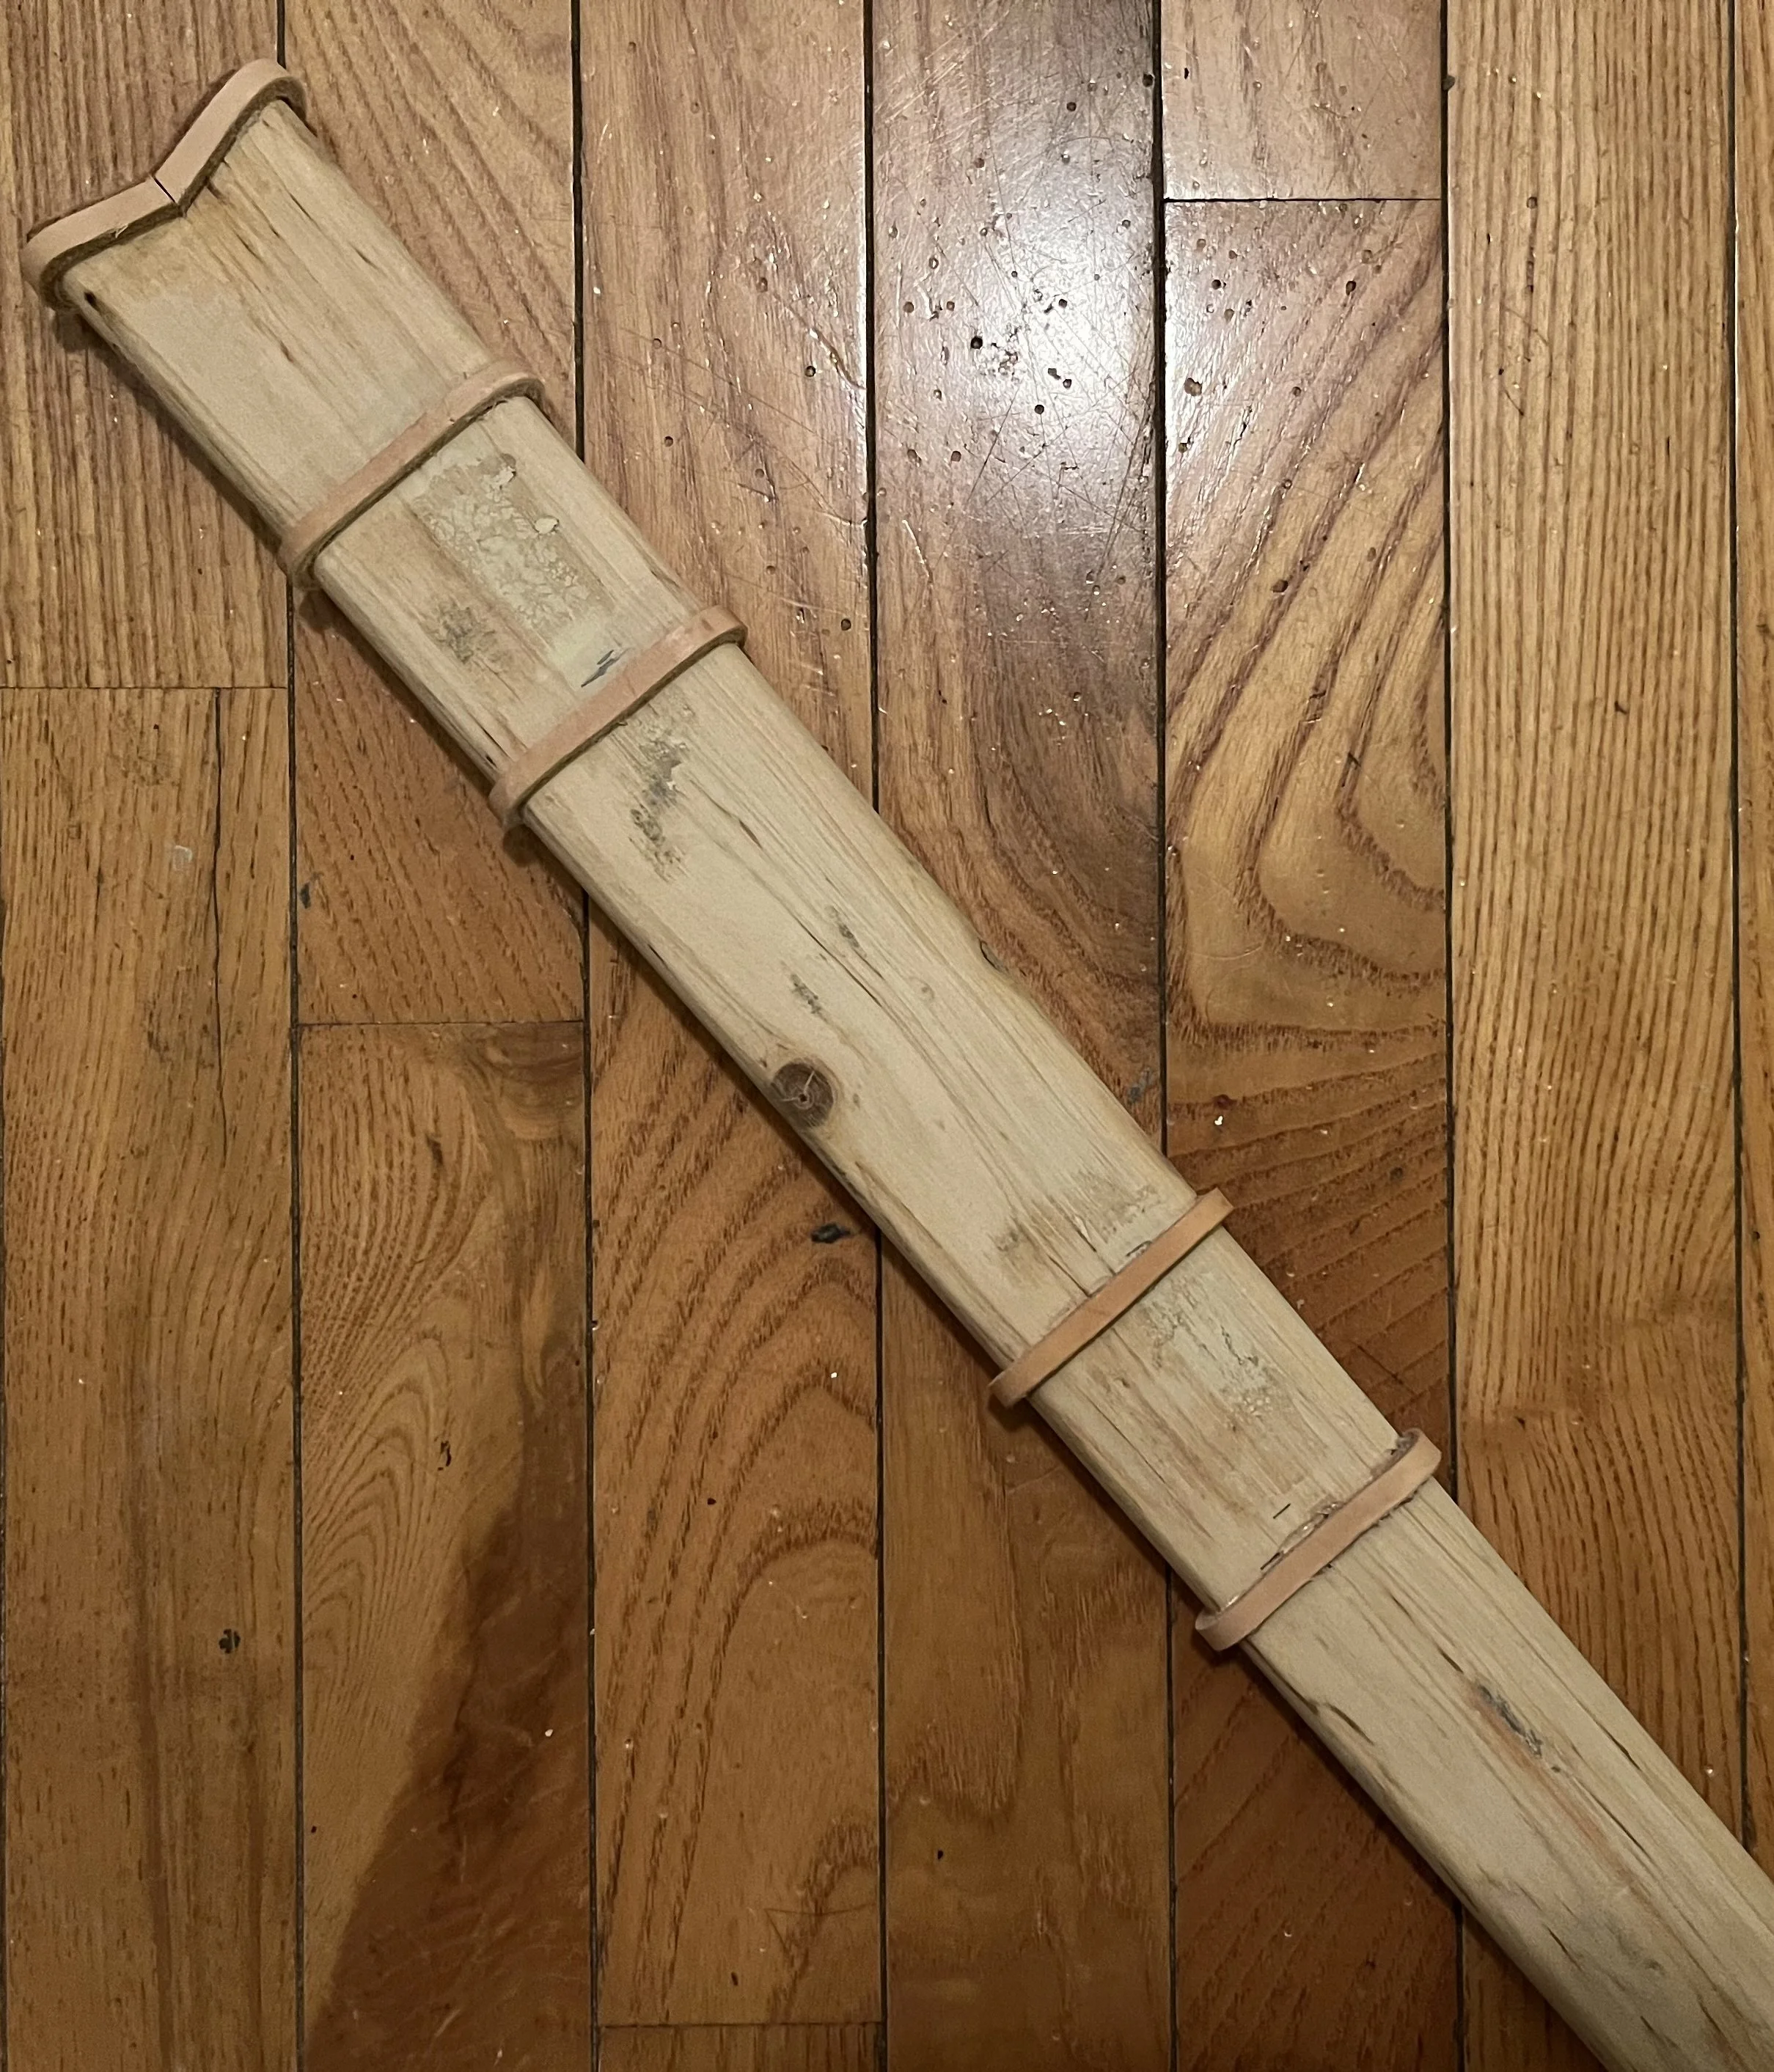
I then began gluing down the raisers. For the raisers, I used thin strips of 4 mm leather. These raisers were spaced apart a little wider than 3 times as wide as the suspension belts. To hold the raisers in place, I used hot glue. The glue does not need to be strong, just strong enough to keep anything from moving while the cover leather is going on. Hot glue does this job well. I used an X-Acto knife to cut away any glue that seeped out from under the raisers.
Next was the outer leather. I took several measurements of the core (circumference of the mouth, around the raisers, between the raisers, near the bottom where the chape would go, and the overall length). I got a section of 0.8 mm veg tan leather and applied the measurements to the flesh side (the suede side). The measurements of the leather should be tight to the measurements of the core. The leather will loosen when it is wet, and then tighten as it dries.
I did a quick check to make sure the leather would fit around the core (I may have undermeasured before… oops). I then cut the leather out and soaked it in water. After the leather was soaked through, I wiped away the excess water and I punched a series of holes around the edges using a leather punch/spike.
Using artificial sinew, I sewed the leather around the core. I had to move quickly, as the leather tightened as it dried and became more difficult to work. When needed, I rewet the leather.
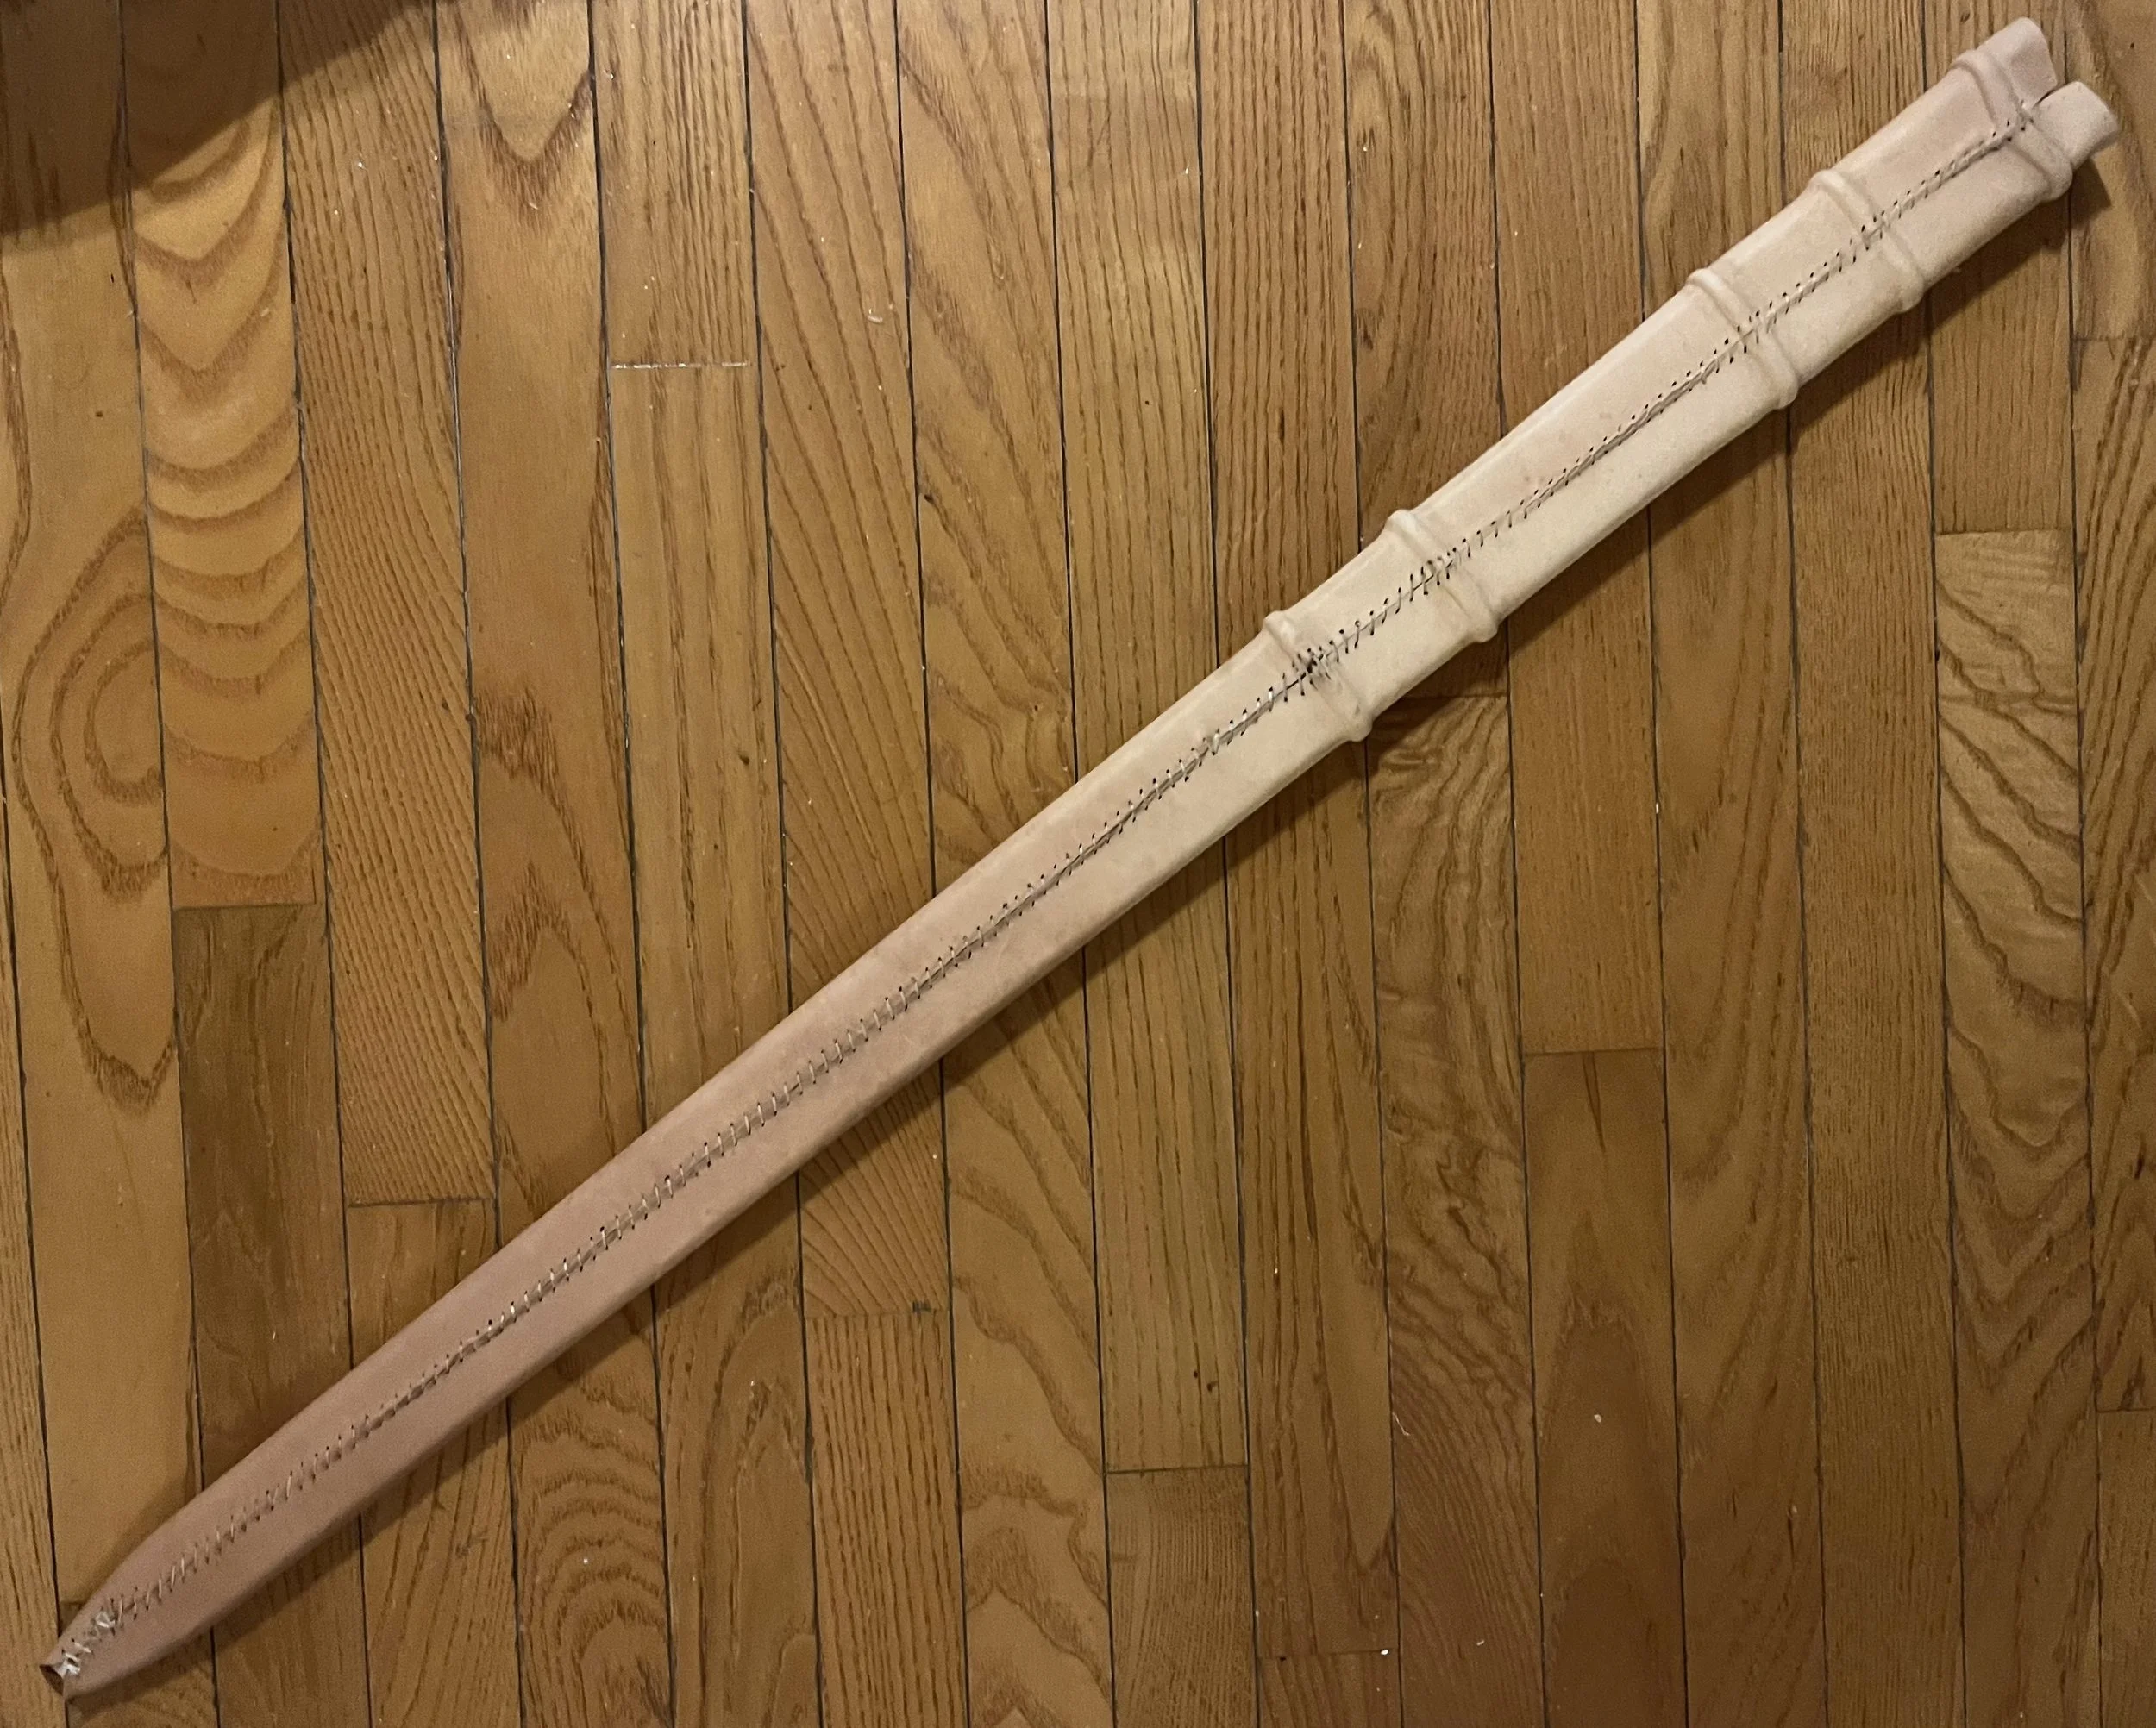
As I was sewing on the leather shell, I needed to shape the leather around the raisers. I used a smooth metal wedge to work the leather down into the edges at the base of the raisers and the wooden core, which helped the leather form around the raisers.
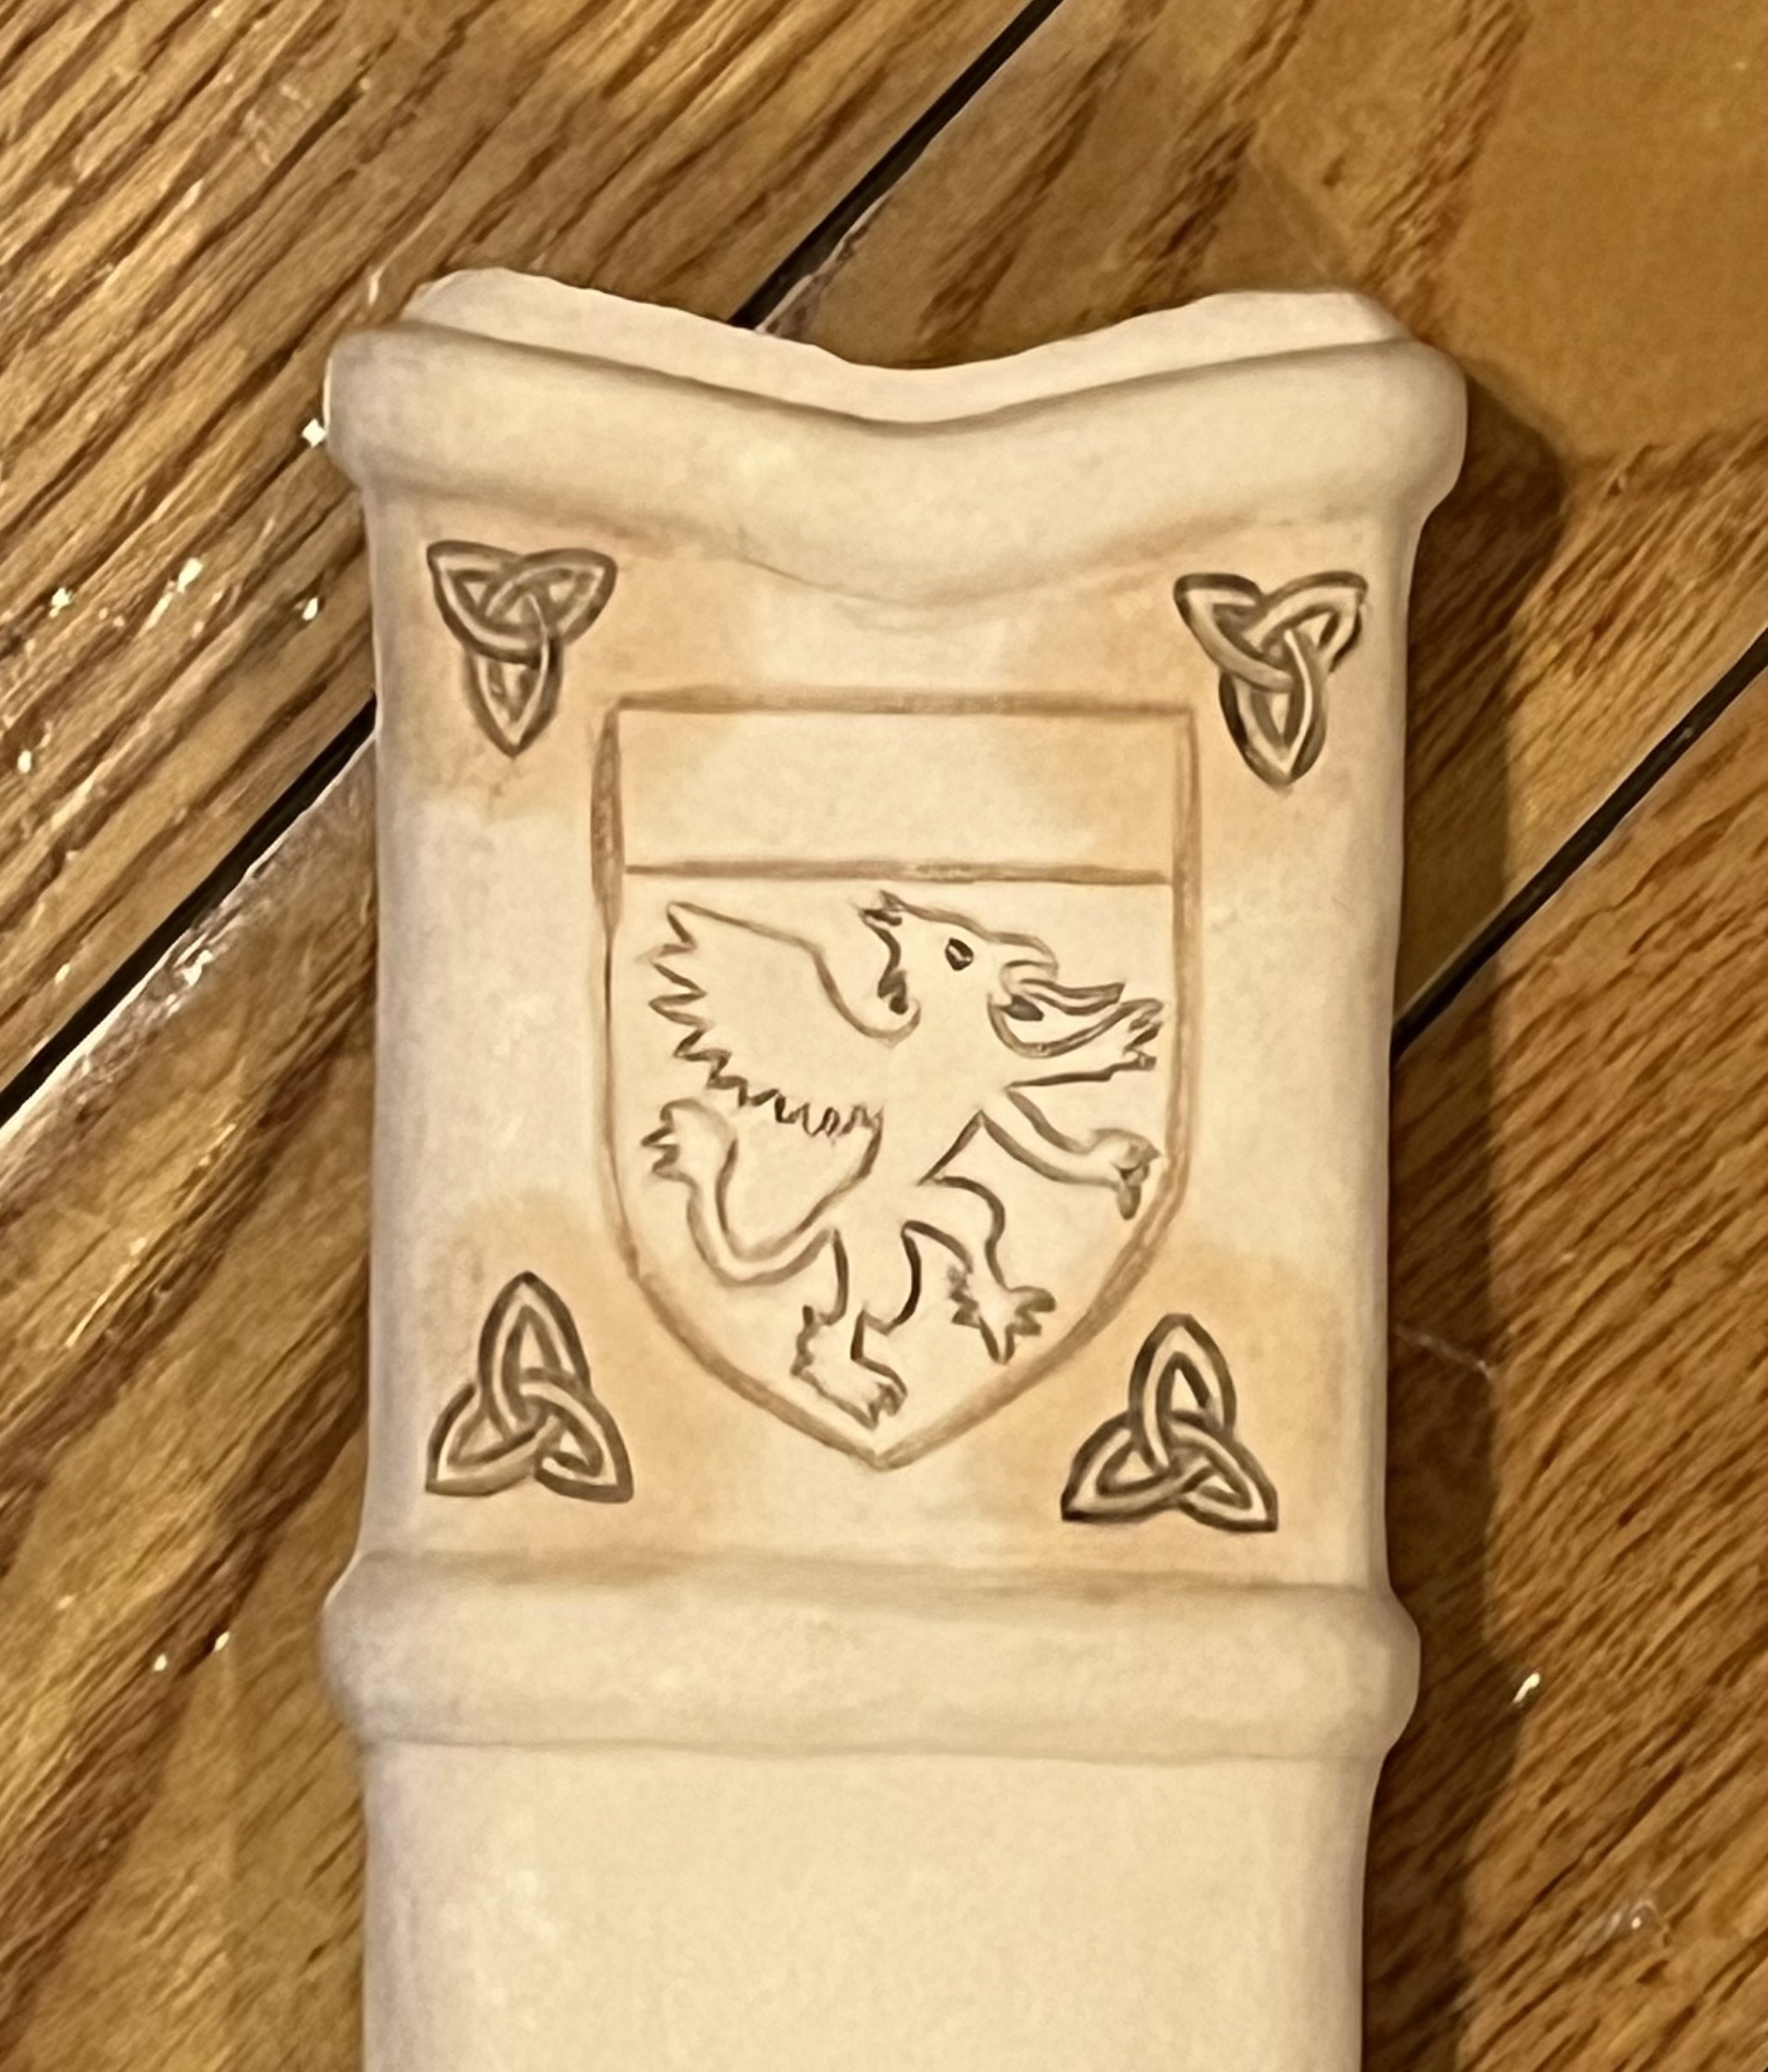
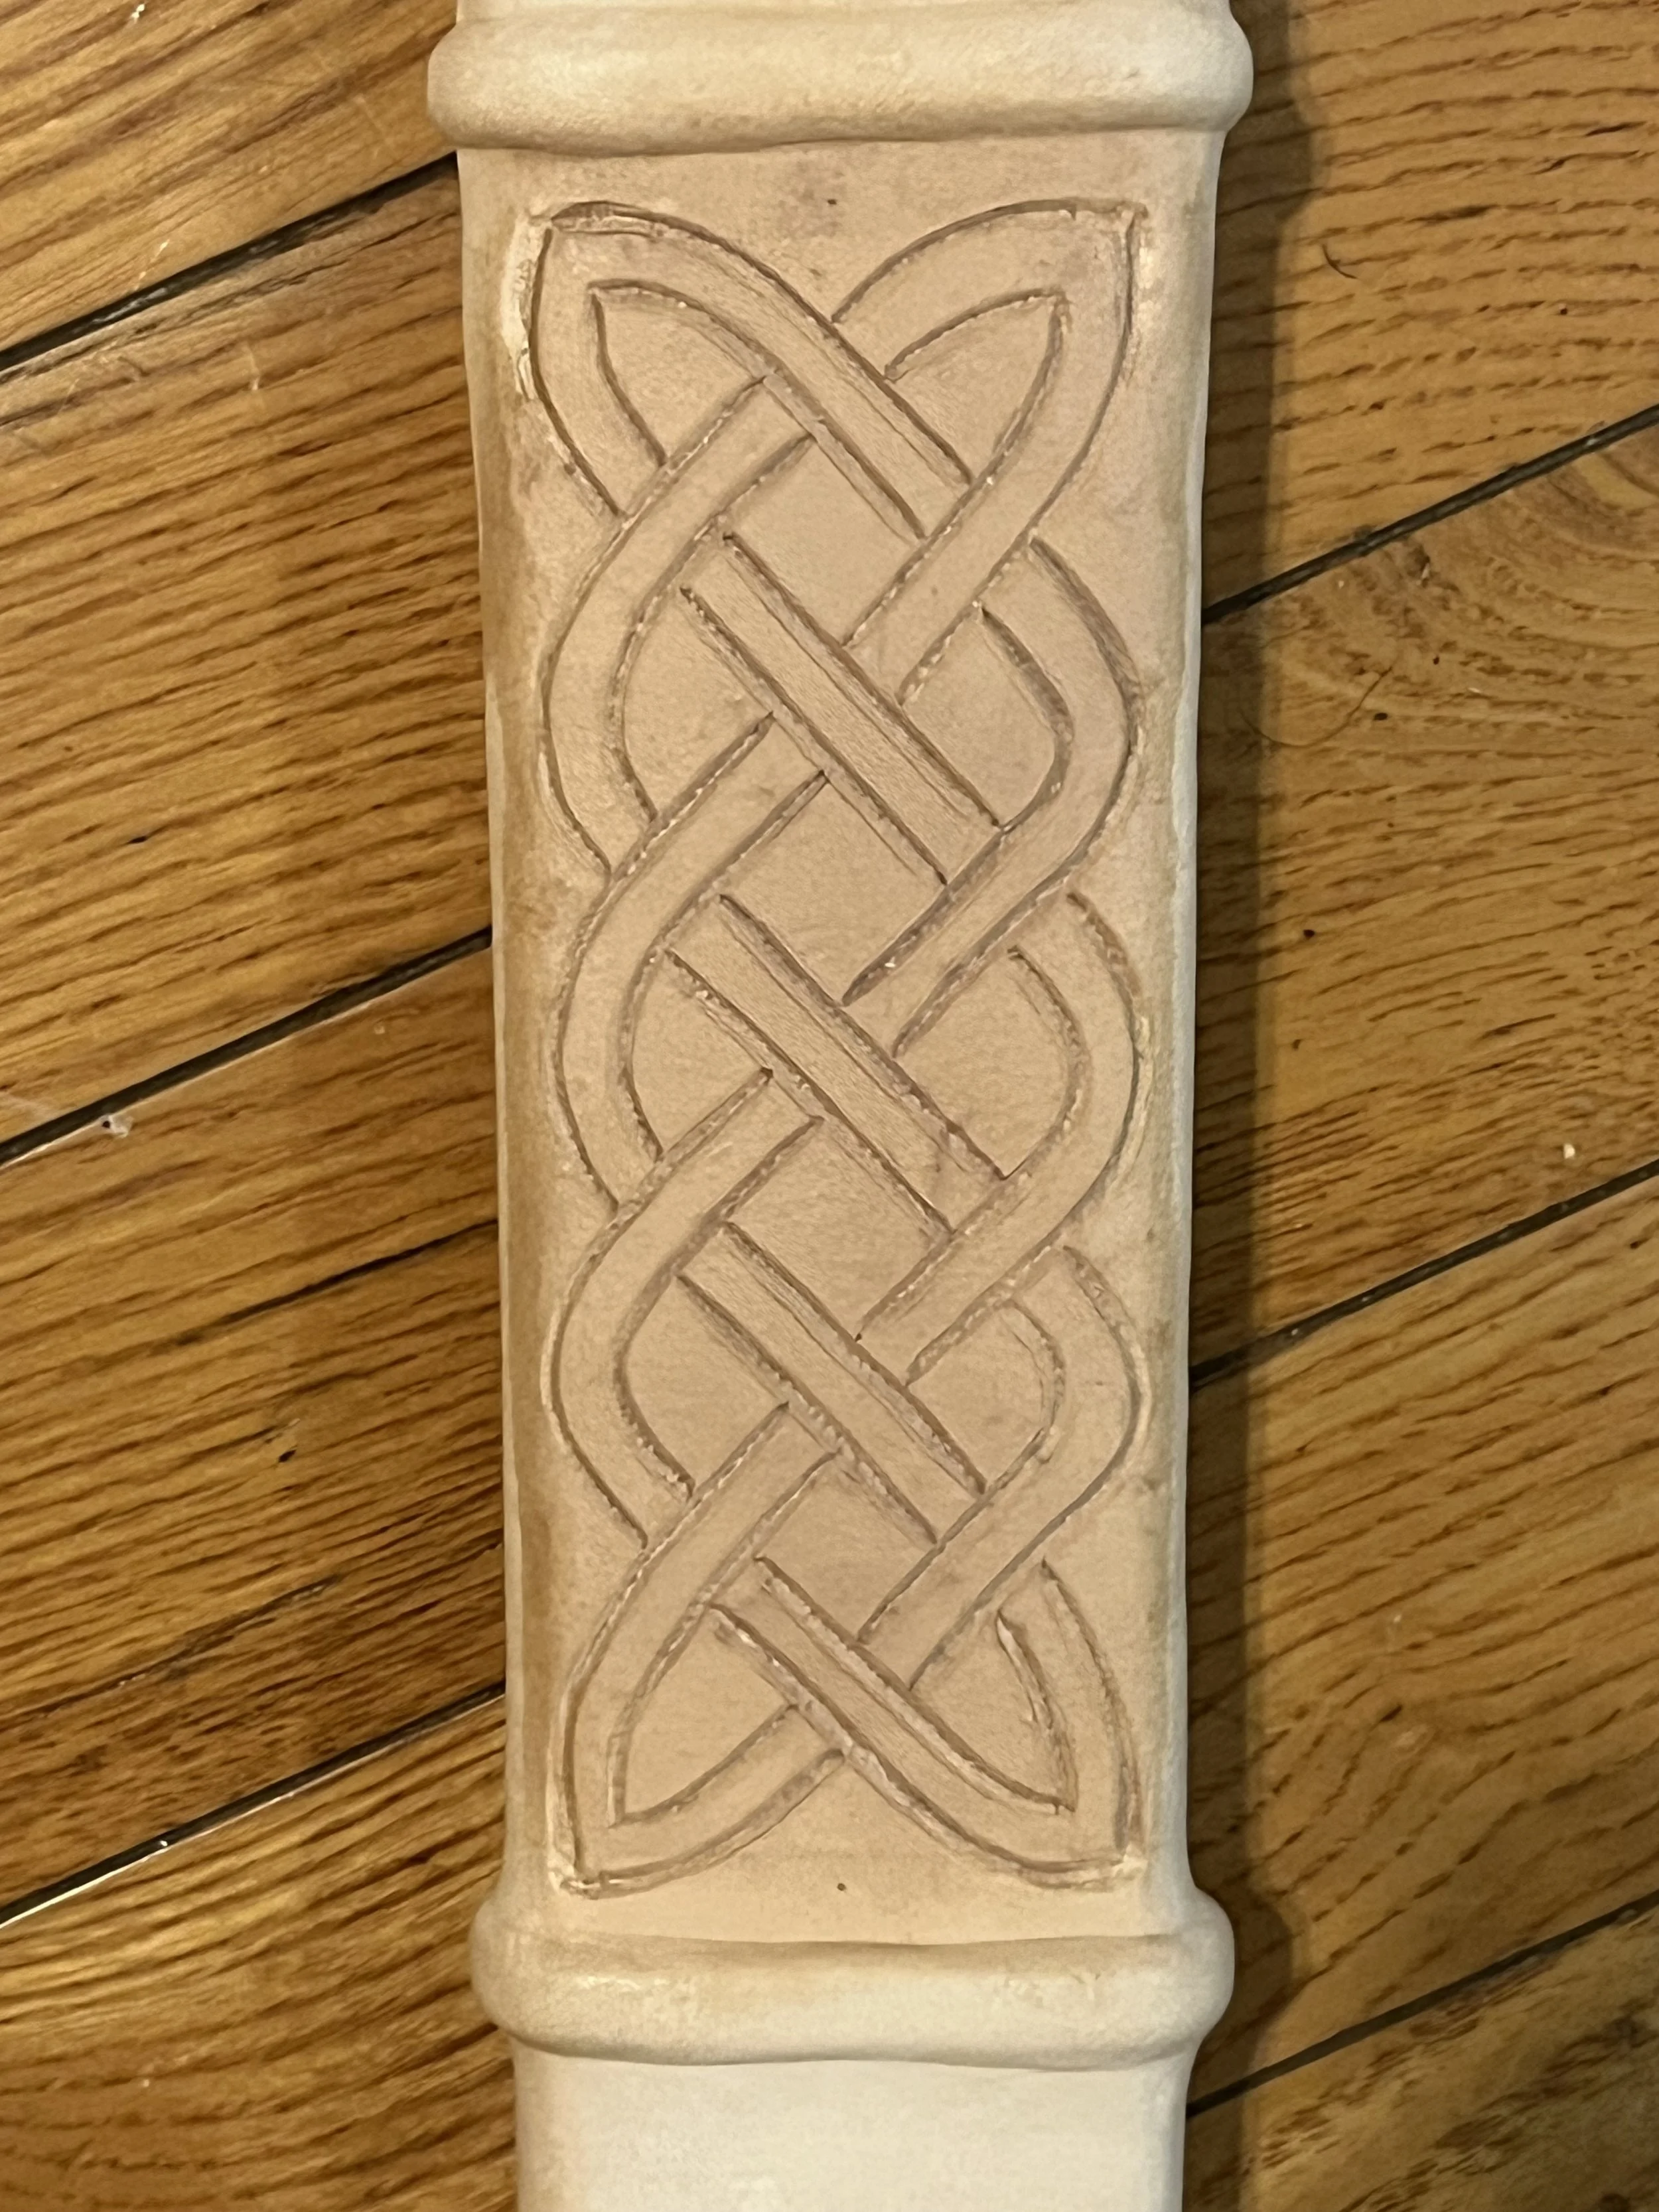
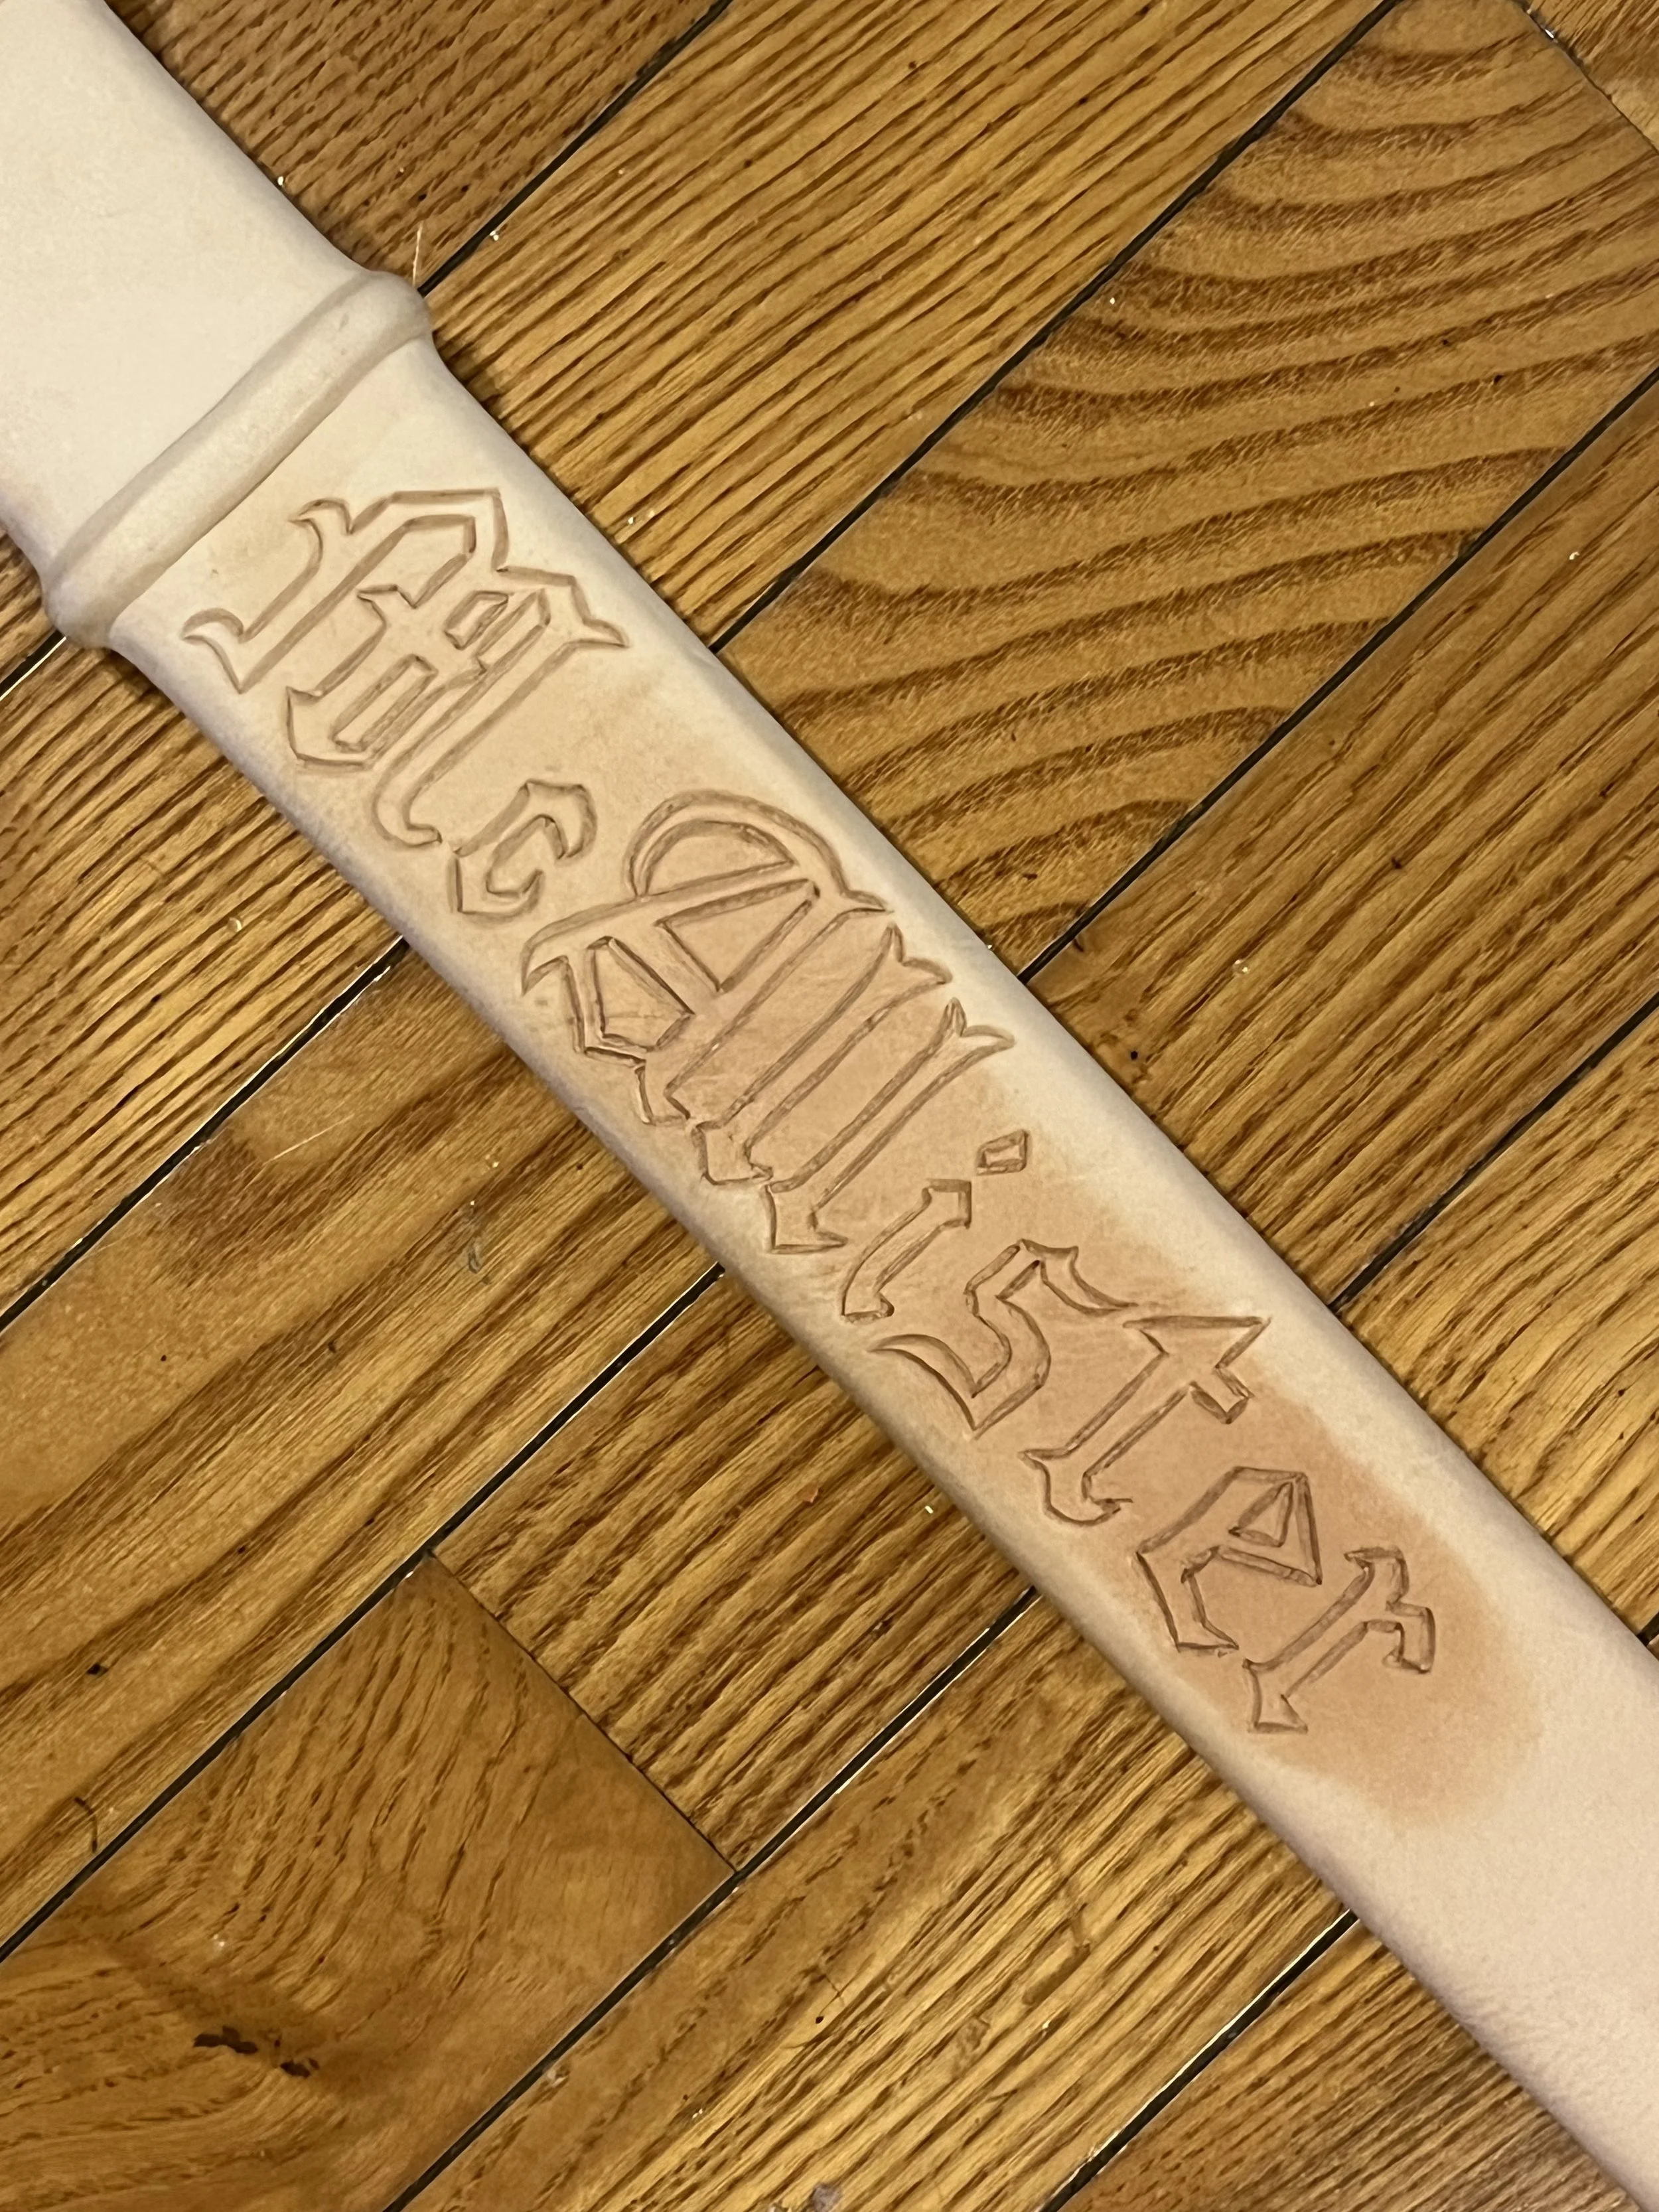
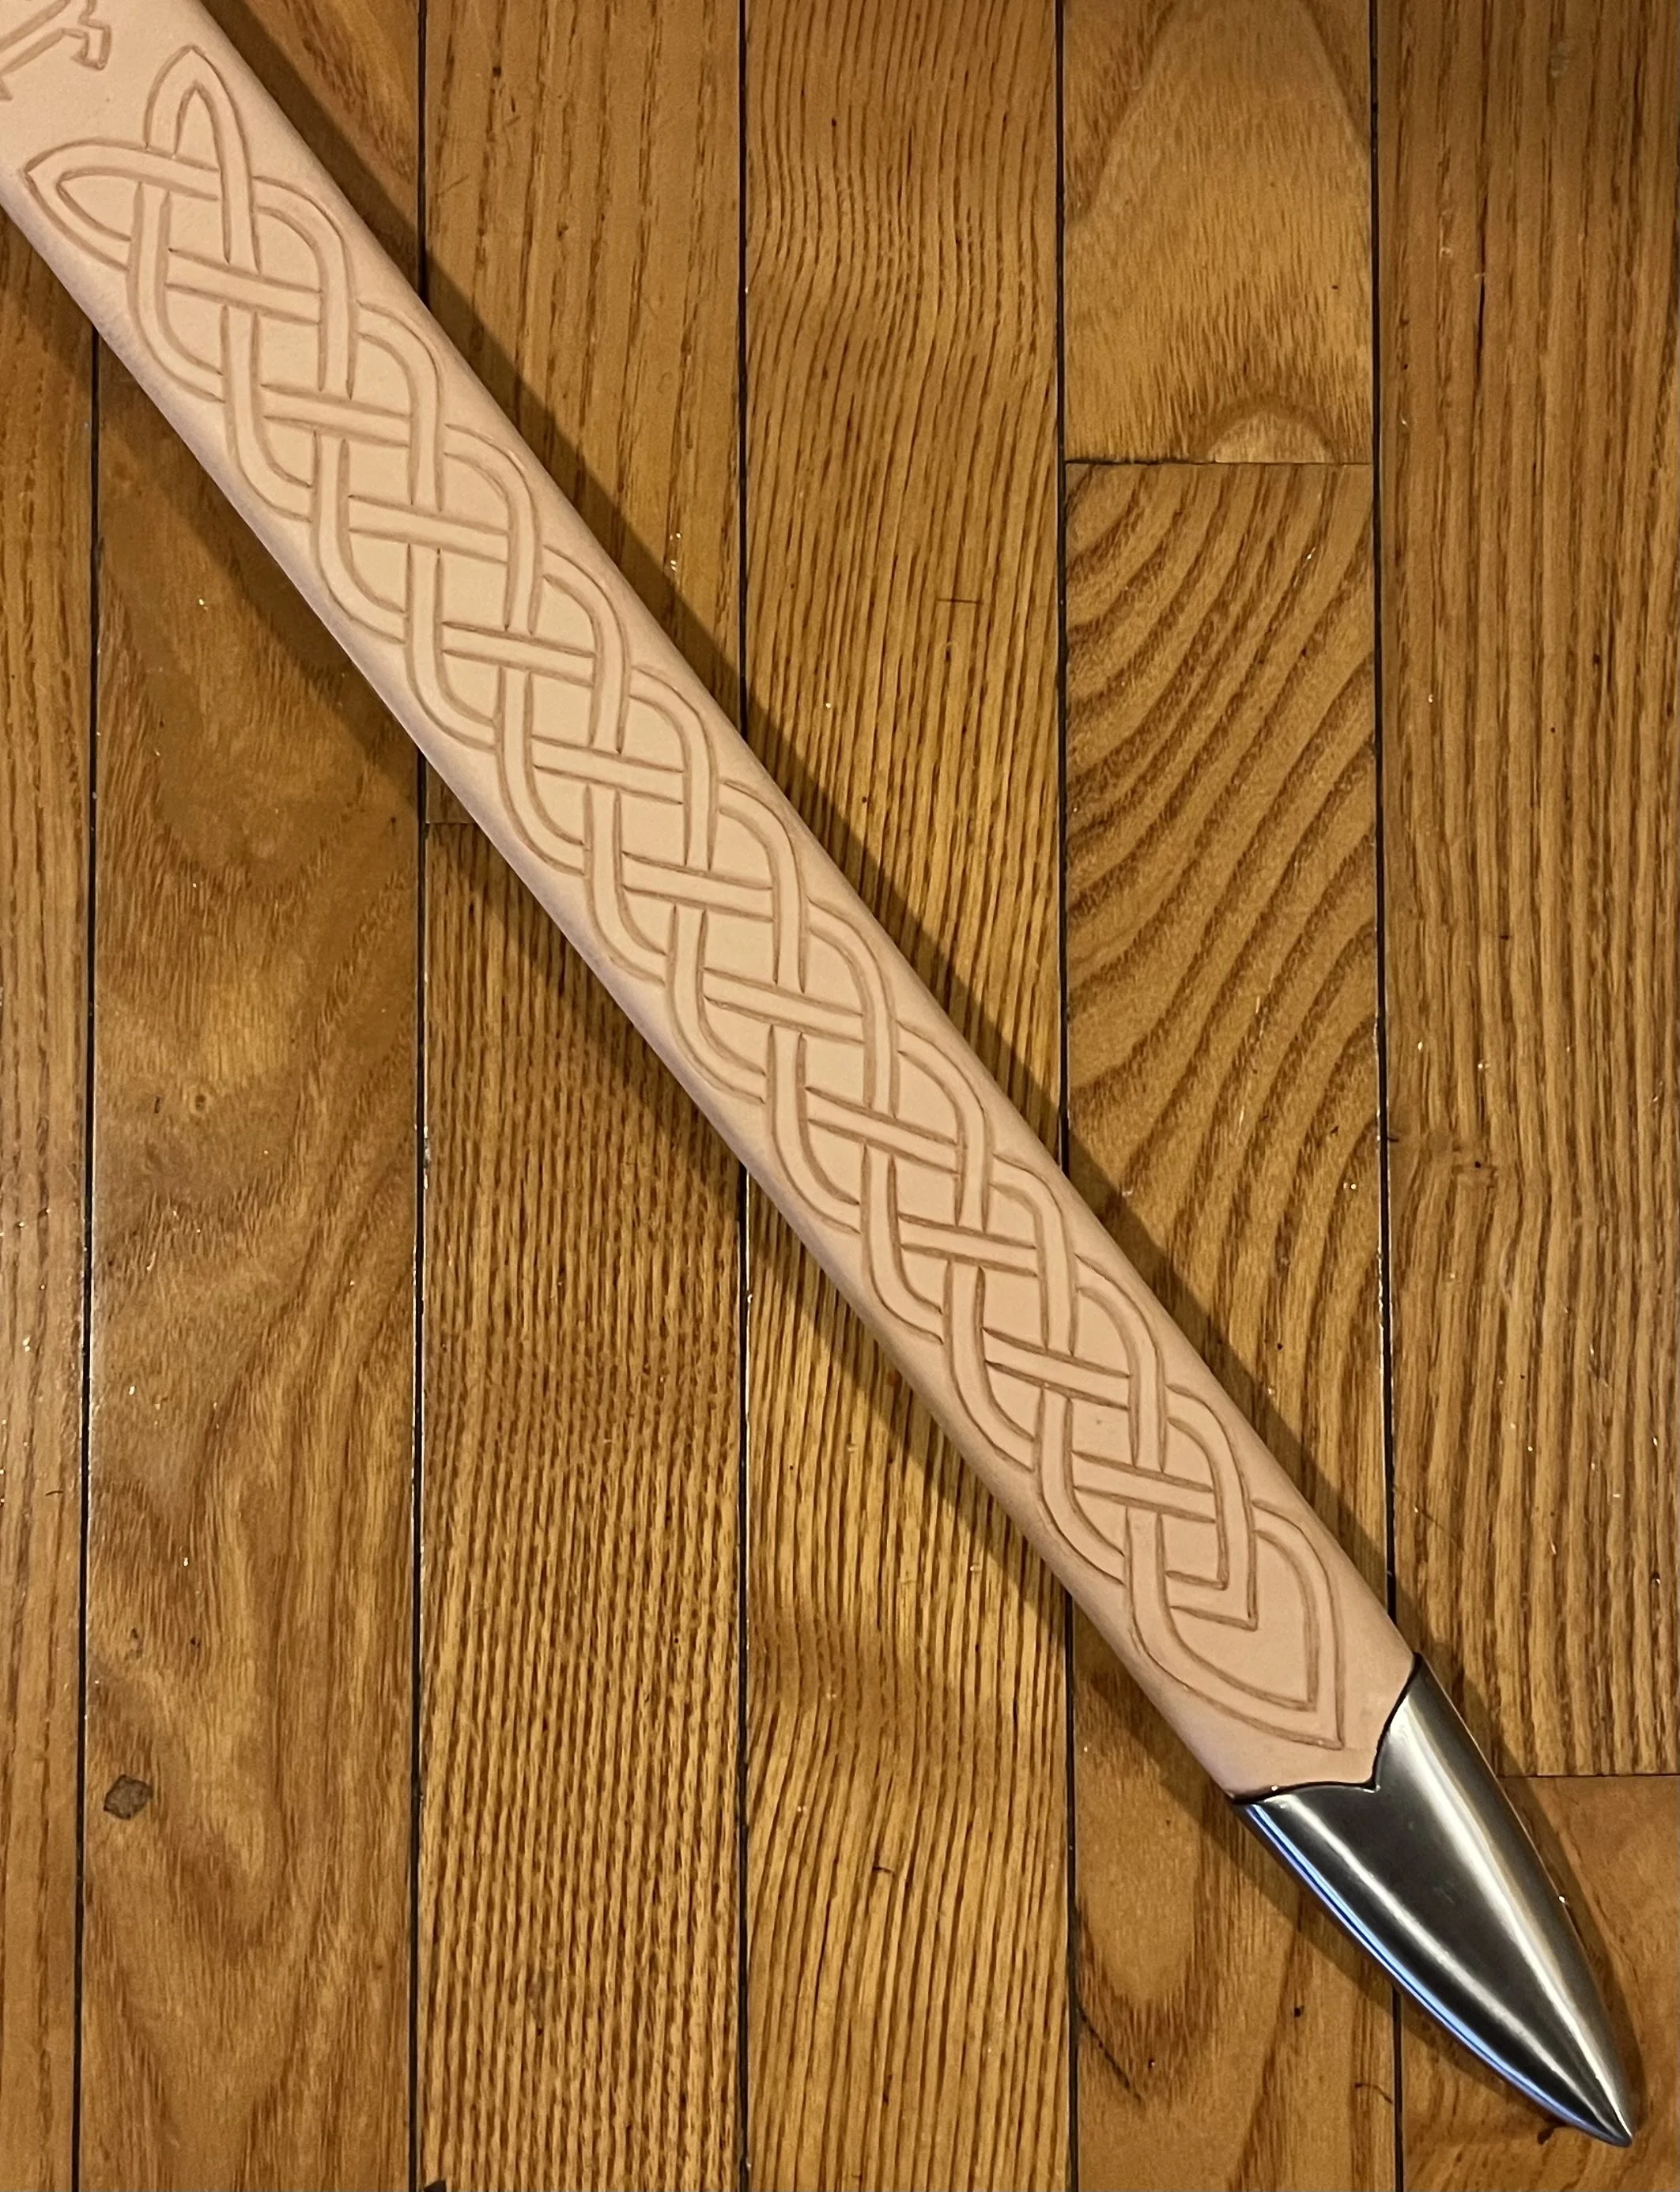
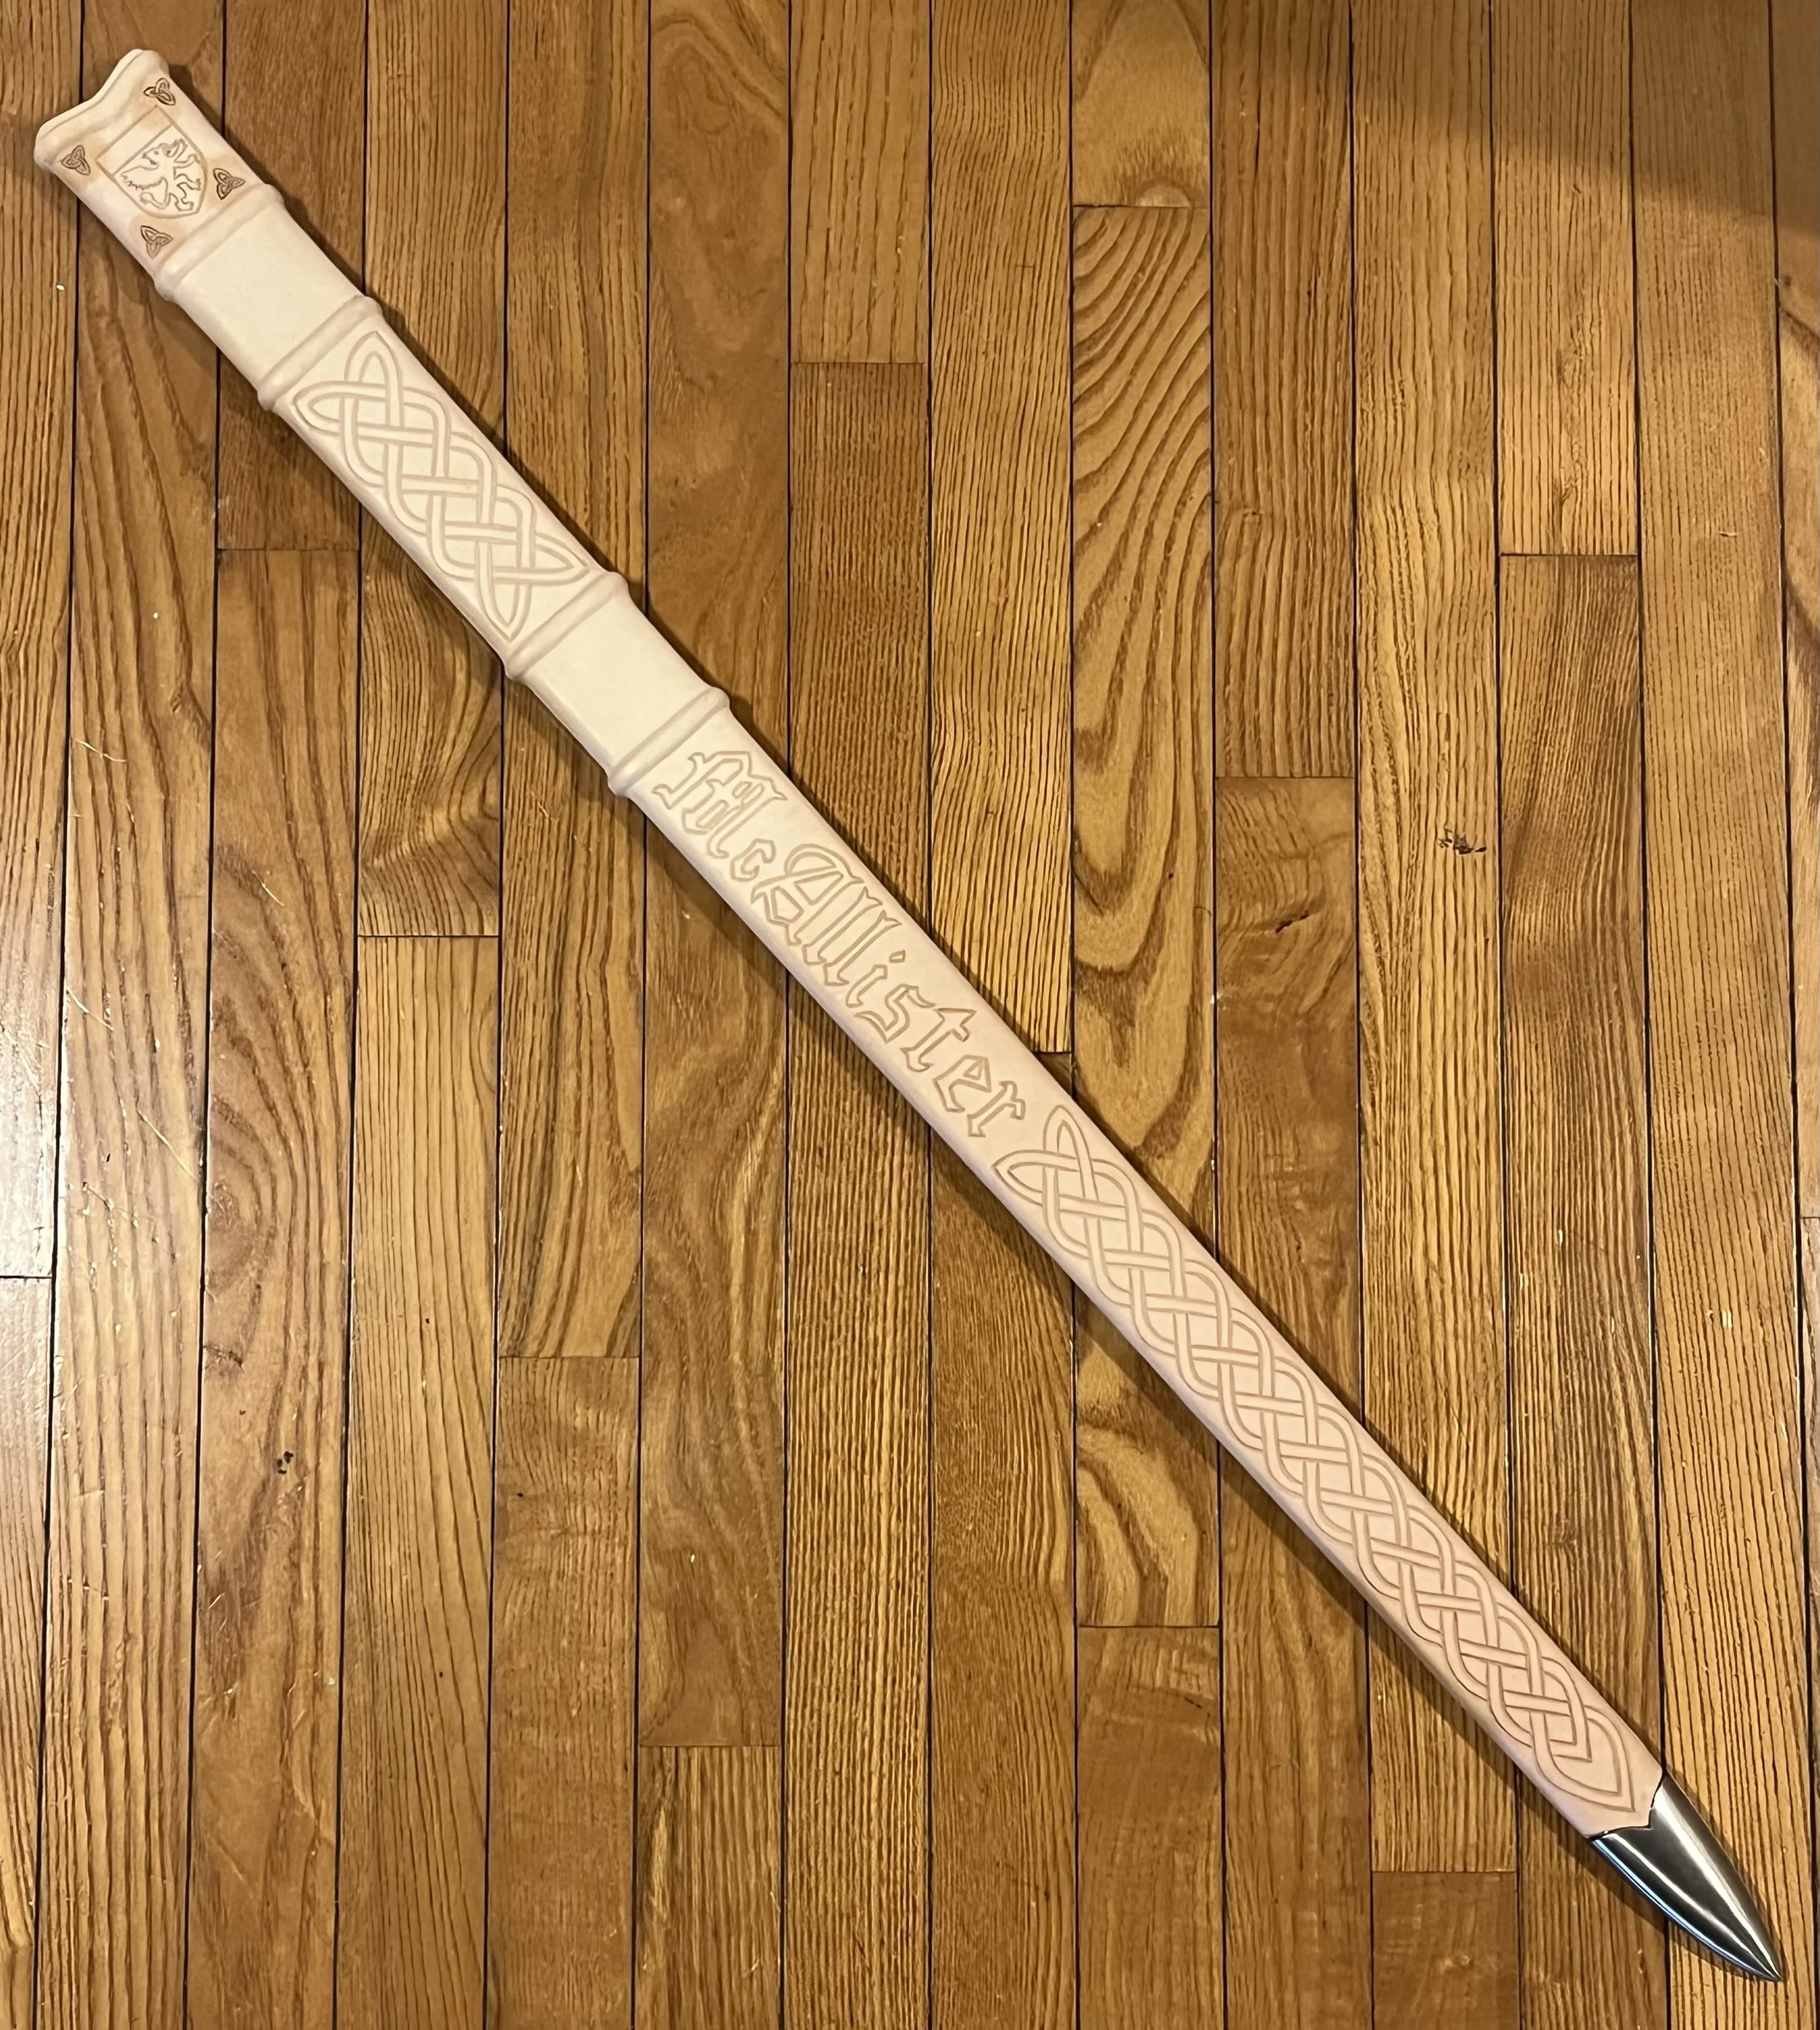
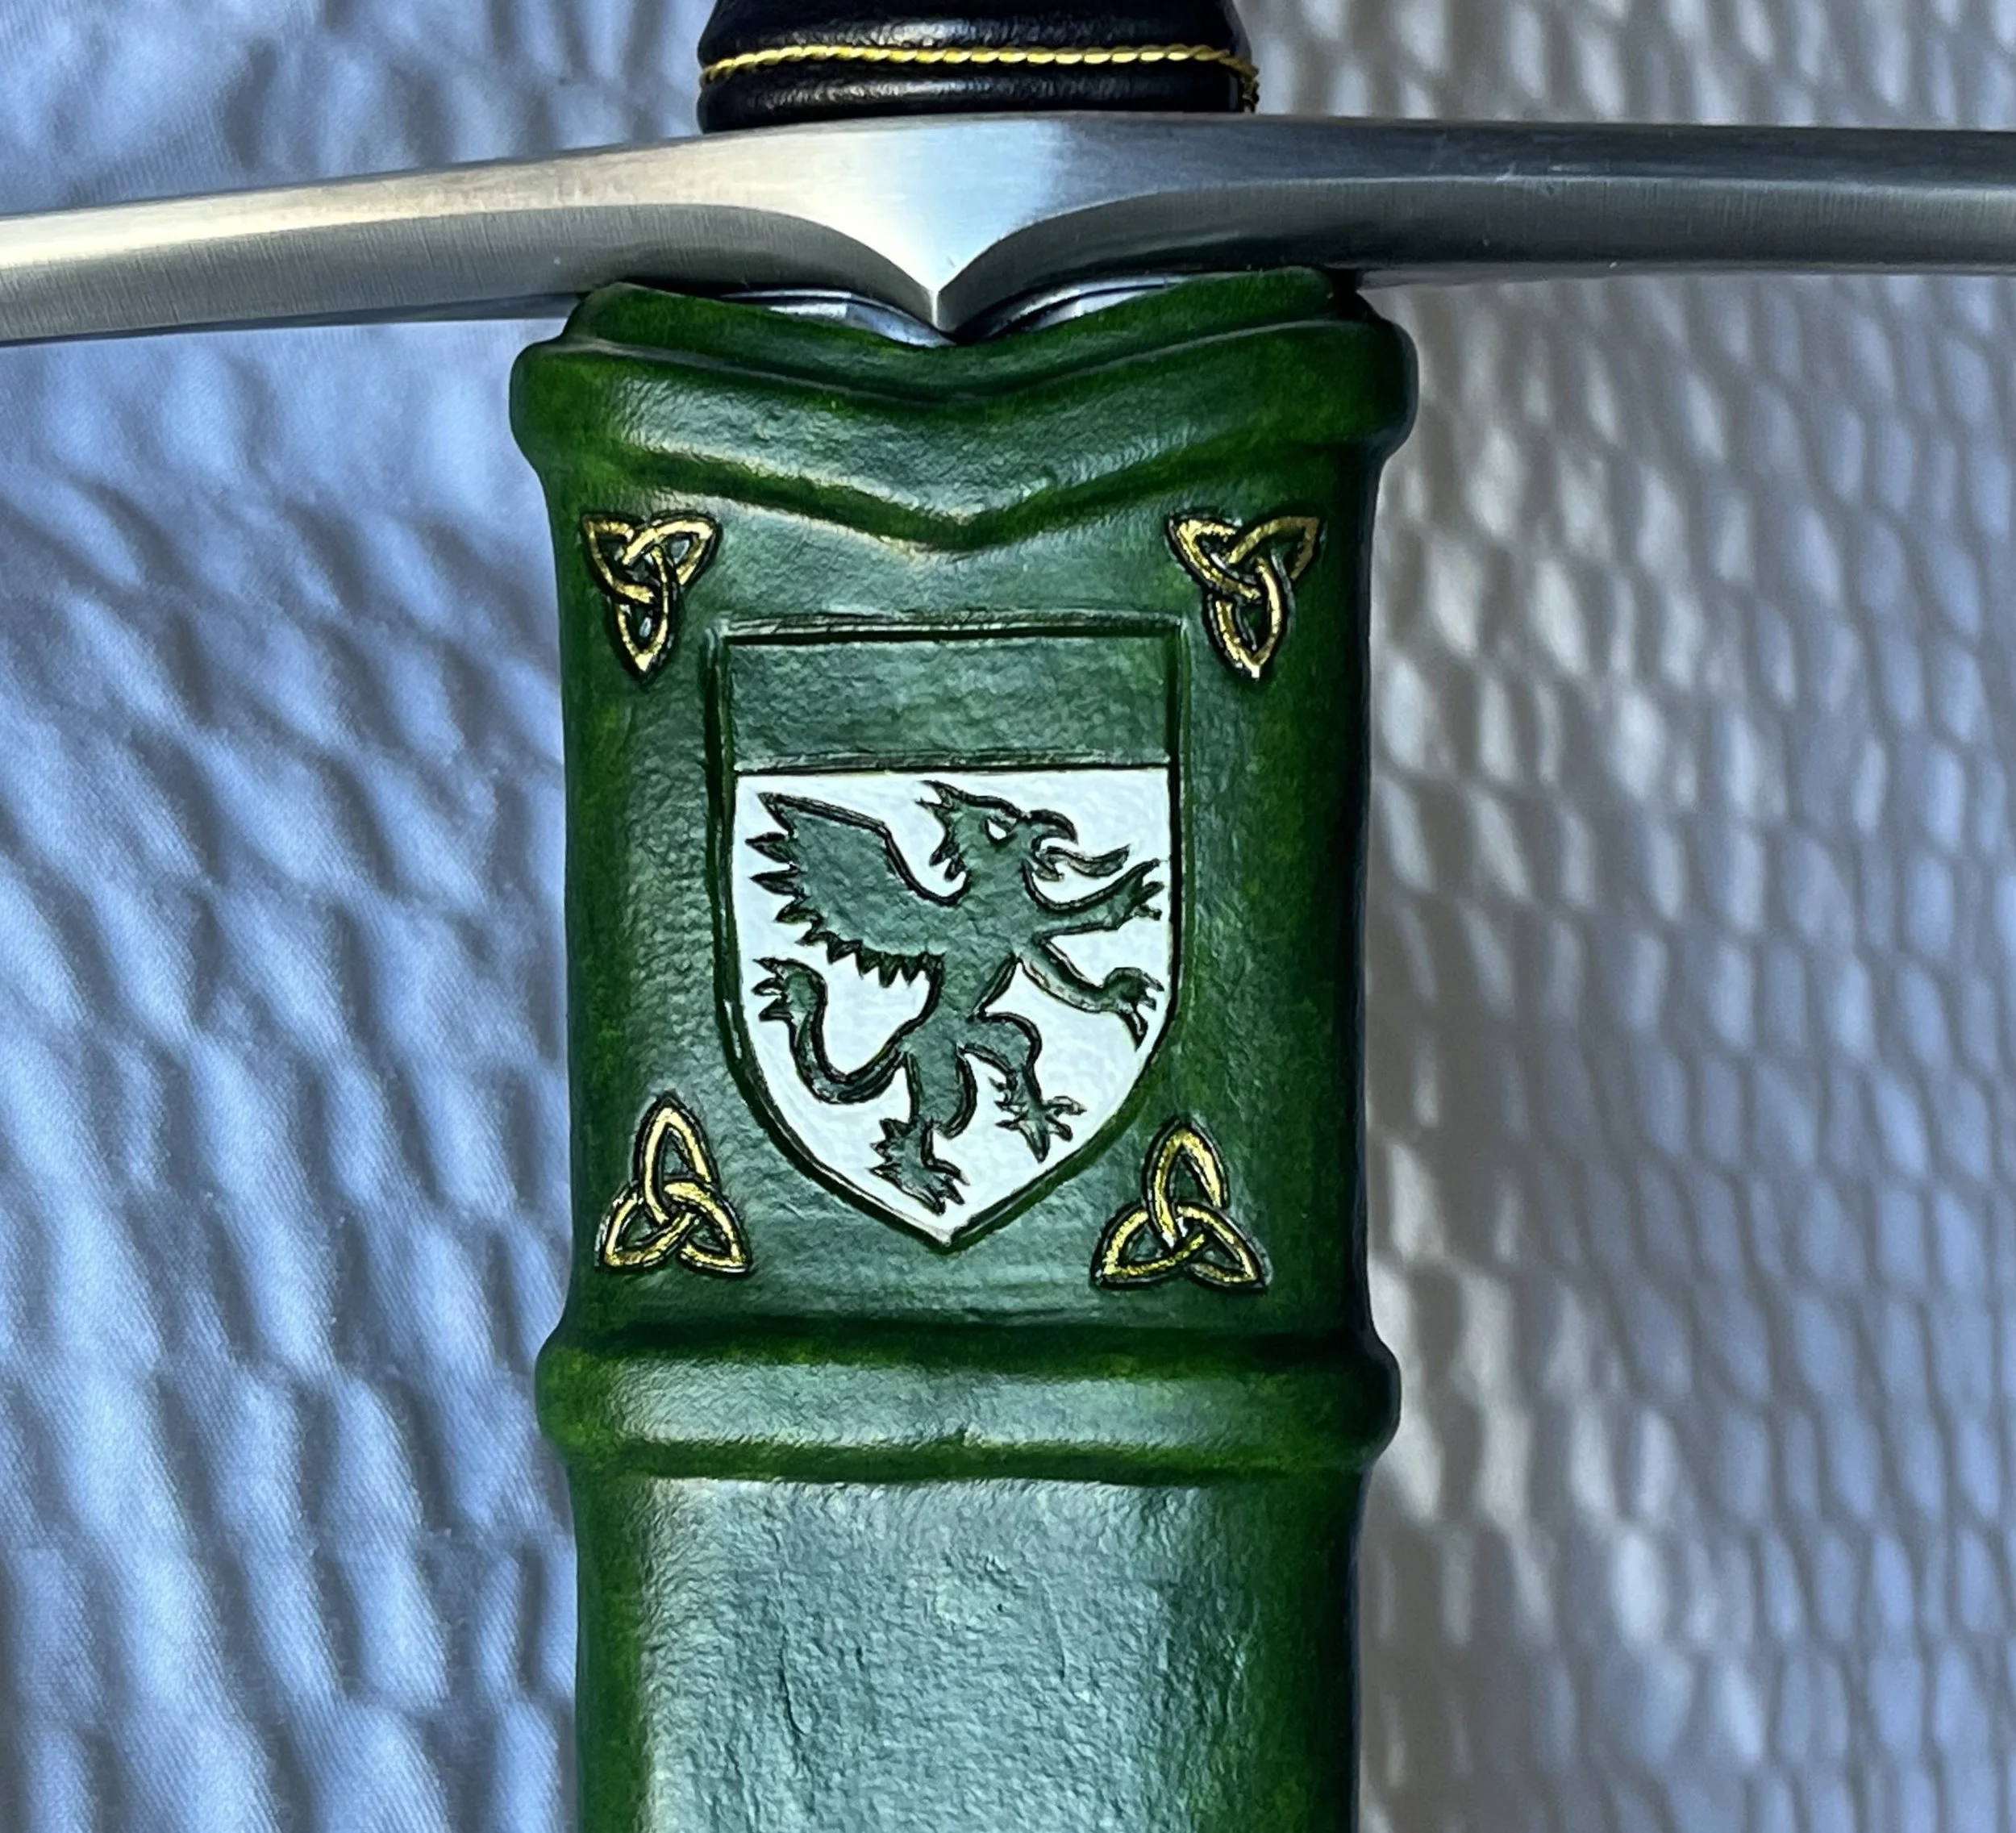
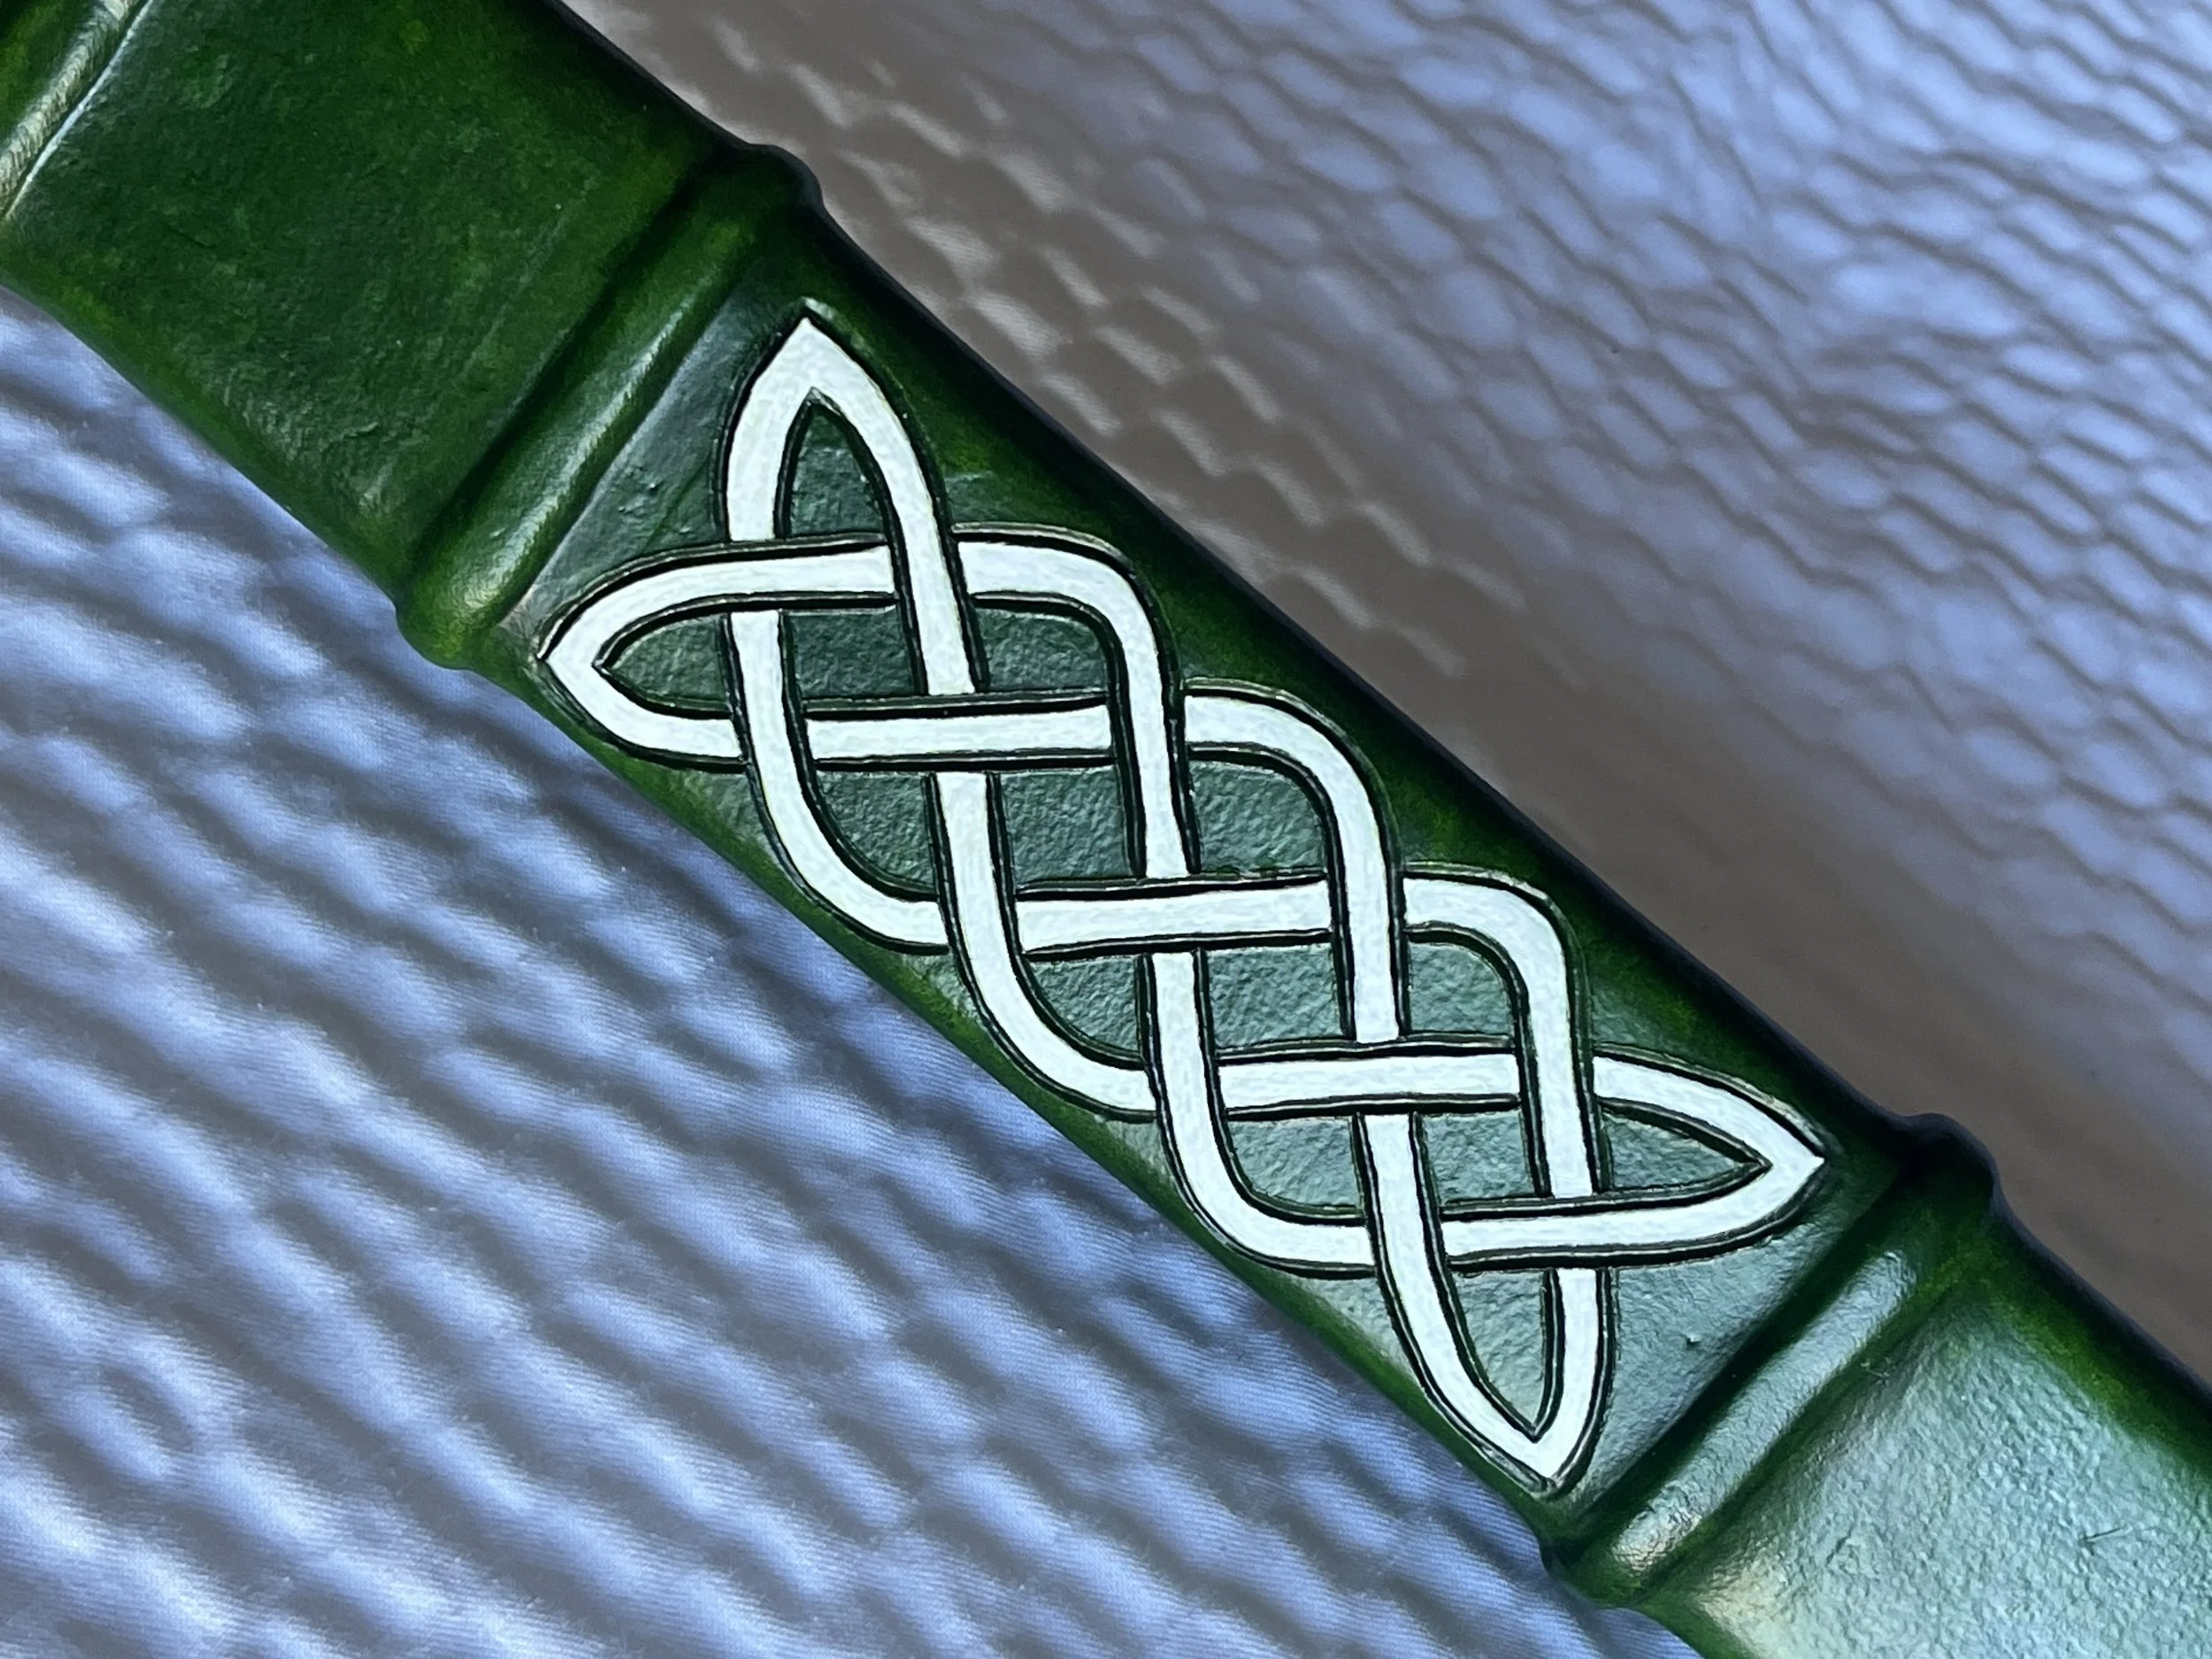
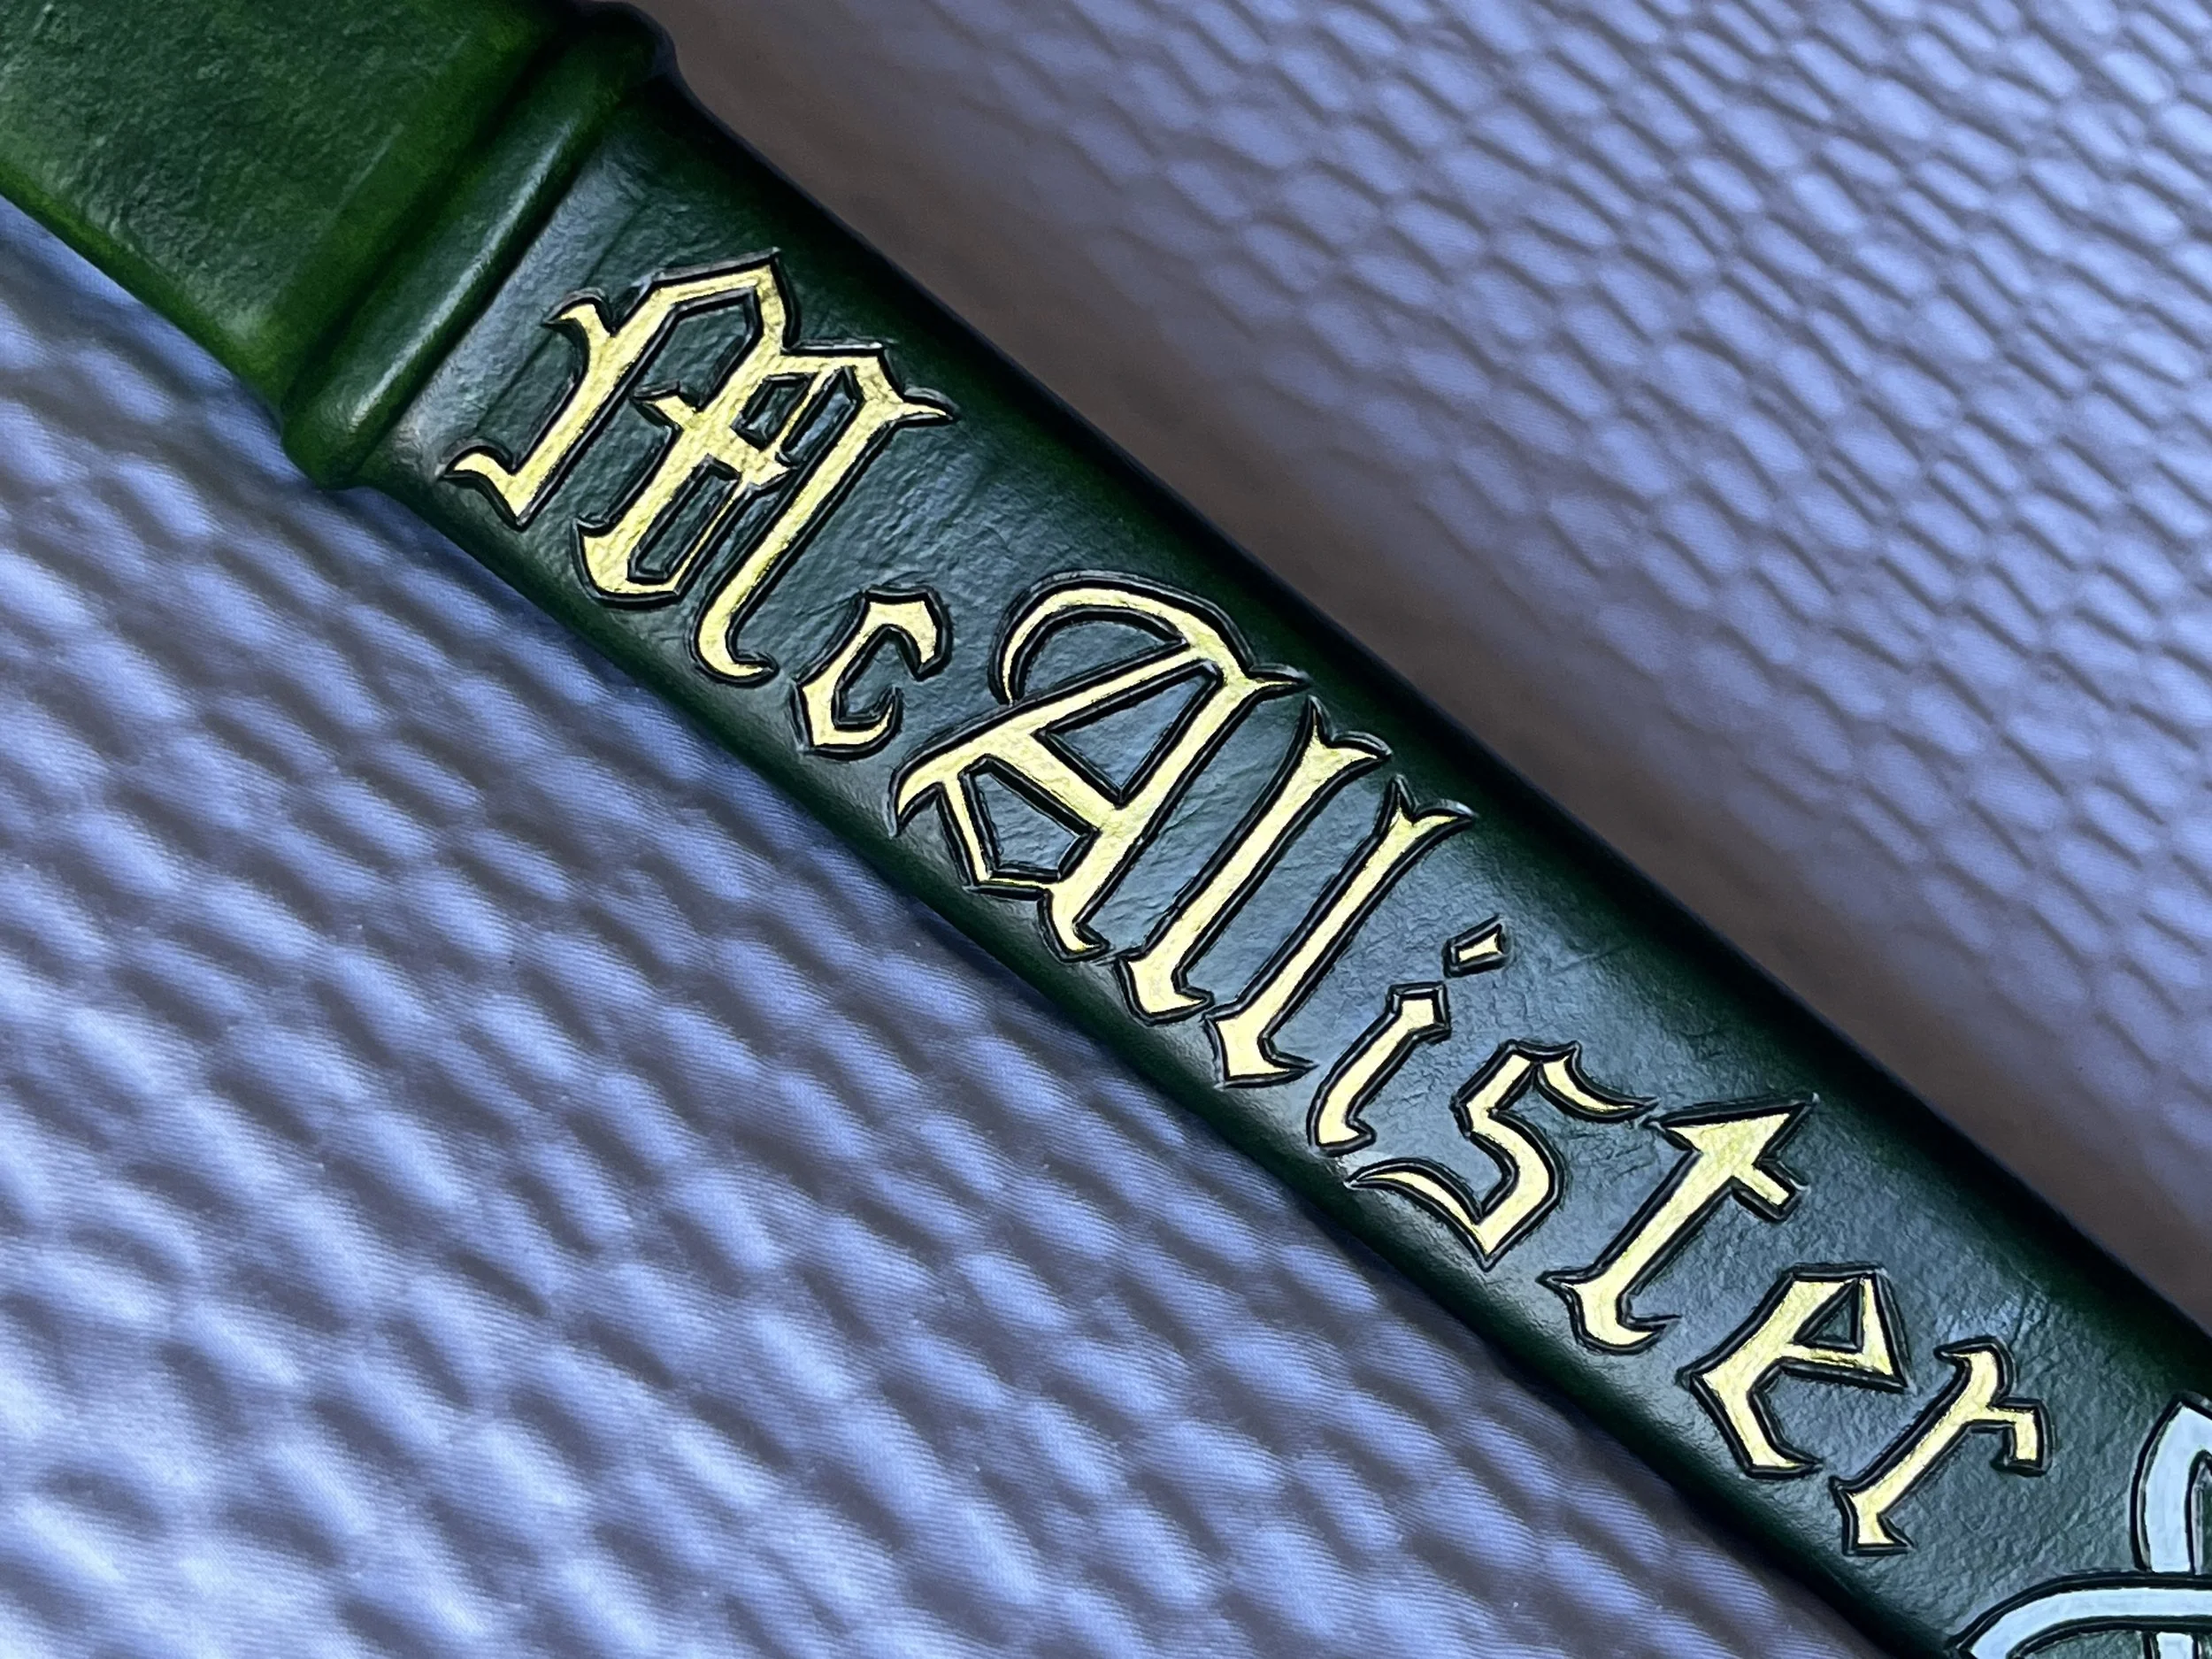
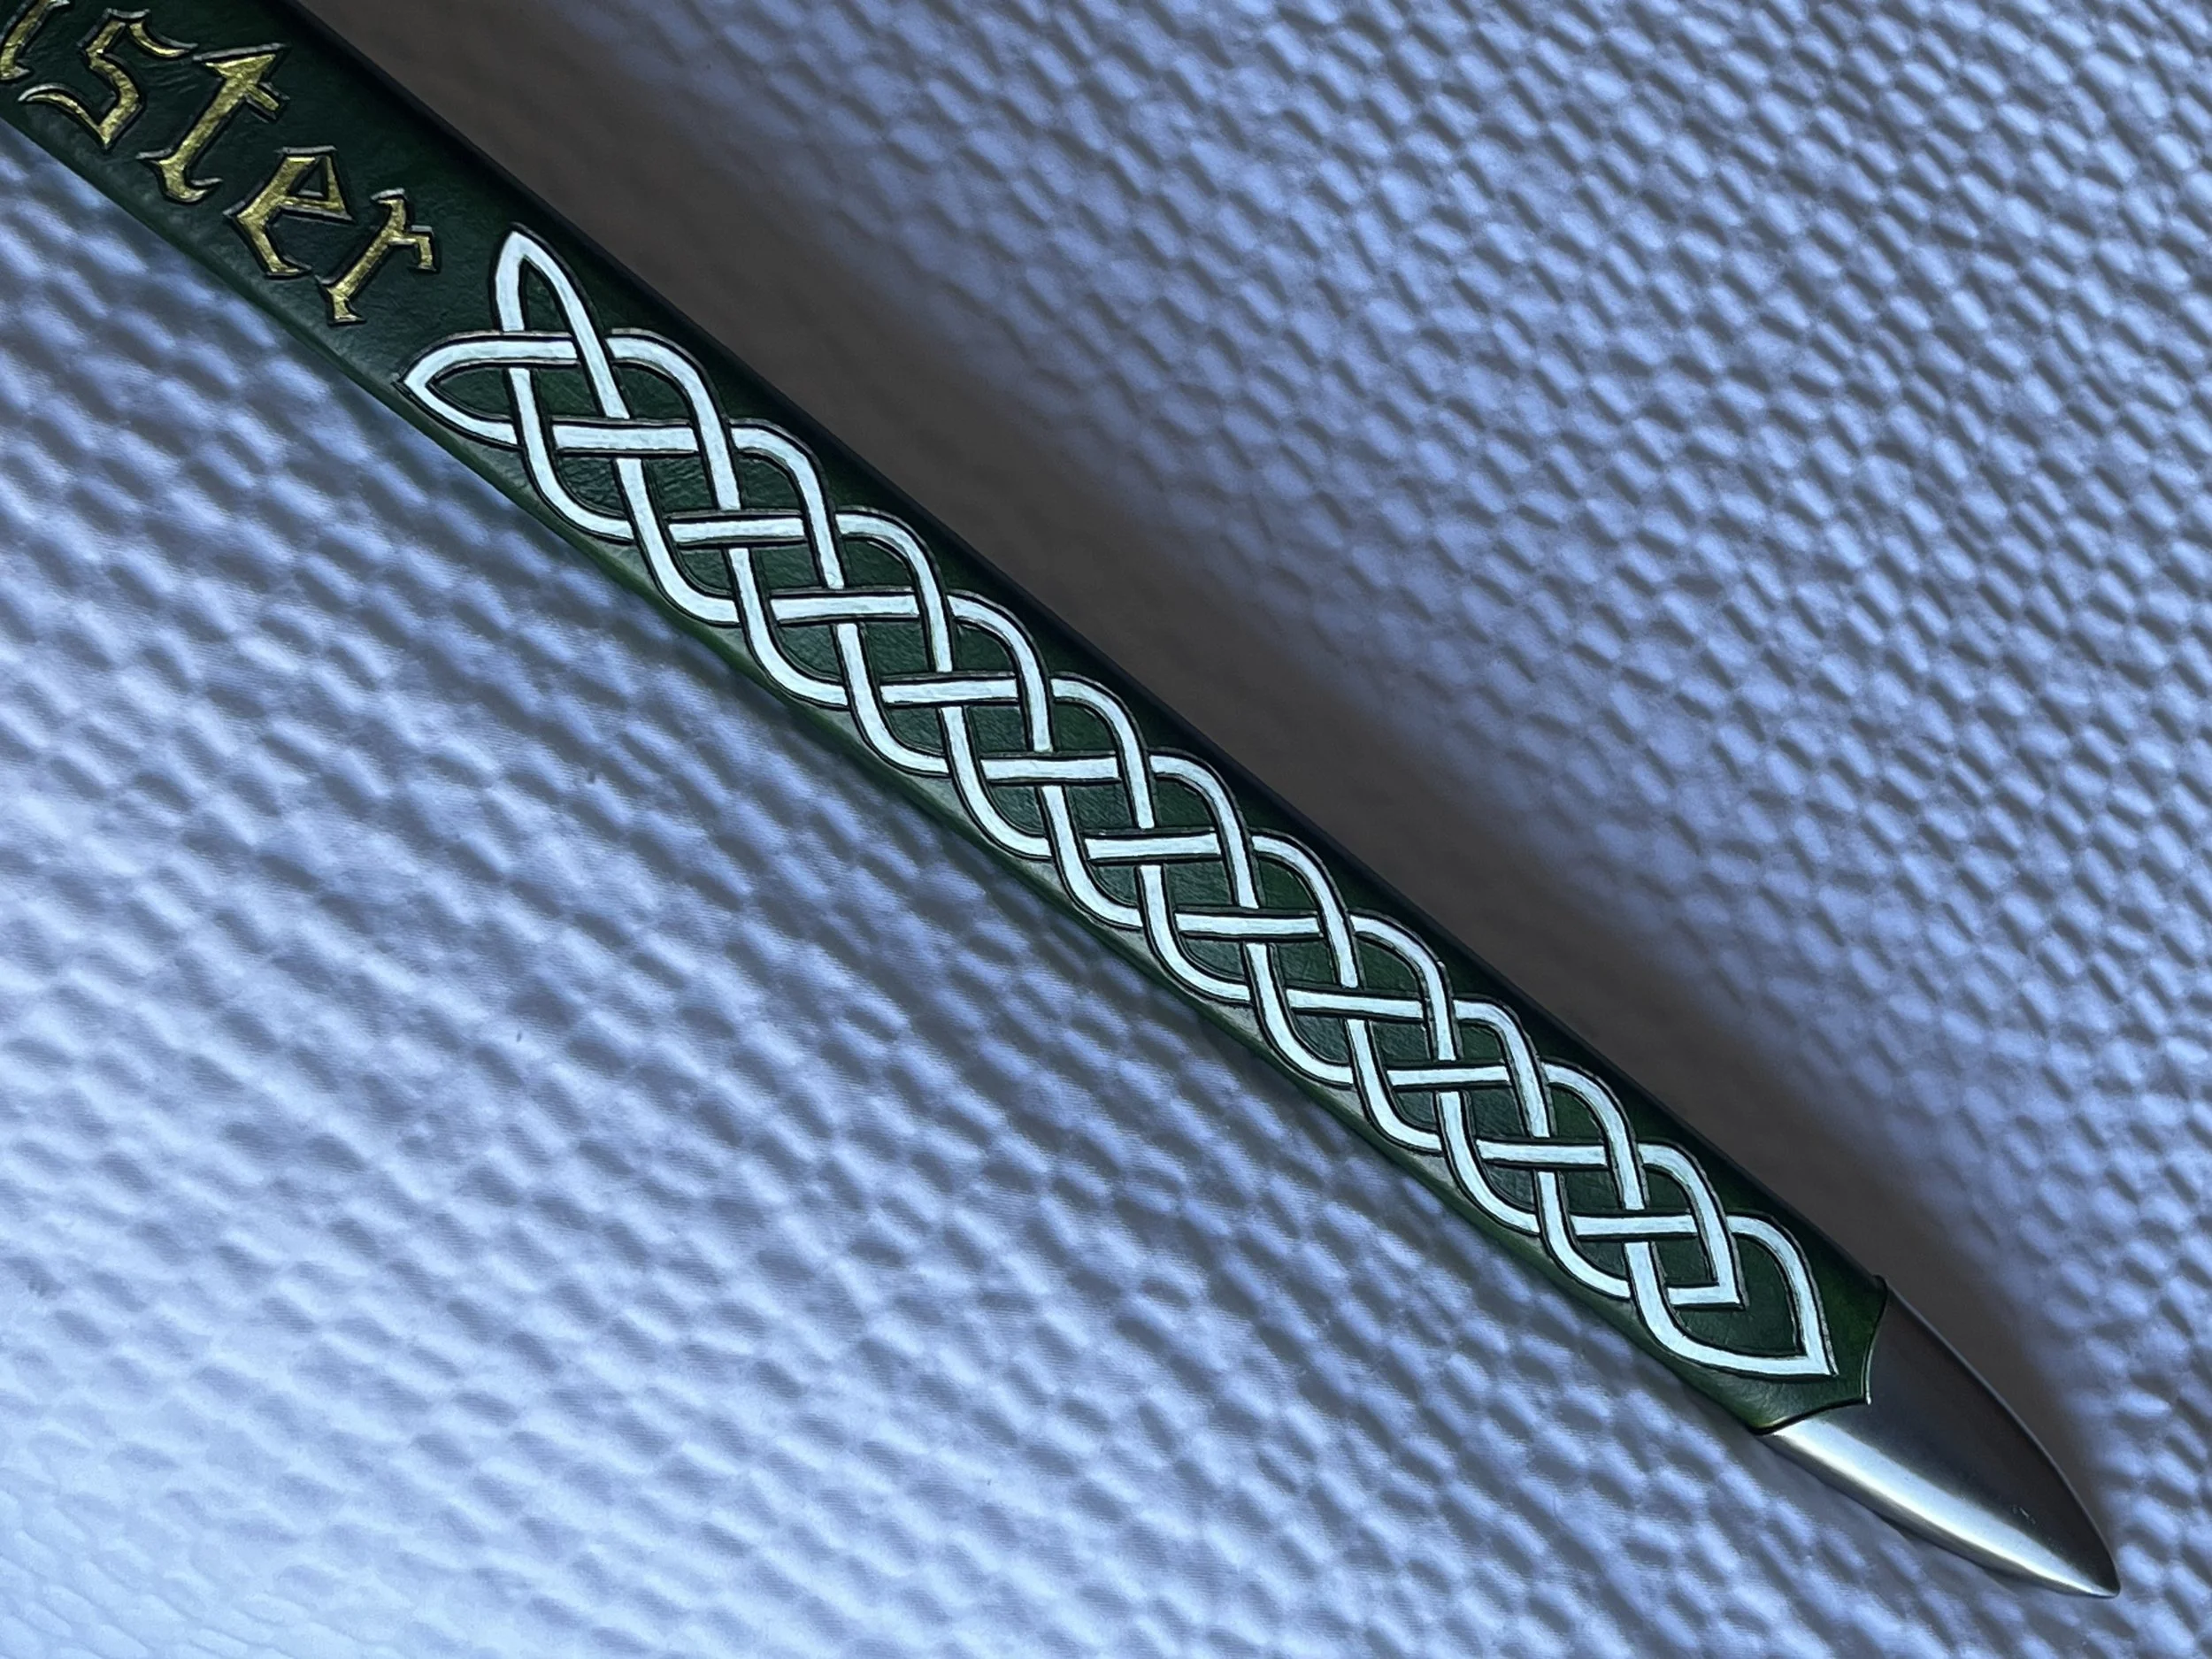
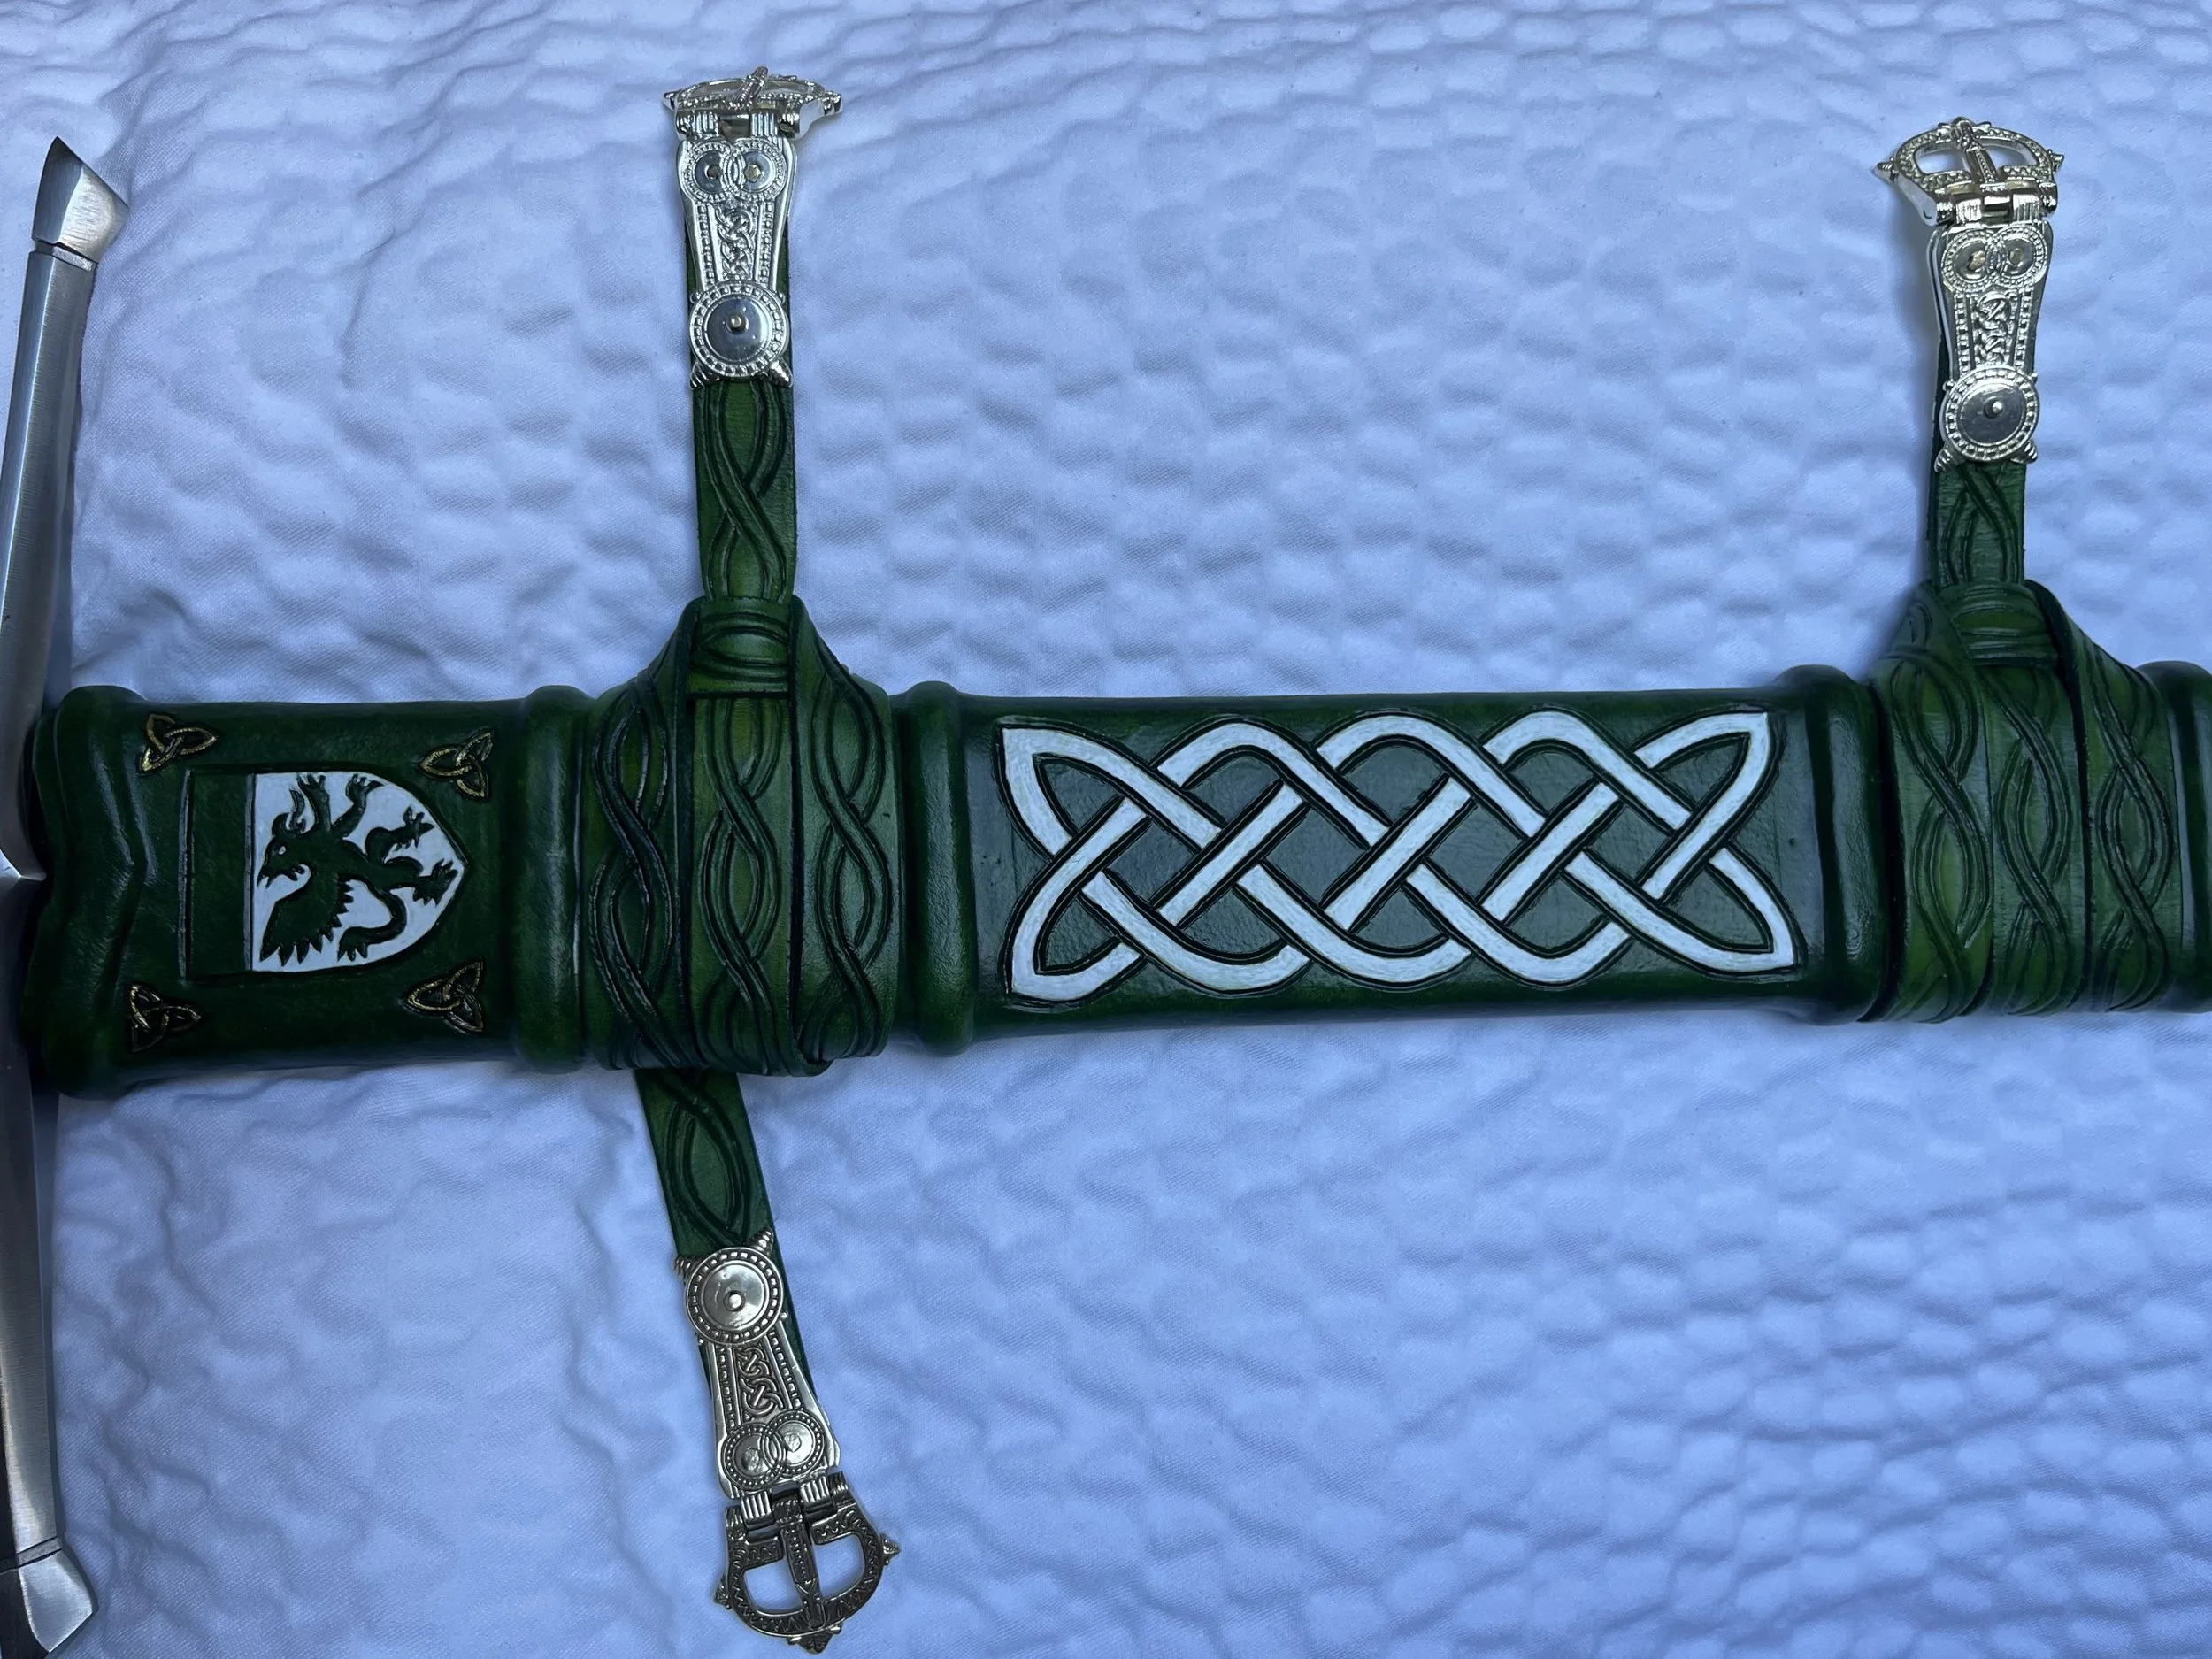
Next came the designs. There were several elements including Trinity Knots, other Celtic knotwork, my friend’s name, and a heraldic device my friend used when fighting. I drew out these images on paper, and then traced them onto the leather with a mechanical pencil. Like the belt, I wet the scabbard to make the tracing more effective. After the patterns were traced out, I used an X-acto to cut the patterns into the leather. I then used a mechanical pencil (with the lead retracted) to broaden most of the lines. For some of the finer lines (the griffin in the heraldry and the trinity knots) I used the pencil with the lead extended.
After everything else was sorted, there was still some excess leather extended past the mouth. With an X-acto knife, I carefully cut away the excess leather, and wet the remaining leather near the mouth. This helped to more closely fit the leather shell around the mouth.
Finally (for this part anyway), I used a two-part epoxy to re-attach the chape to the scabbard.
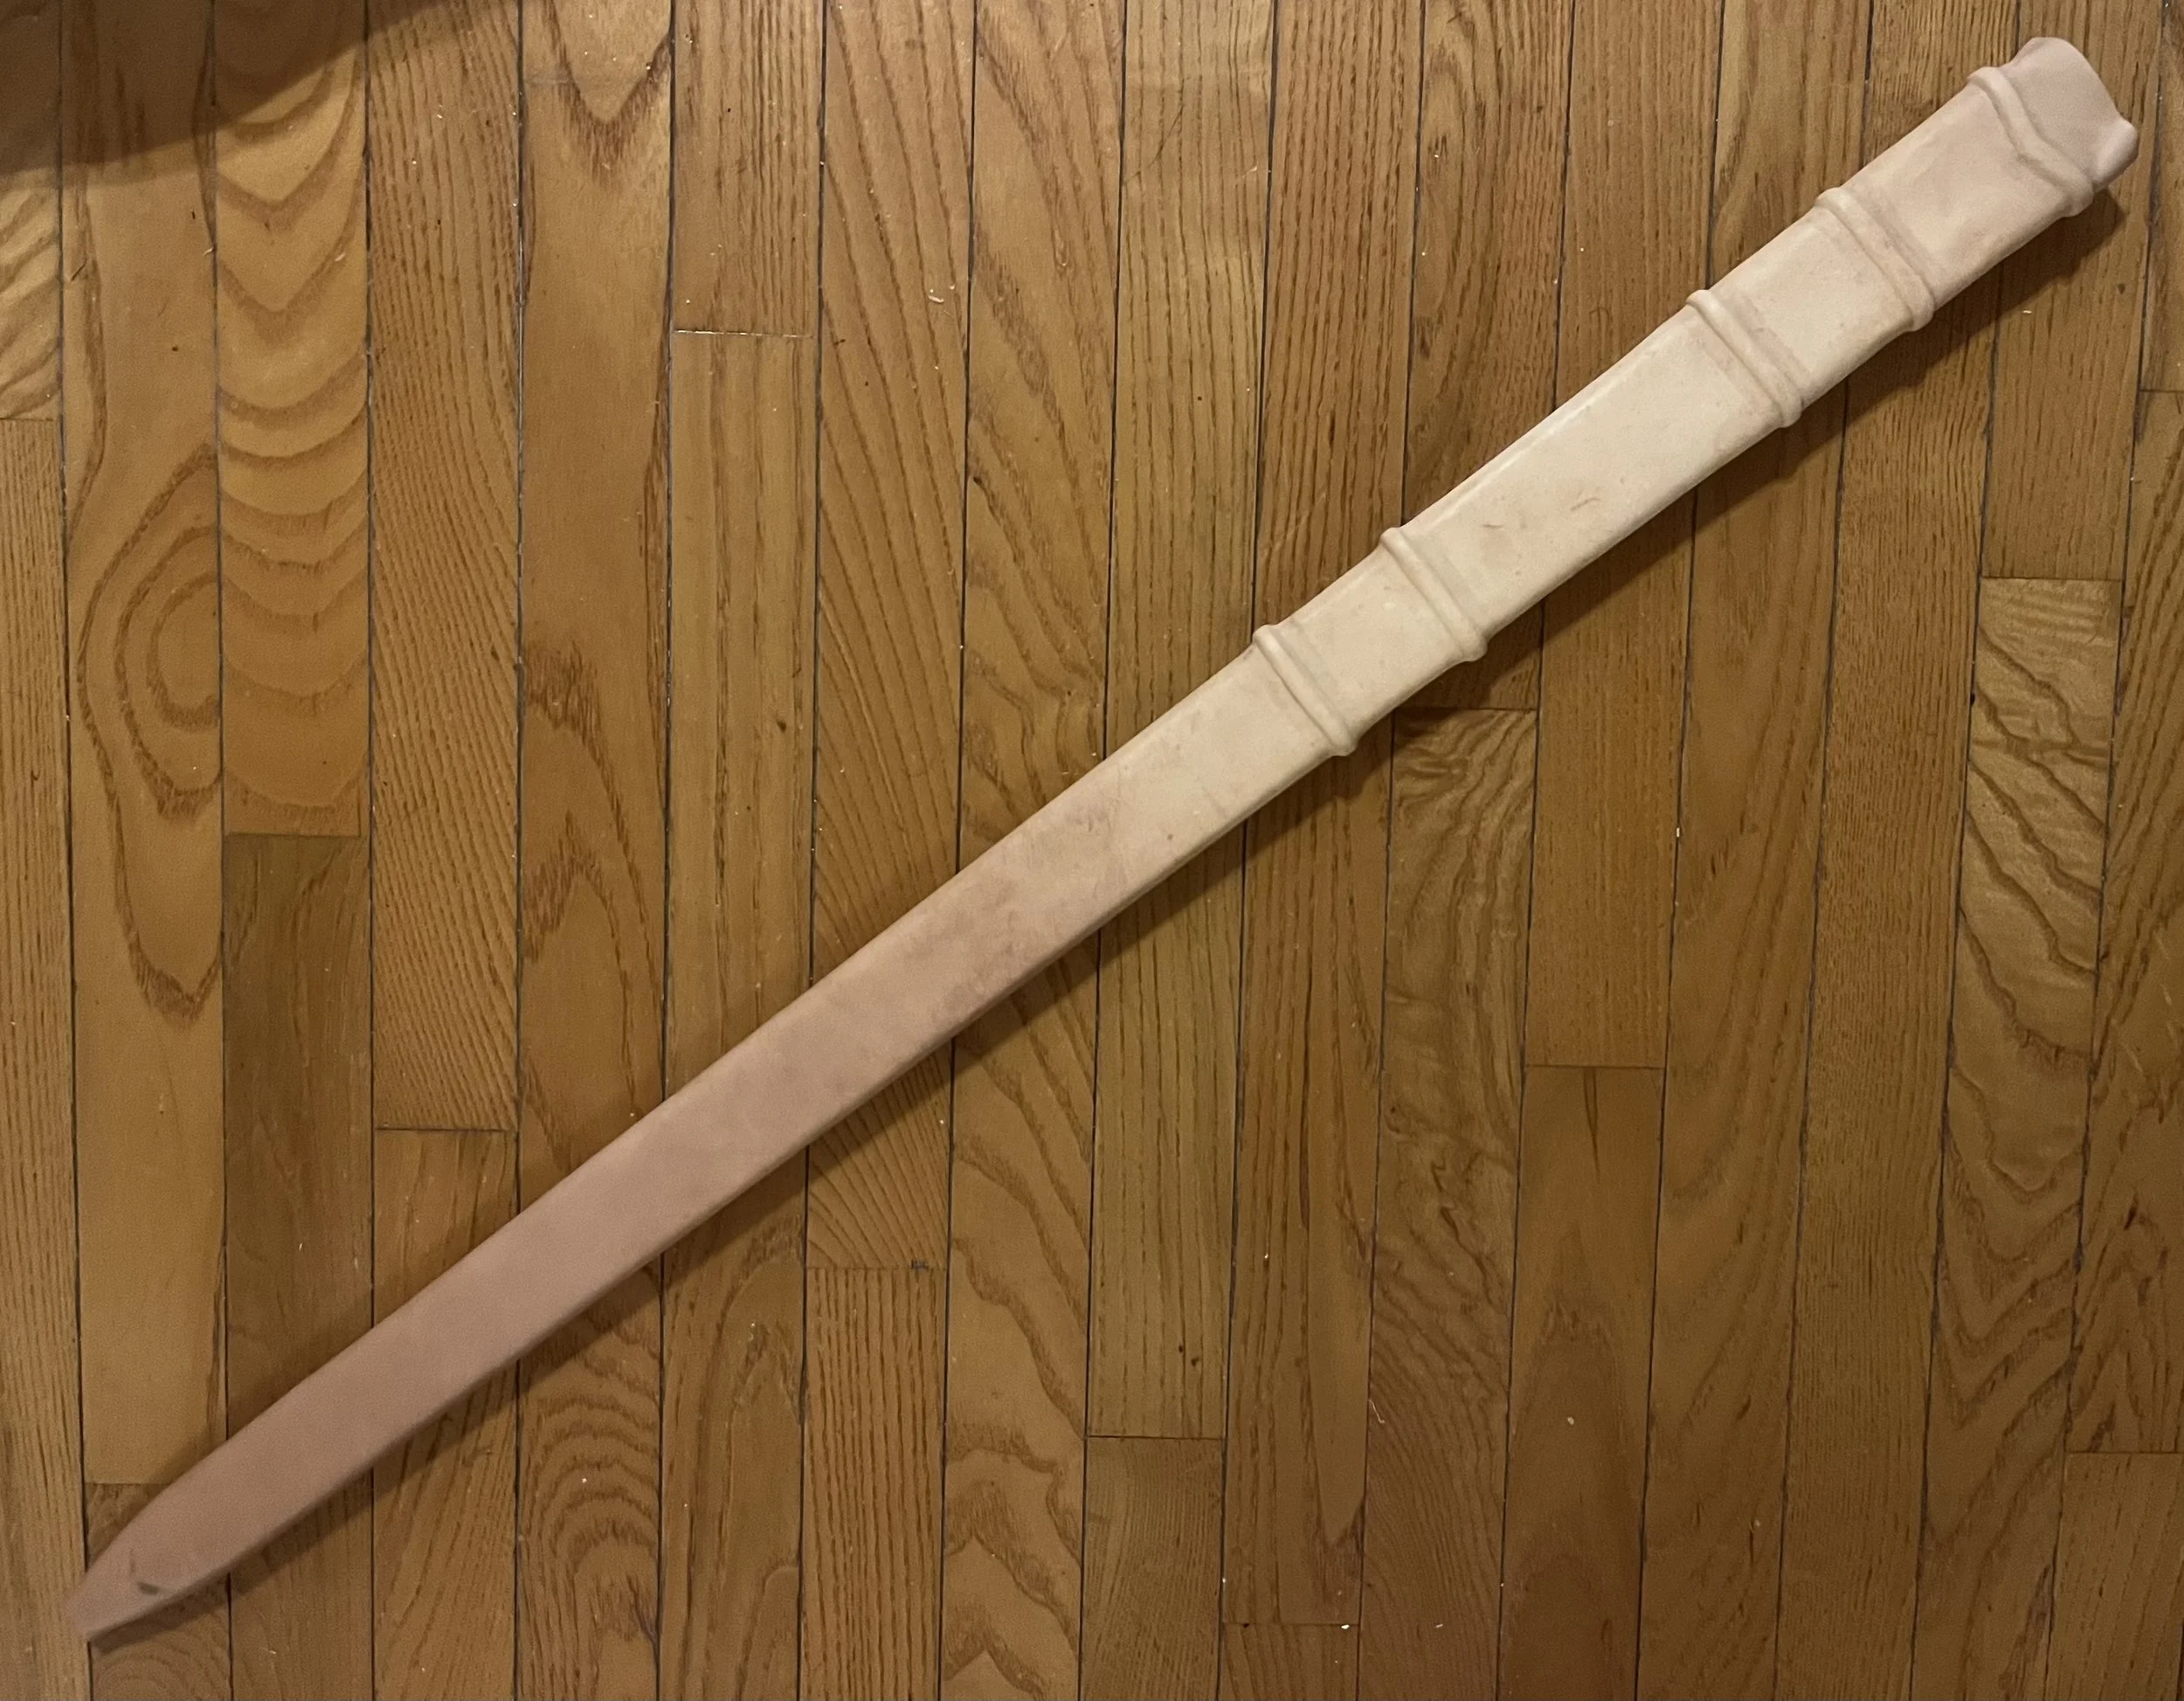
Part III: Dye & paint
The dying and sealing process for the scabbard was the same as the belt. Using a soft bristled brush, I applied 2-3 coats of dye in even coats (as even as I could anyway).
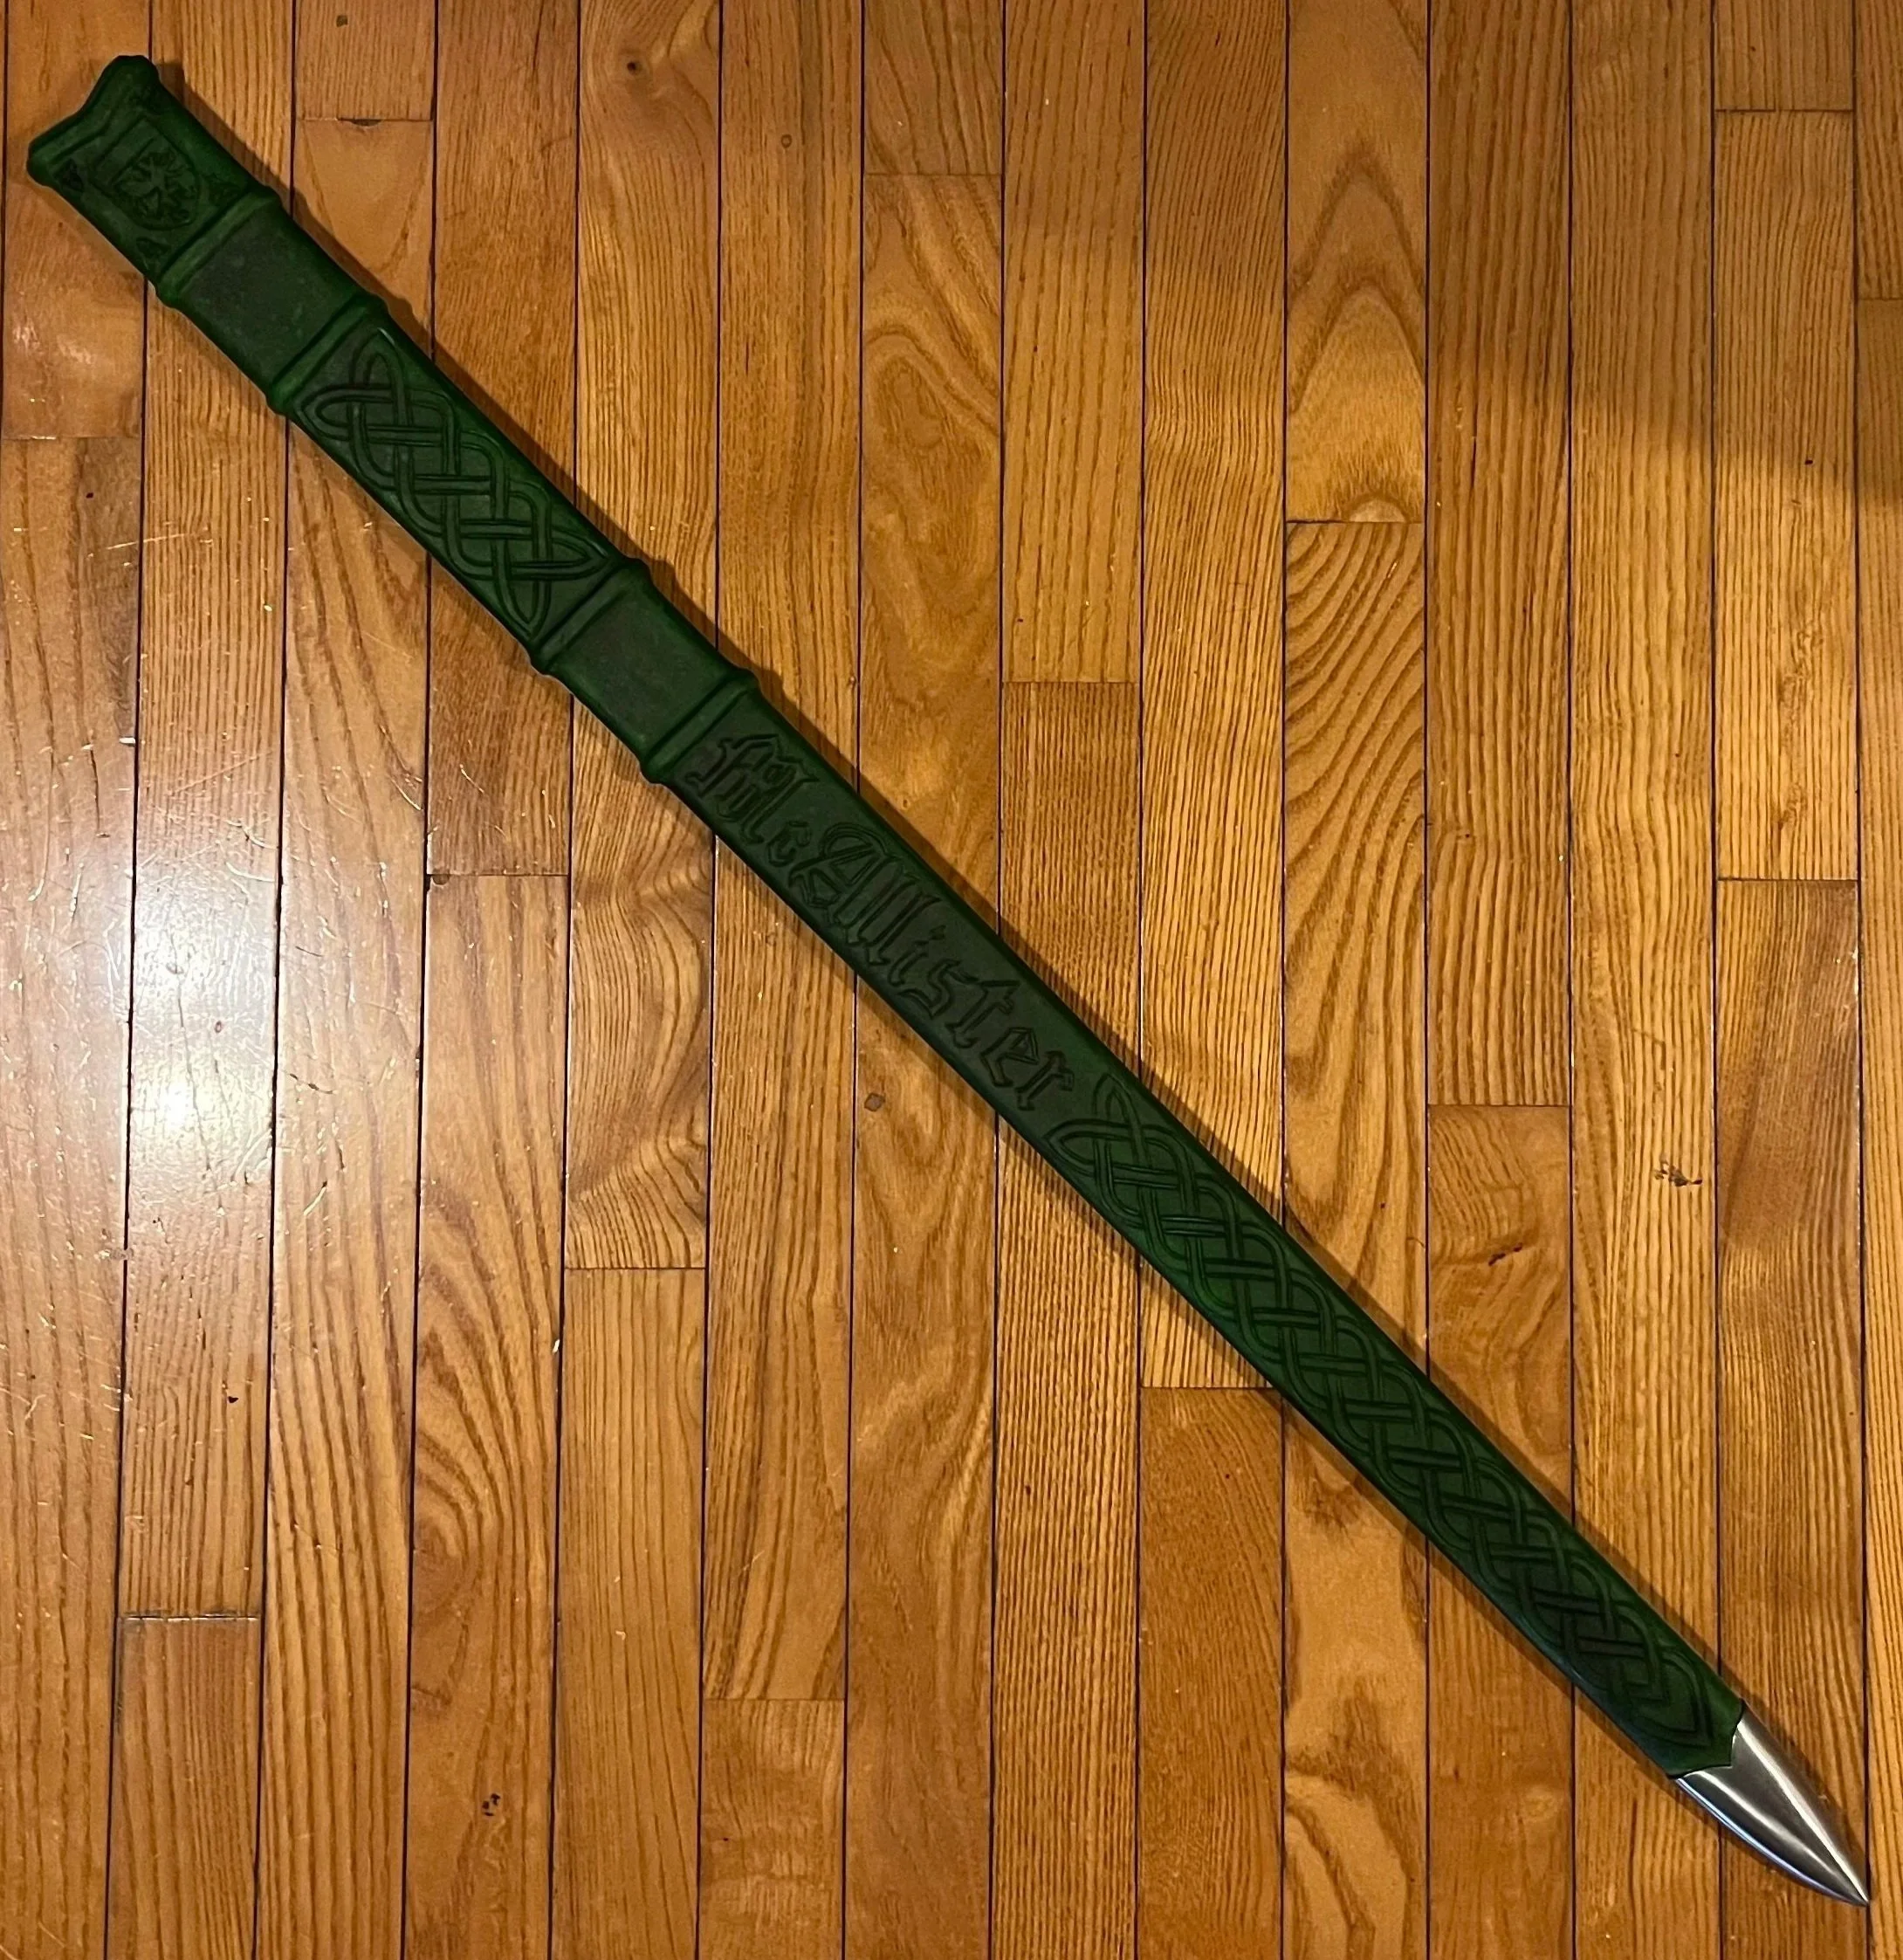
After the dye dried, I applied coats of leather finisher first, then acrylic sealer. After these layers dried, I applied the first few layers of paint. I applied white leather paint to most of the knotwork and the field of the heraldry. I used gold acrylic paint for the Trinity Knots and the name (McAllister). Predictably, some of the green still bred through the first layer or two of paint. However, layering is for the best anyway. Another layer of acrylic seal, and then I could proceed to the final coats.
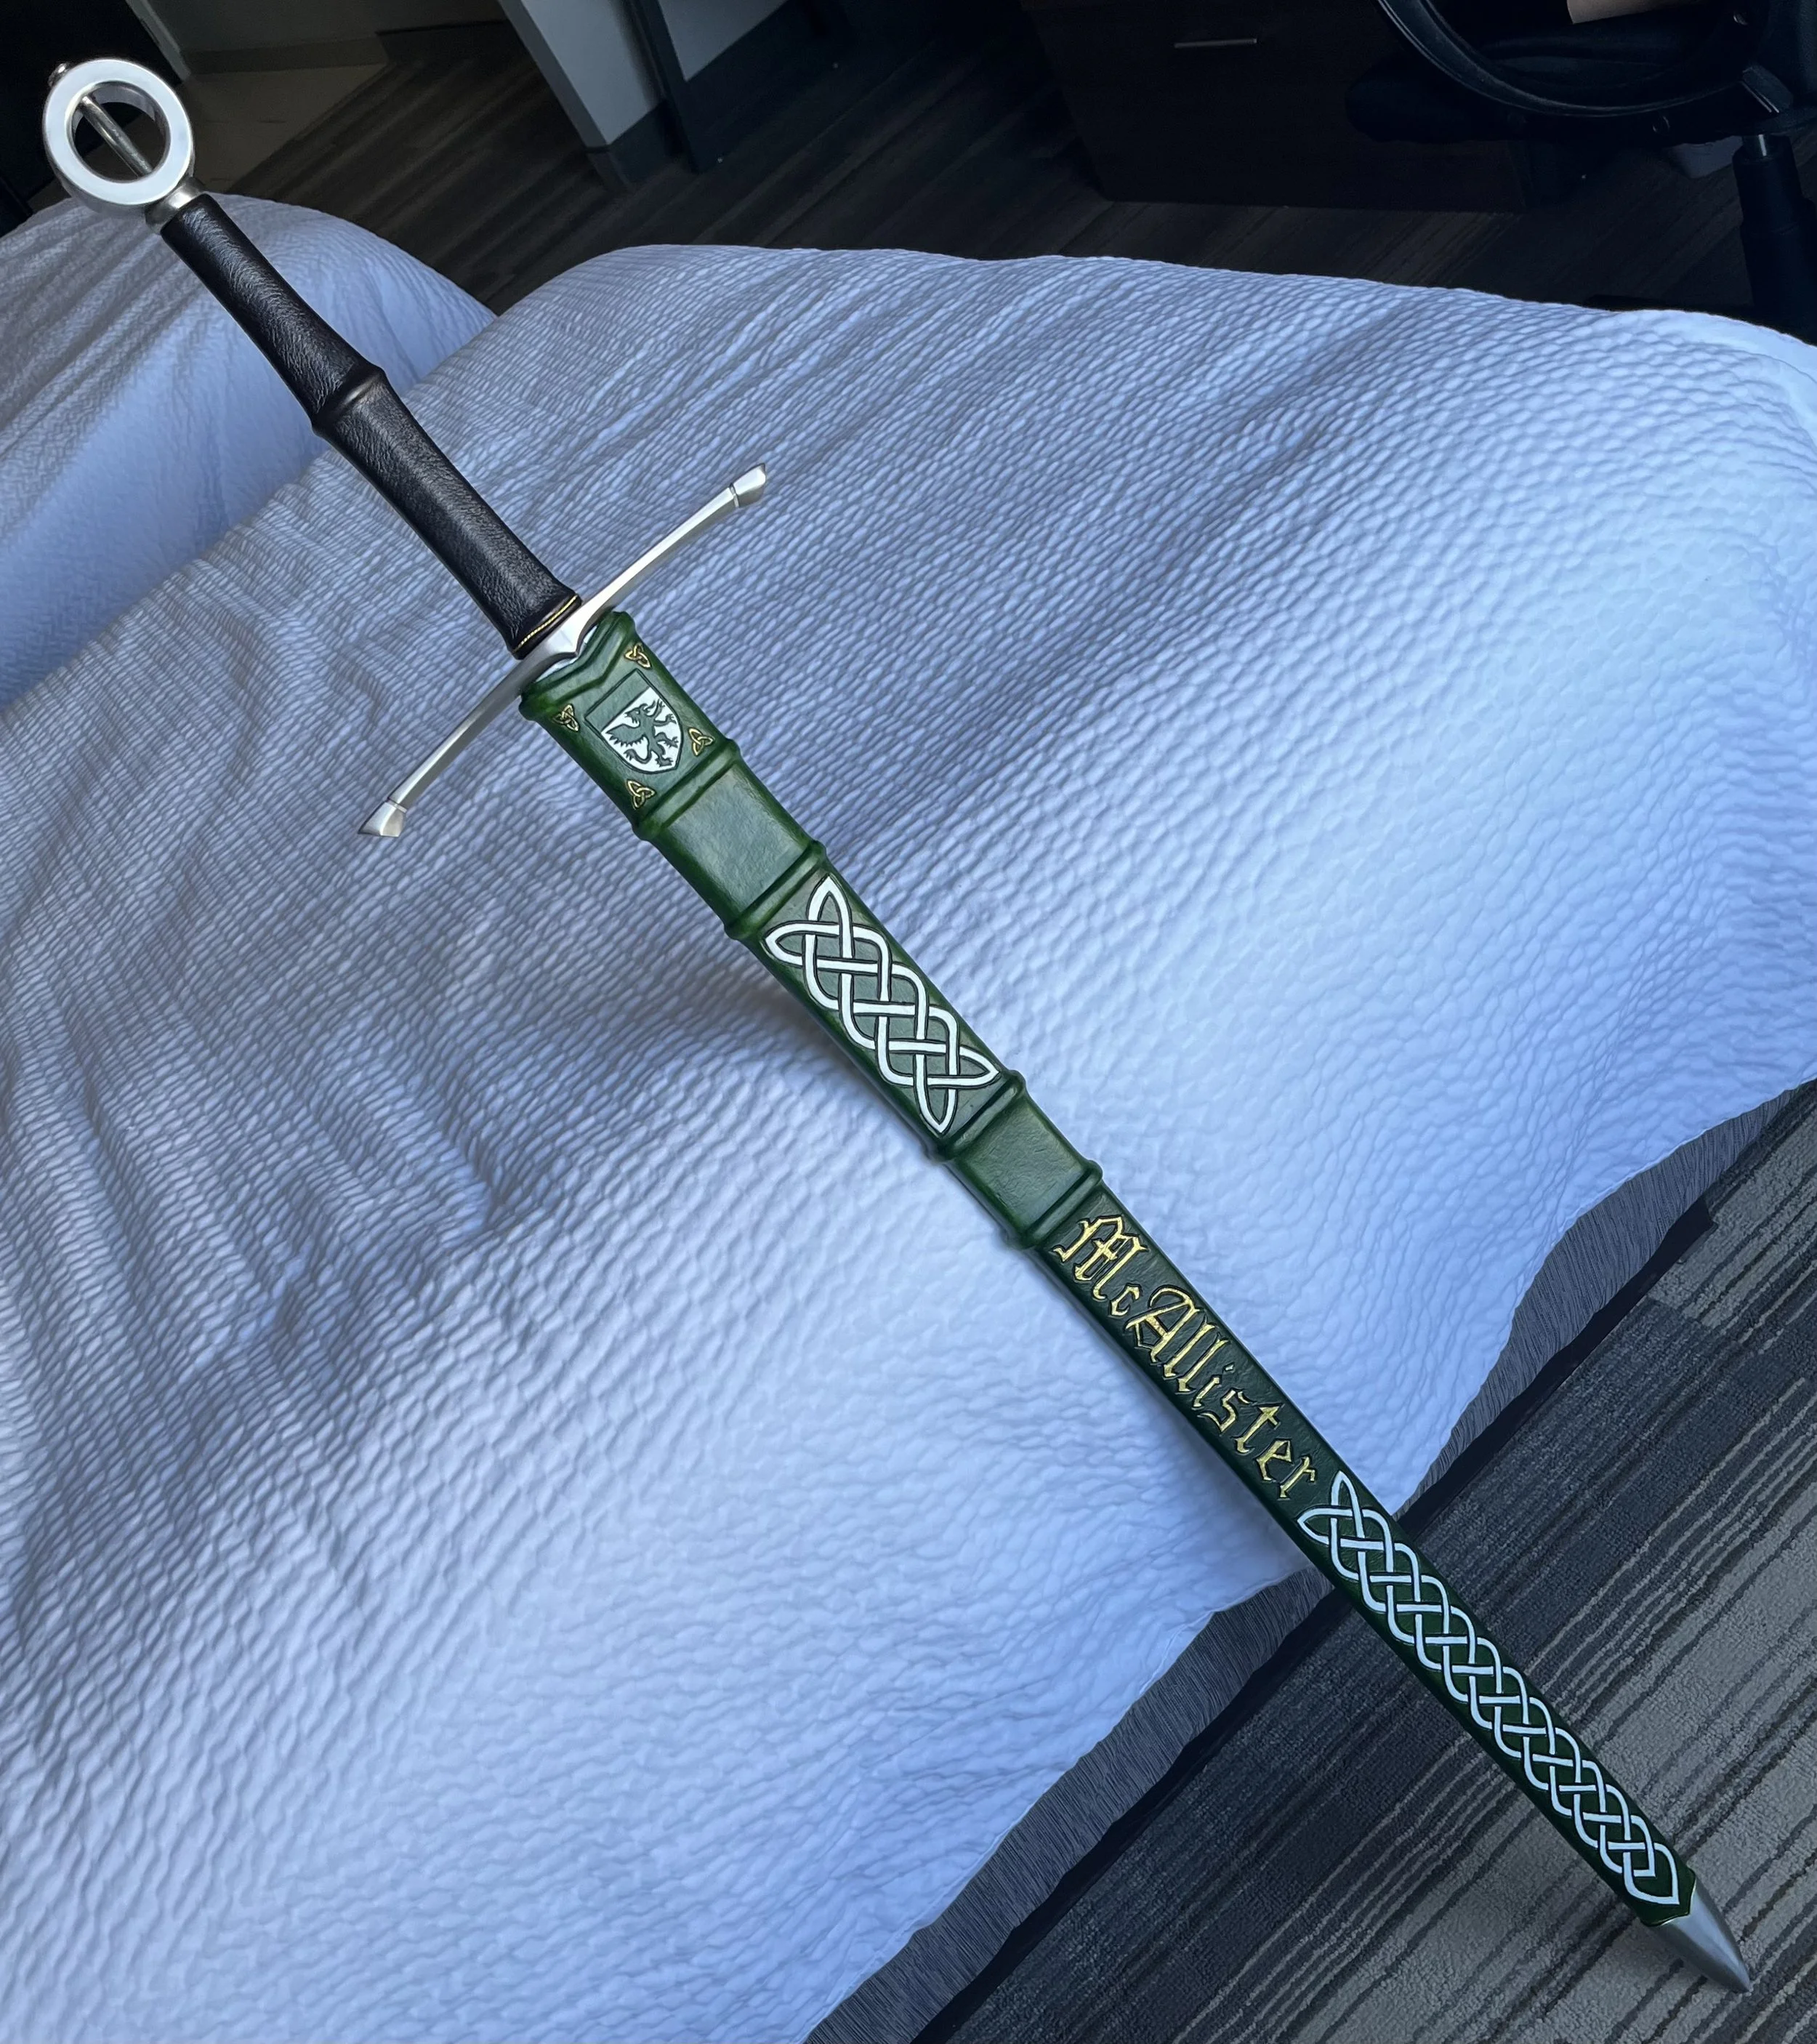
After the sealer dried, I applied the final touchups to the paint. Once this had dried, I applied the final layer of matte acrylic sealer. This helped cut down on the shine from the layers of sealer. However, I wanted the gold to shine. To preserve the shine of the gold, the gold elements got another layer of shiny acrylic sealer. With that, the scabbard was finished.

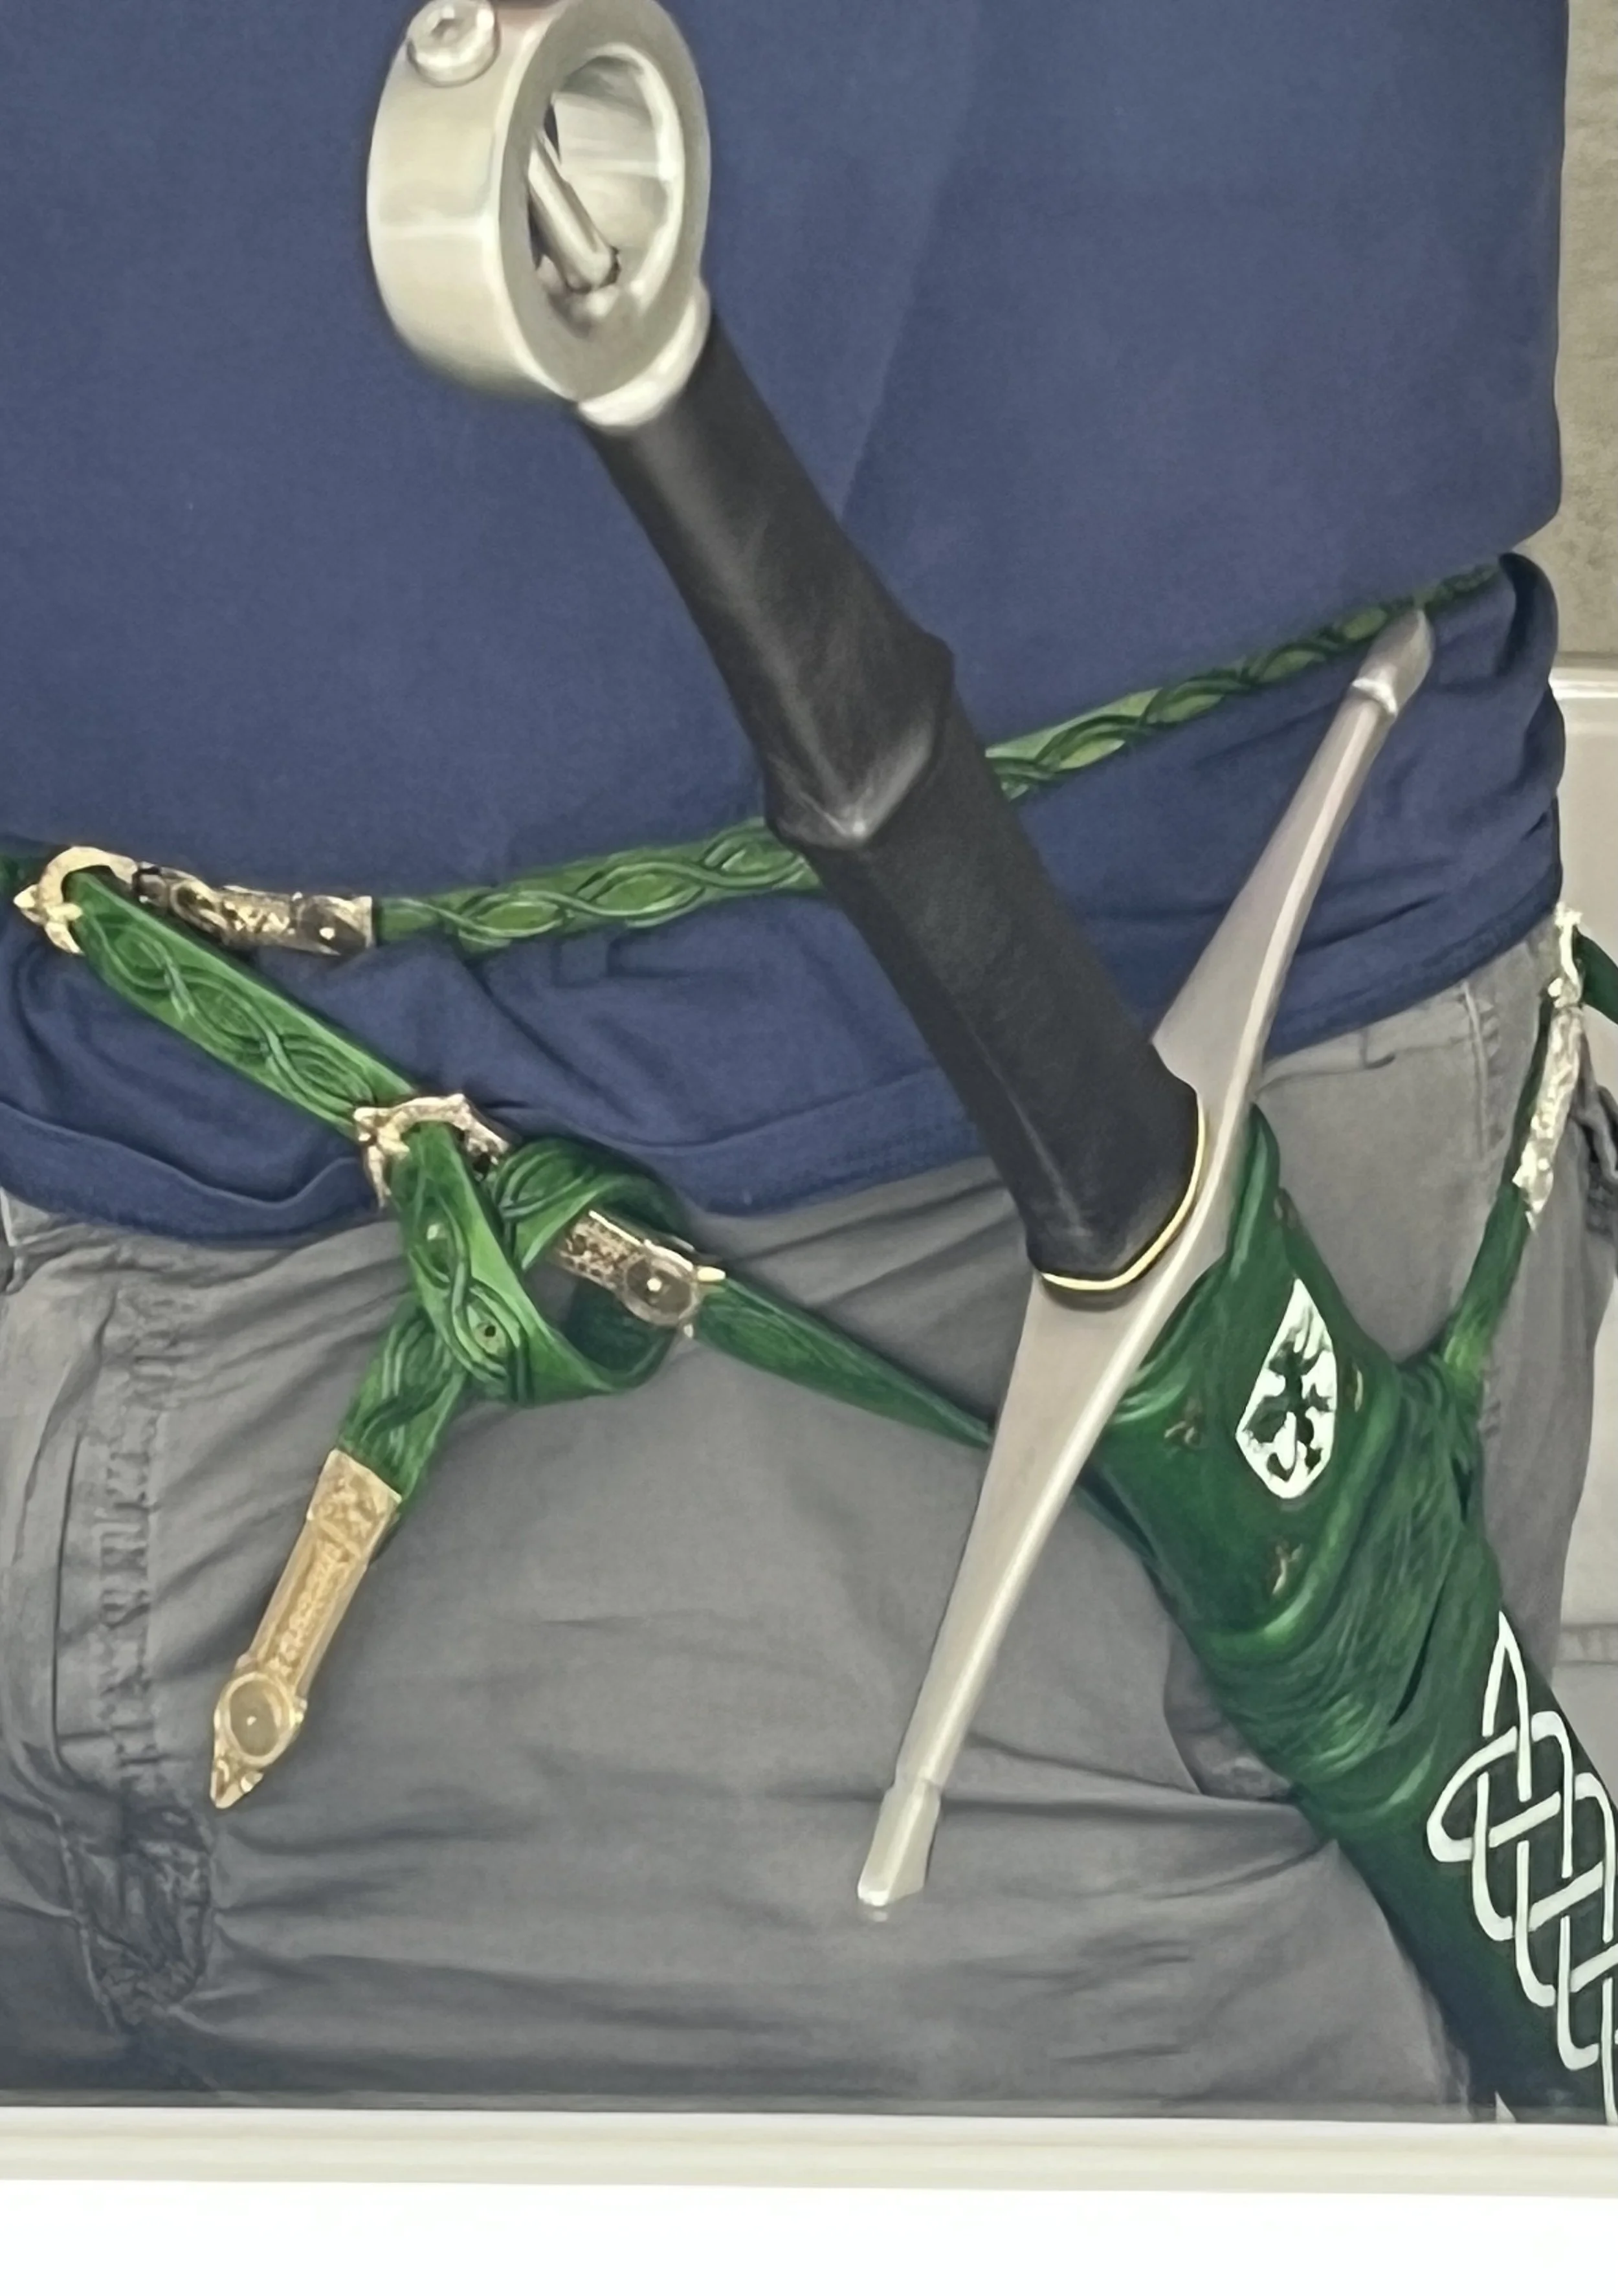
Assembly
But wait, there’s more! The suspension straps were then knotted around the scabbard. The suspension straps were made in the same way as the sword belt. The only difference is the suspension straps are ½ of an inch wide and made from 2mm leather, while the sword belt is ¾ of an inch wide and made from 4 mm leather.
Buckle and chape from Armour and Castings: https://armourandcastings.com/en_US/products/irish-belt-set-9-10-c
As previously written, the suspension belts end with silvered buckles where they connect to other suspension belts. The buckles that connect directly to the sword belt are polished brass.
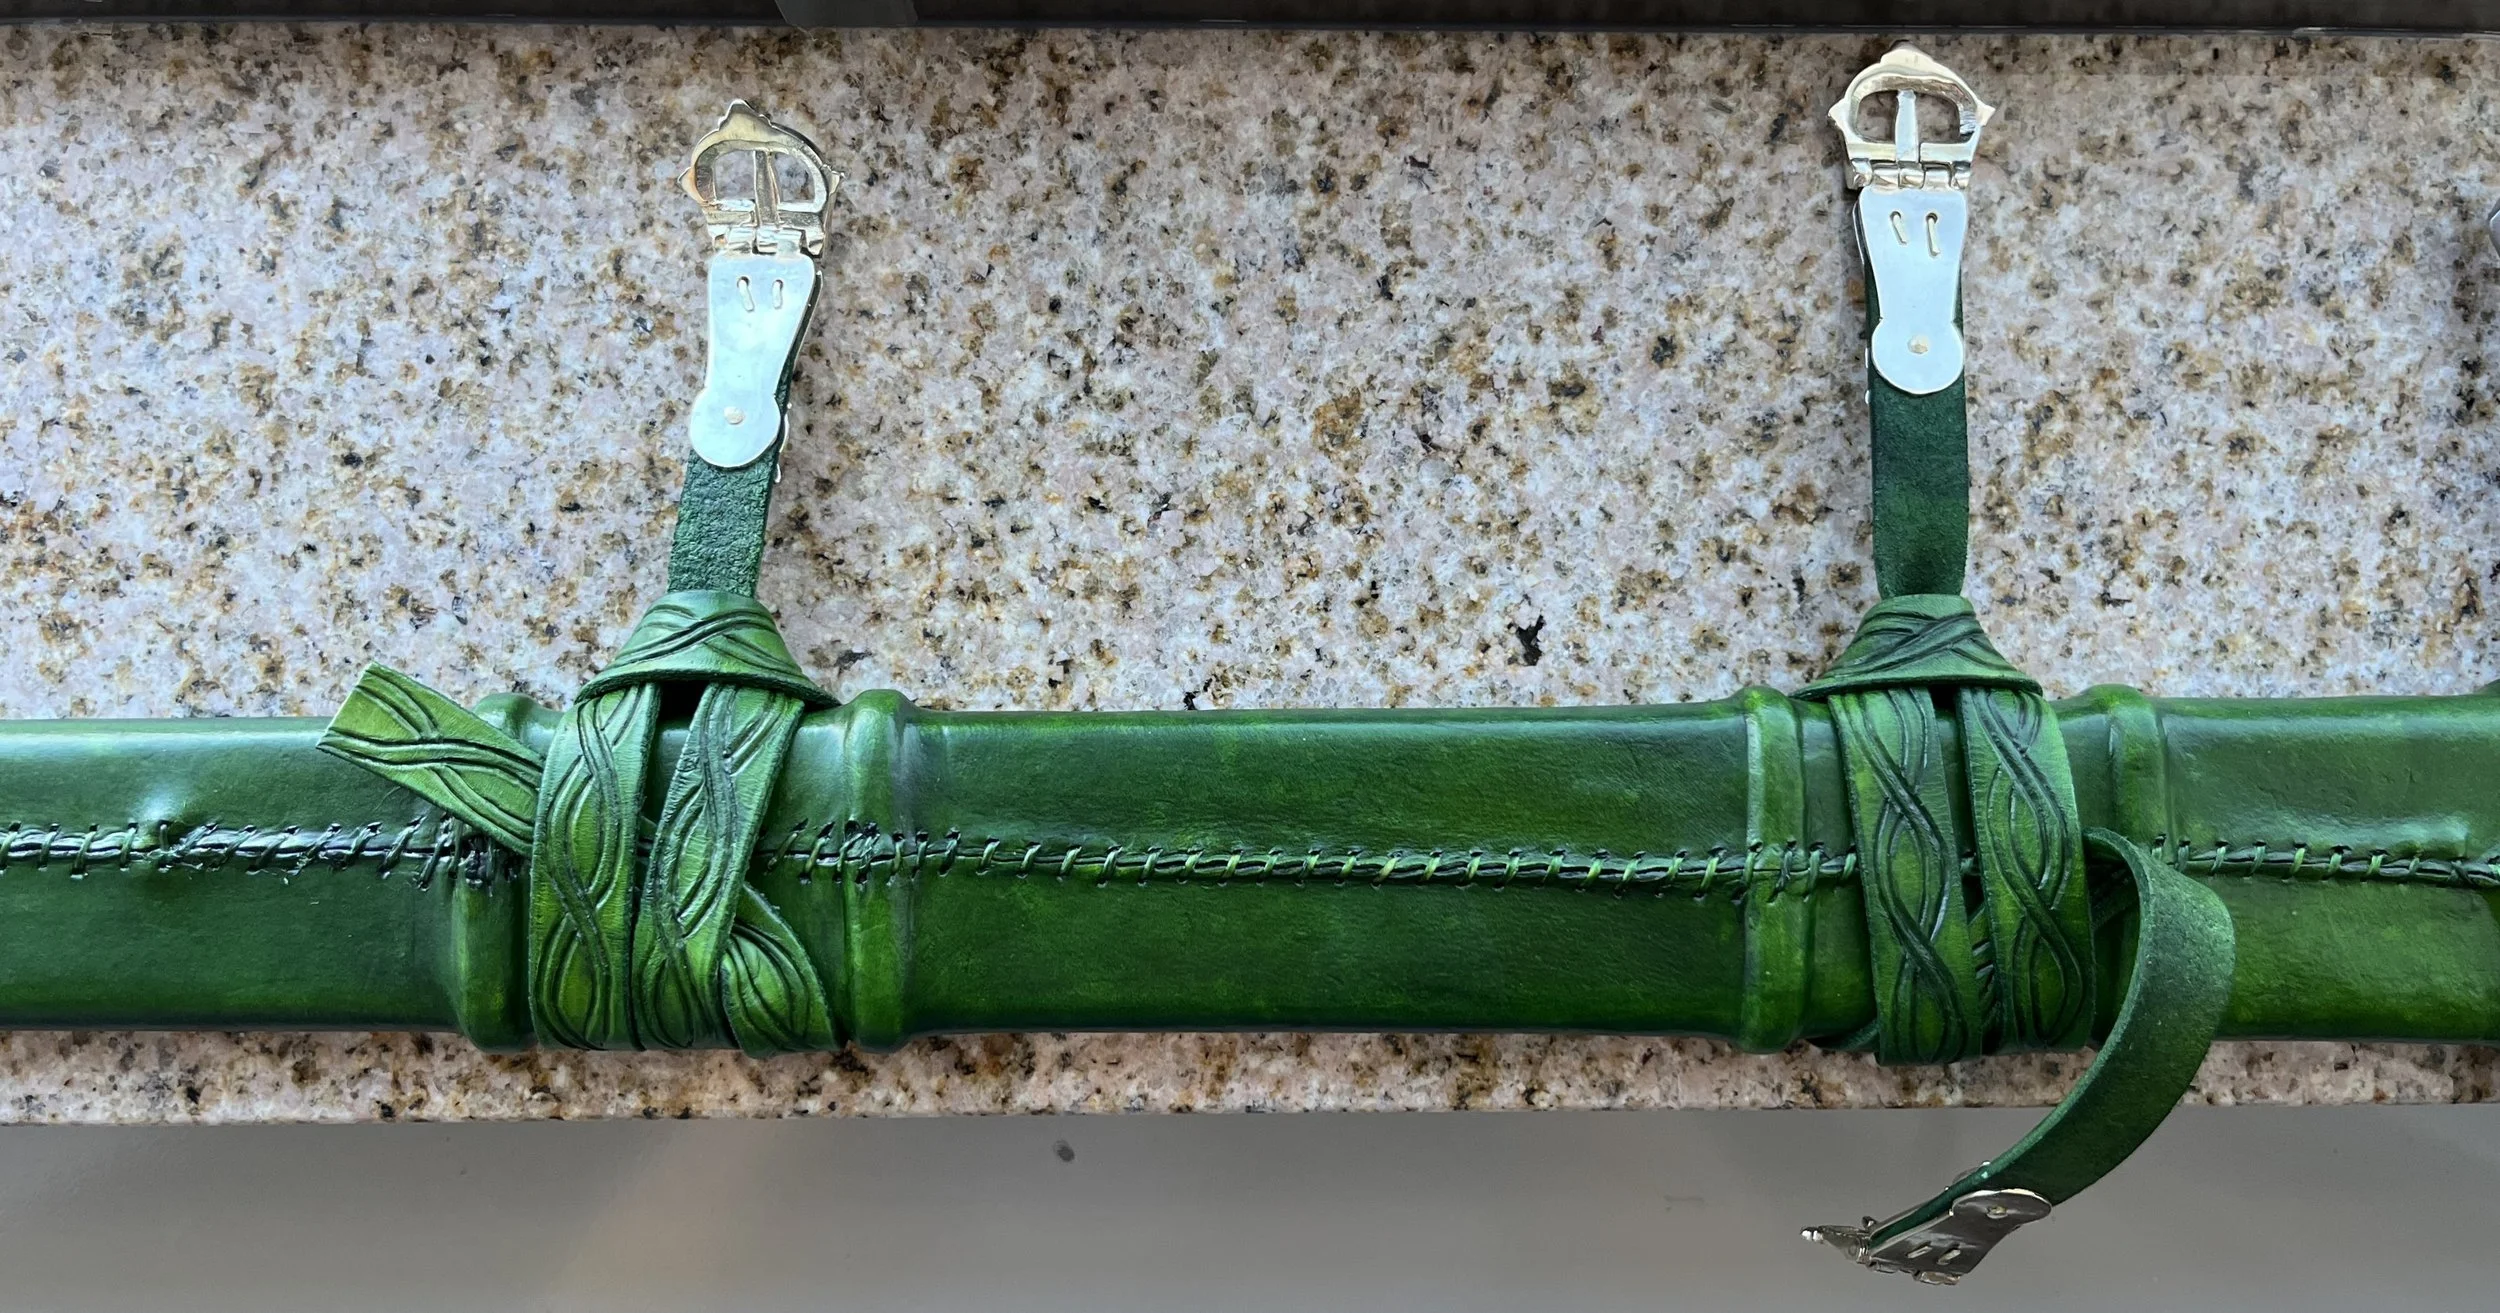
Finally, I punched holes in the sword belt and the suspension belts to accommodate the buckles. My friend is a bit more slender than I am, so the holes were punched to accommodate a more svelte man. However, I punched a couple extra on either end of the scale to allow for a verity of circumstances.
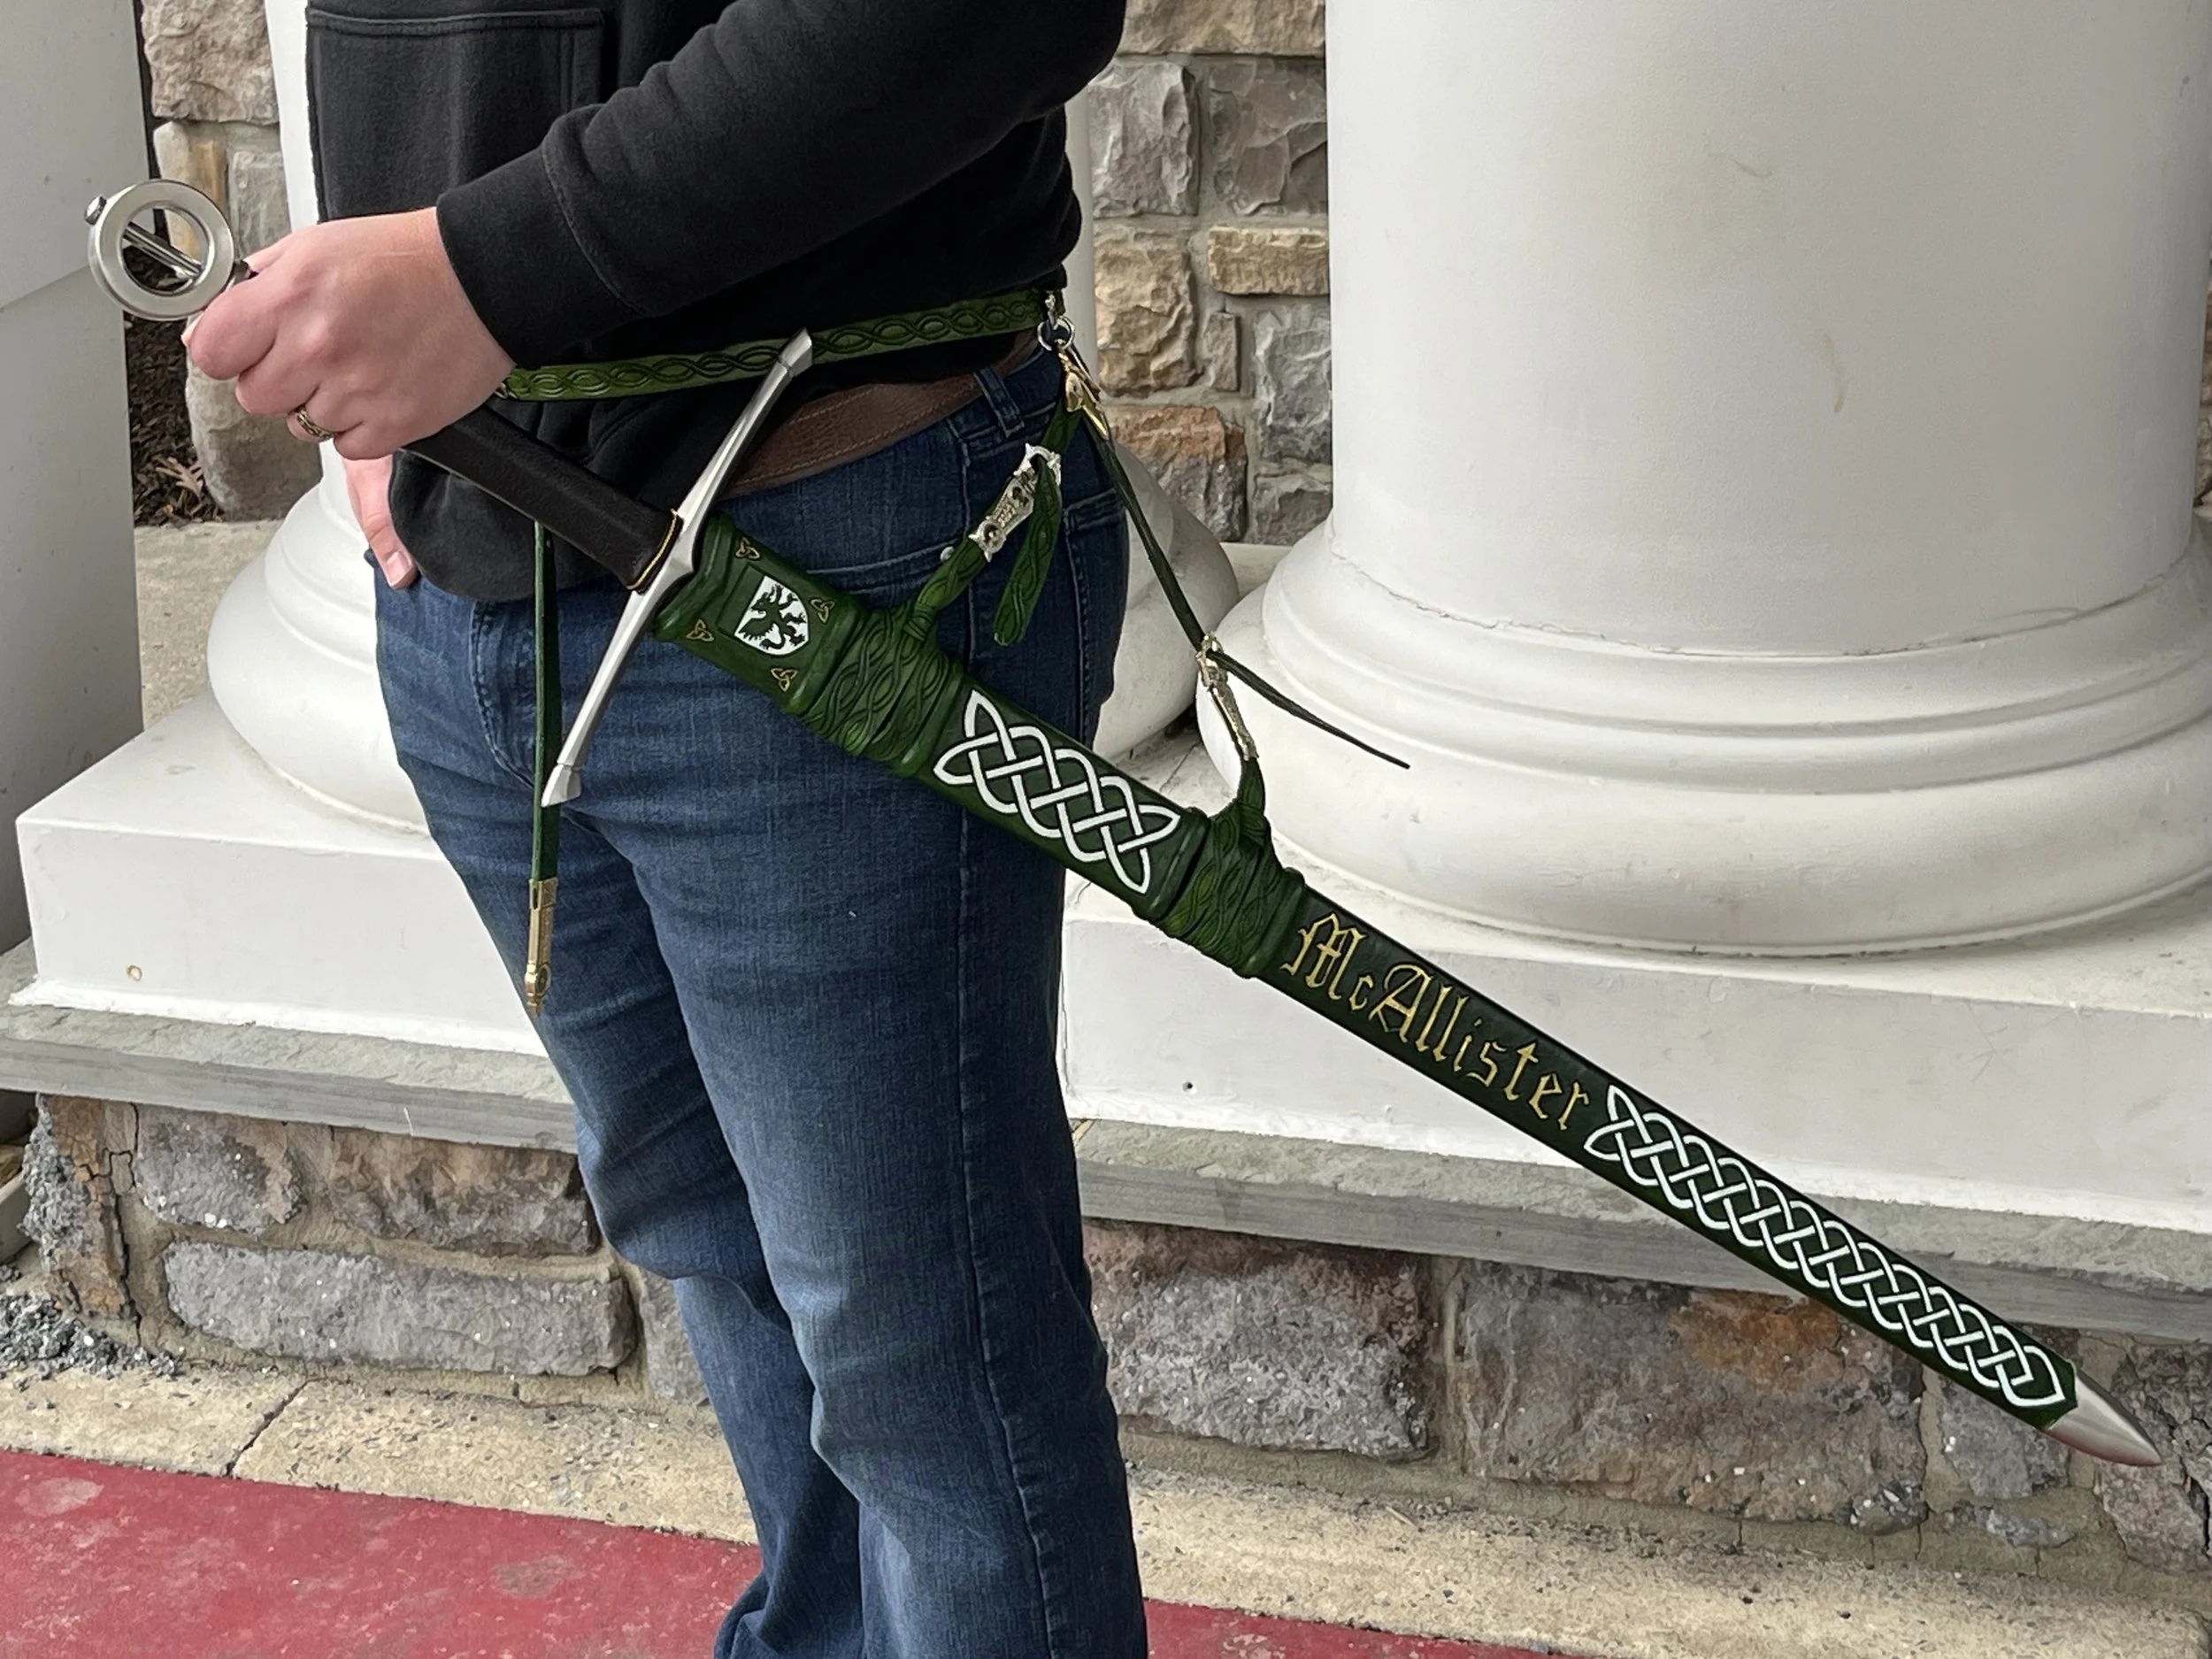
After this, all that was left was to strap the scabbard onto the belts.
Finished! Just in time to hand it off to my friend on his wedding day. It was a beautiful ceremony, and I was glad to add something to the occasion. I hope he and his beloved have many happy years together!